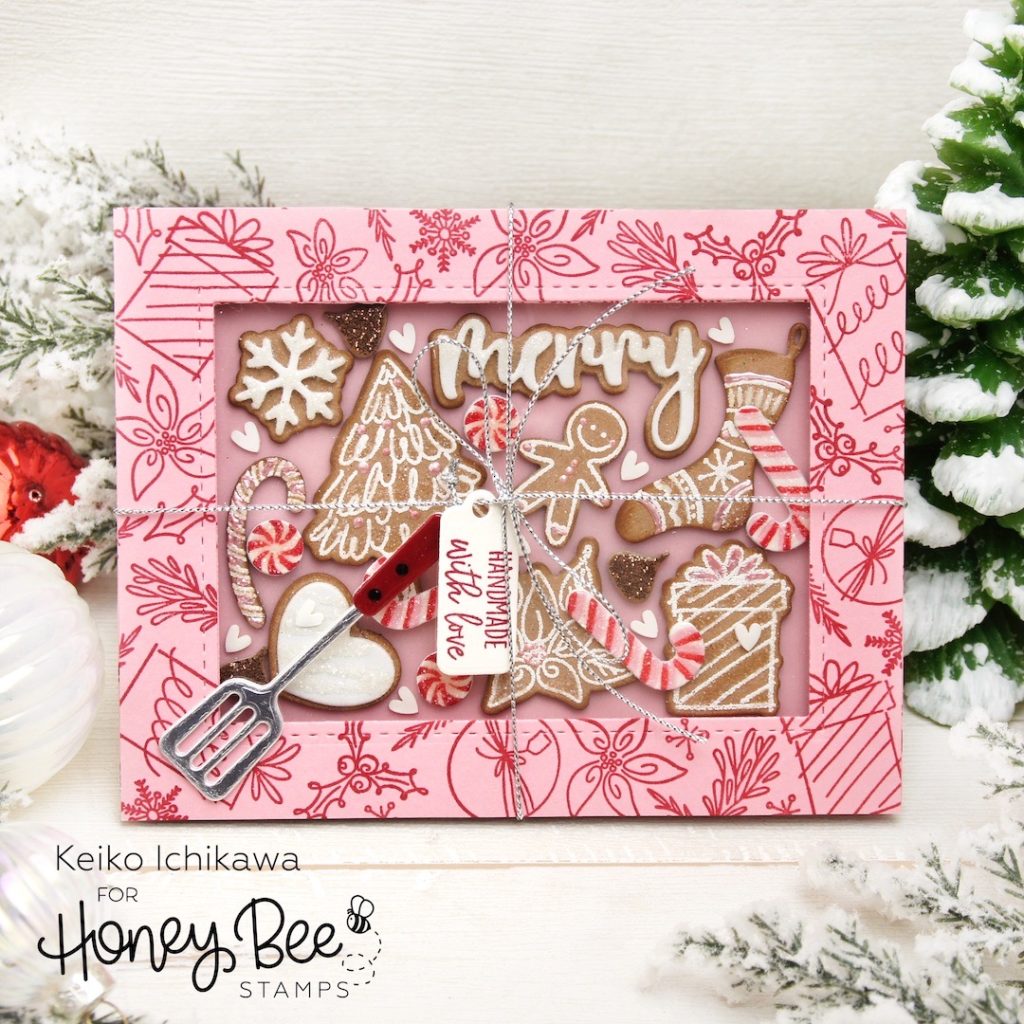
Hi friends! Happy new week! It’s Keiko from Happy Tree Studio today and I am sharing (another!) cookie themed card with you all. It’s a box filled with cookies and candies!! I don’t know why but I love making paper cookies and candies. This card requires no coloring and pretty quick to put together!
<Making Cookies & Candies>
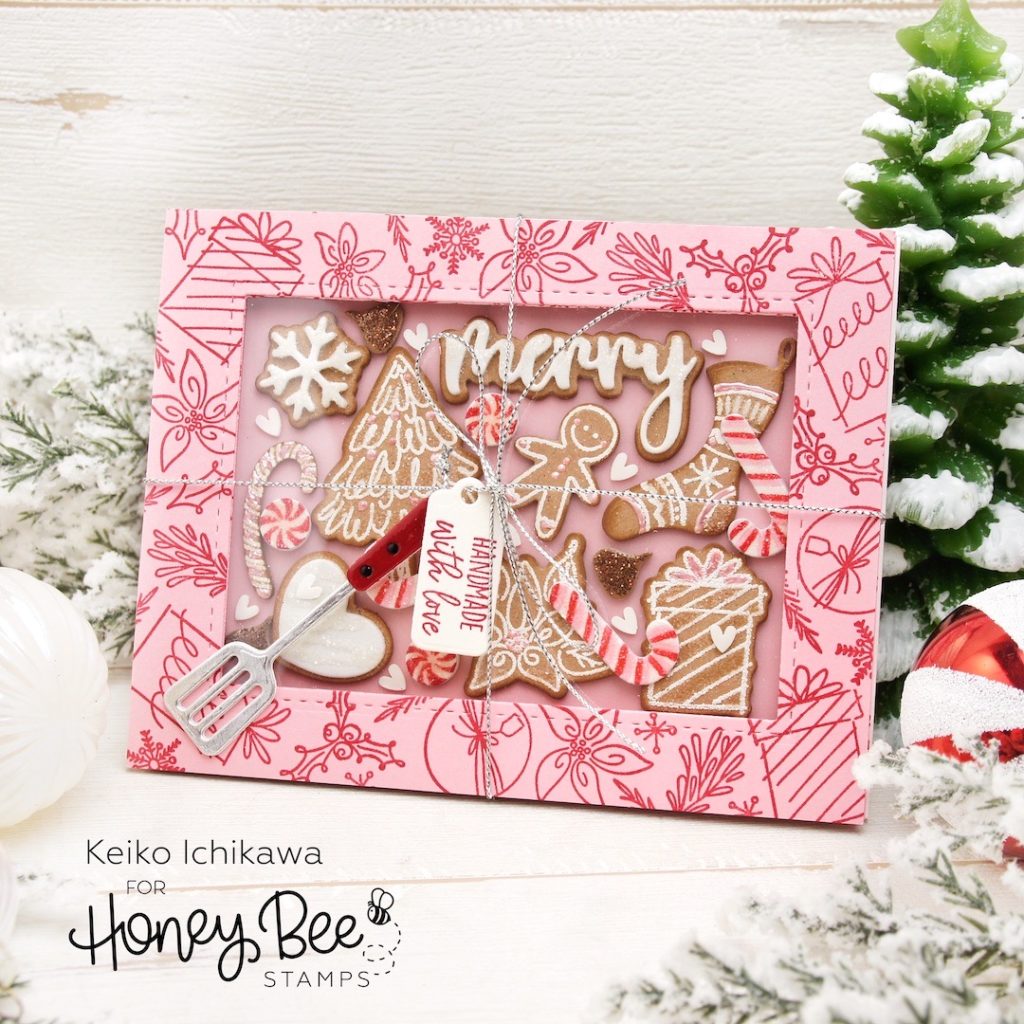
I went through my collection of Honey Bee stamps and dies to pick out what I used for my Christmas themed cookies and candies. You can use any stamps and their coordinating dies to make these cookies but here are the sets I used:
Riding By… Holiday Style (stamp & die): Tree, gift package, poinsettia
Bitty Buzzwords: Holidays (die): Merry
Tag, You’re It (die): Heart, Snowflake (dough)
Mugs & Kisses (die): Snowflake (icing)
Country Christmas Wreath (stamp & die): Gingerbread, sock, candy cane (cookie)
Gingerbread House Add-On (die): Peppermint candies, candy canes, chocolates
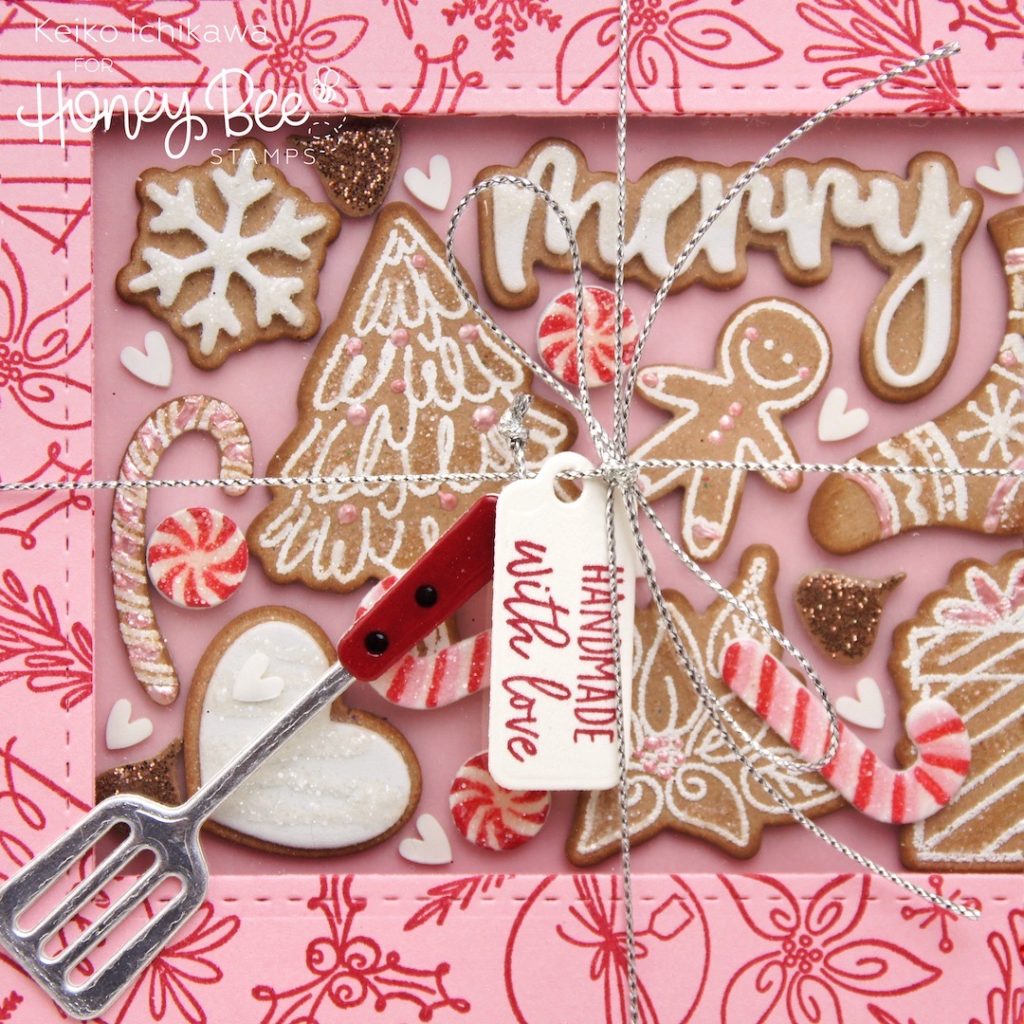
For the cookies that use stamps, I simply heat embossed the image using a white puff embossing powder on Kraft card stock and die cut them with the coordinating dies. For the other cookies (tree, heart and the word merry), I die cut the “icing” from white foam sheet and glued on the coordinating die cut from Kraft card stock. To make them look dimensional, I die cut the same shapes from Kraft card stock three more times and layered them behind. Also I inked the edges brown to make them look toasty. For additional texture, I added tiny accents with pink liquid pearl and applied Glossy Accents and clear glitter for sugary texture. The little chocolates are die cut from brown card stock (four layers each) and I covered them with Glossy Accents and brown glitter. Both peppermint candies and candy canes are die cut from white card stock and colored with Copics. I then layered them on the craft foam die cuts and coated them with clear glitter.
To make the “box”, I die cut out the rectangle window on the center of a piece of A2 sized pink card stock using A2 Double Stitched Frames die. I then stamped the images from Riding By…Holiday Style stamp set all over this frame with red ink. Lay this frame on another piece of the same pink card stock cut to A2 size (to see where to place all the yummy goodies) and adhere the cookies and candies. I also added some Be Mine Clay Hearts too. TIP: It is easier to do this BEFORE you adhere an acetate sheet on the frame. Once you are done arranging all the sweets in your “box”, layer an acetate on the back of the frame, apply layers (I added two) of foam tapes and adhere.
To decorate the box, I die cut the small spatula once from silver foil card stock (and a handle from red) and twice from white card stock and layered them. For the tag, I used Tag Builder die and Tag You’re It: Holidays stamp. I wrapped some silver cord around the box and threaded the spatula and the tag. I then adhered this to the A2 card base made from white card stock.
Thank you so much for stopping by today! If you have any questions, please leave them in the comments below. Have a wonderful week!!
