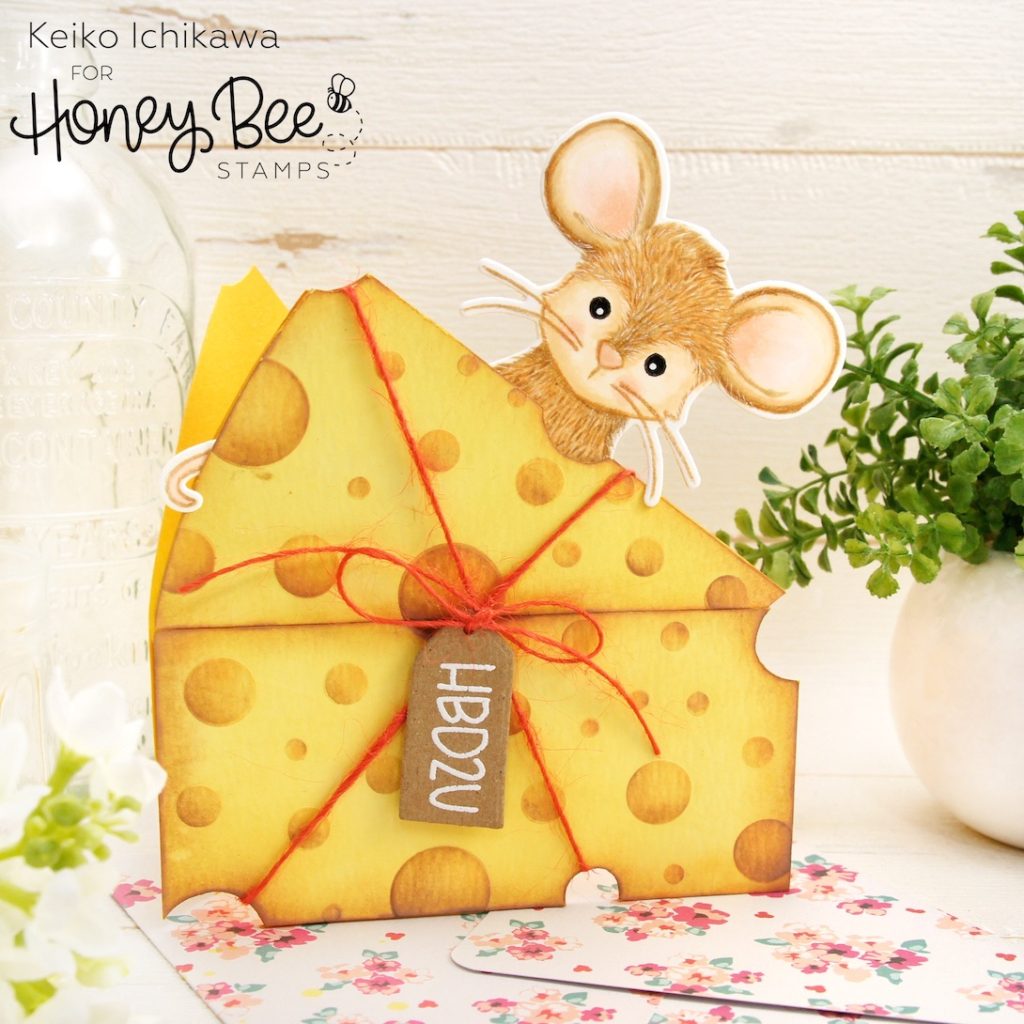
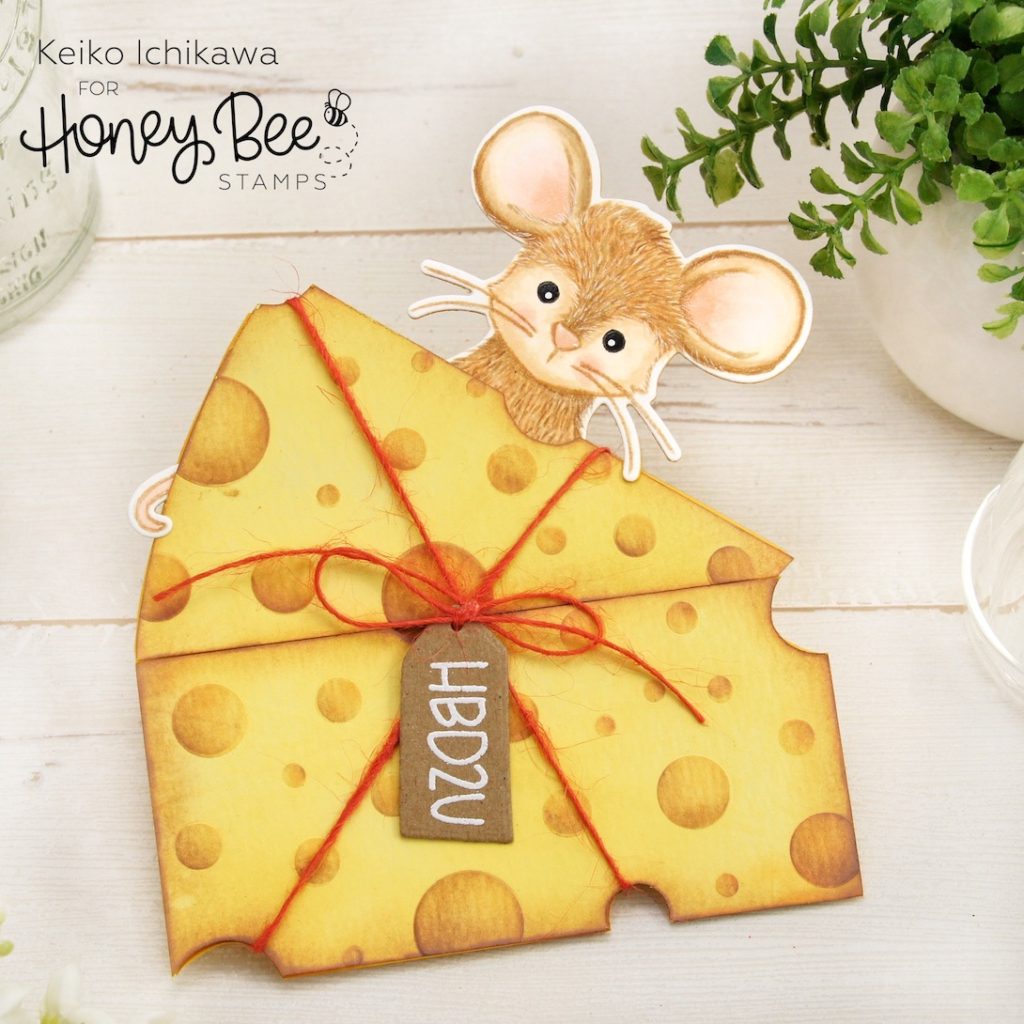
Happy new week friends! It’s Keiko from Happy Tree Studio today and I have this adorable cheese shaped birthday card to share with you! Don’t you think Mae the mouse peeking out (oh her tail!) so cute? This card is for my sister who has a kitty name Minnie because she was so teeny tiny when my sister rescued her (she is black and white with really long black tail just like Minnie Mouse!). She is almost two years old now and not so mouse sized anymore!
I started off by making a piece of cheese from water color card stock. I cut out one triangle and one rectangle (I sized them so the finished card would fit in a A2 sized envelop). Then I added “holes” using one of the stencils from In Gear set. I was inspired by the fabulous Kelly Kohout when she used this stencil during Honey Bee Stamps LIVE (on May 28th) to make a moon for her rocket ship card. So genius! If you didn’t catch her live, catch a replay archived either on Honey Bee Stamps Facebook or Instagram!
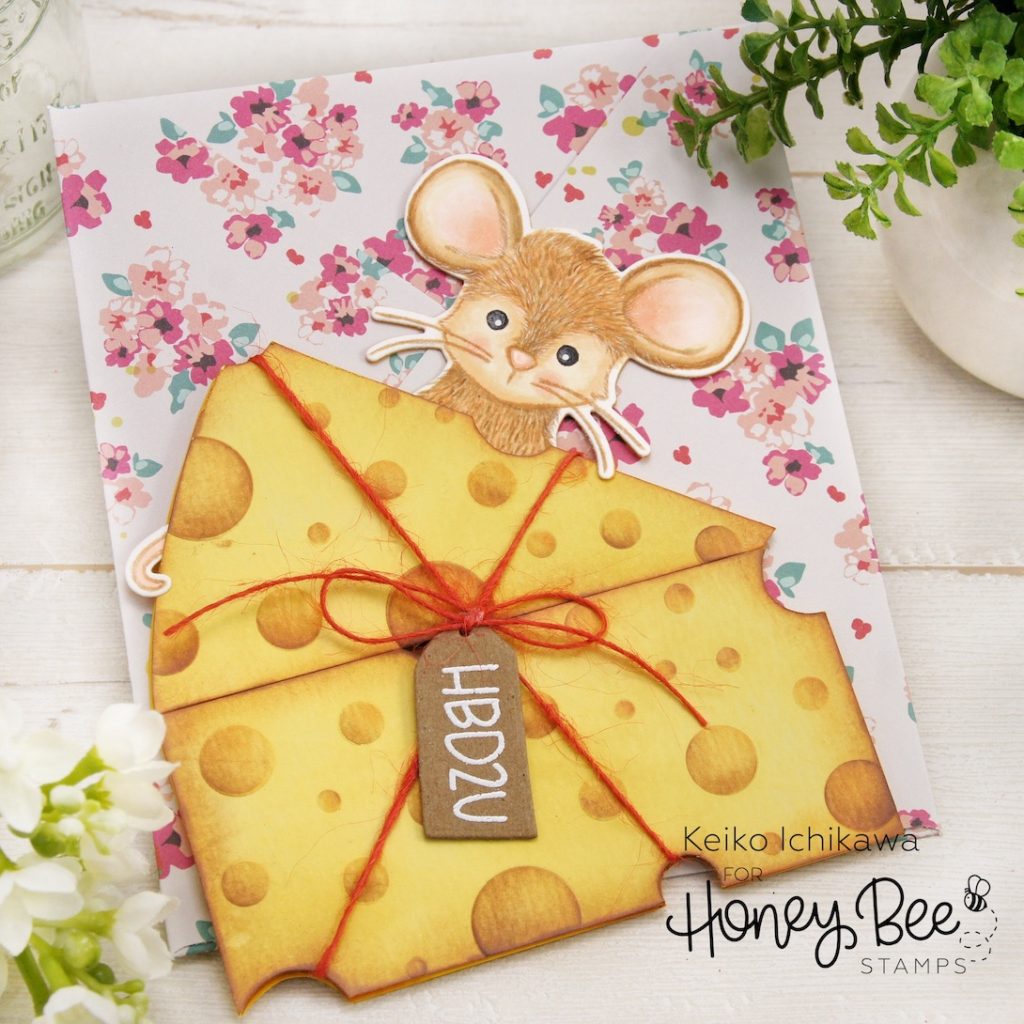
I first dry embossed the pattern by putting the stencil and cheese pieces through the die cutting machine (I used metal shim and extra piece of card stock as an extra shim). It is hard to catch in the photos, but the circles are slightly raised. I also cut some of the holes out to add interest. To add color to my cheese, I first covered them with Fossilized Amber Distress Oxide ink, then added Spiced Marmalade and Vintage Photo Oxide inks to the edges and holes. TIP: Laying the stencil over will make inking the holes so much easier!
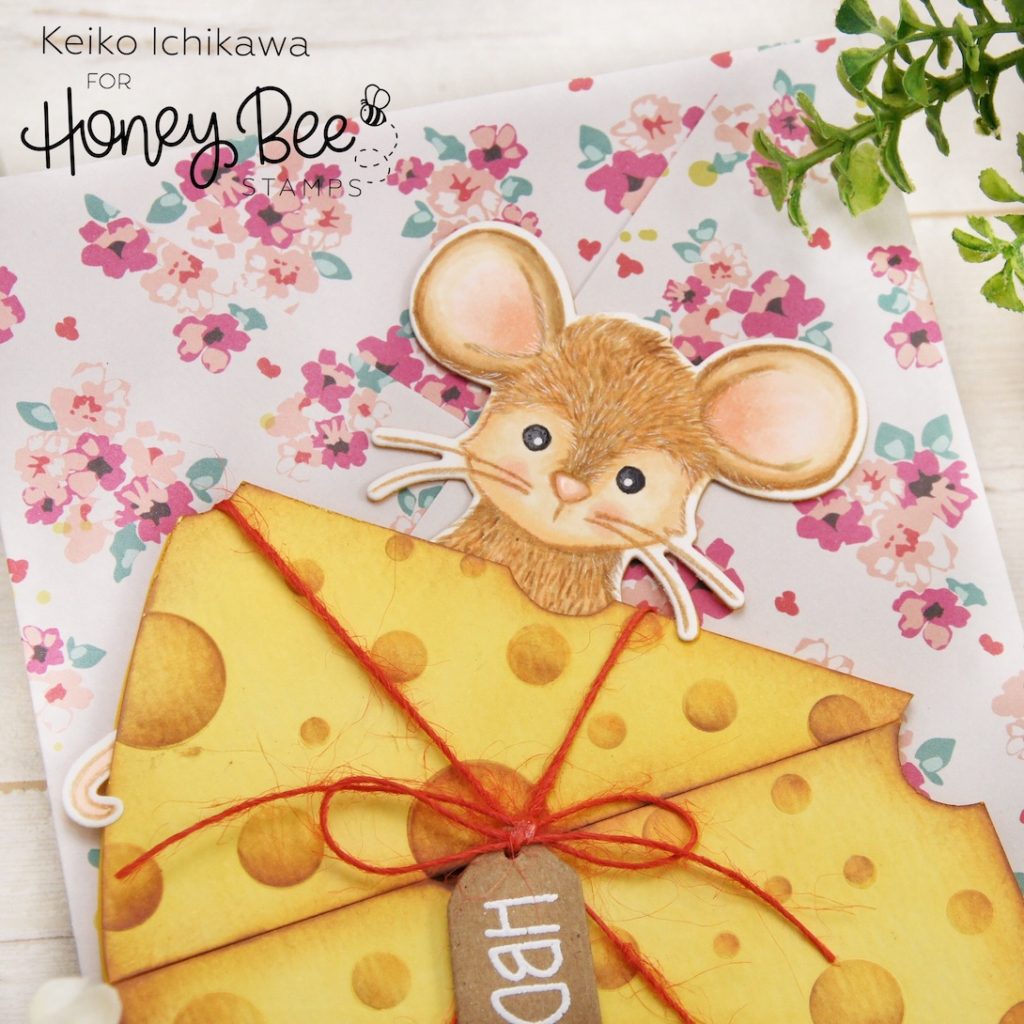
Cute Mae from Mae the Mouse set was stamped with light brown ink and colored with Copics. I added fur texture with my colored pencils and thin white gel pen. TIP: You only need to color her head, neck and tail. I die cut her out using the coordinating die and sandwiched her between the card base I made from yellow card stock and the inked cheese pieces. TIP: For the card base, I cut two pieces of the cheese shape and glued them together using a hinge piece (as you can see in the photo below). I really wanted her tail to be visible, so I cut it off from Mae (sorry!) and added to the left of the cheese. I also tied a piece of red twine around the cheese before adhering to the card base.
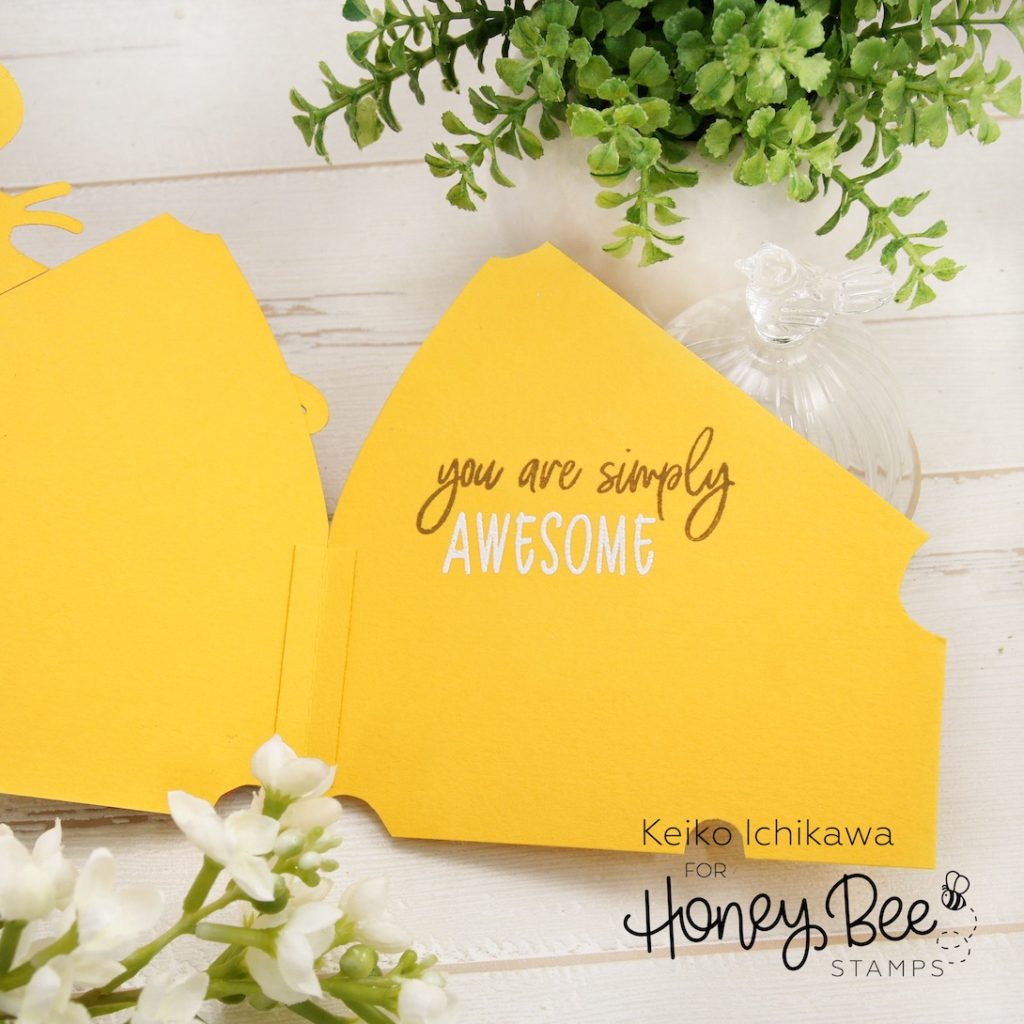
For the inside of the card, I used “you are simply AWESOME” from Awesome Sauce stamp set. I die cut another Mae (her head, neck and tail) from yellow card stock and glued them to the back of the colored pieces to make them look nice on the back.
To finish off the card, I added a cute tag I stamped and die cut using Piece of Cake stamp and coordinating die set.
Thank you so much for stopping by today!
Wishing you a wonderful week!!

2 responses to “Cheese Shaped Birthday Card with Mae the Mouse”
Great card!
Fabulous! Love this card.