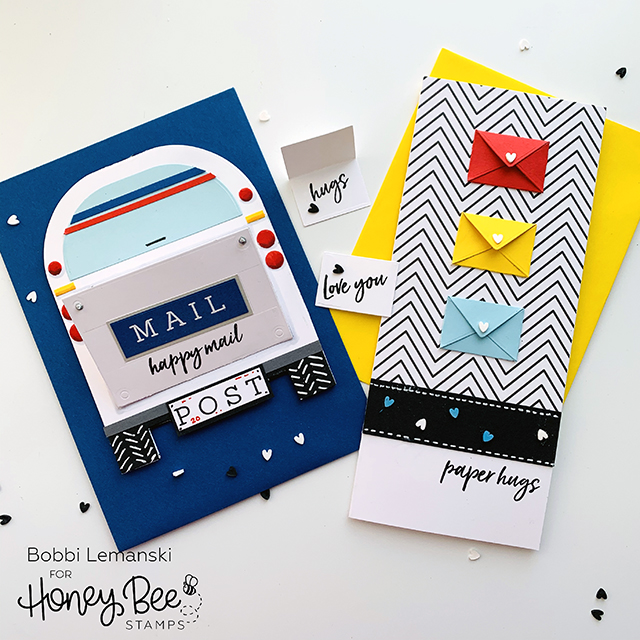
Hello! It’s Bobbi Lemanski from BobbiHartDesign.com bringing you some snail mail today! In the age of email and texting, it’s refreshing to get happy, snail mail. I always know when our postman is ready to turn the corner onto our street because his little truck has a very loud muffler! My cards today were inspired by my mailman. 🙂 Not the noise part… but his little white mail truck and the envelopes he delivers, inspired my two cards. Both cards feature the following Honey Bee Stamps products, part of the latest Bee Mine release:
Love Enclosed stamp and die sets
Back to Basics 6″ X 6″ paper pad
US Postal Mail Truck
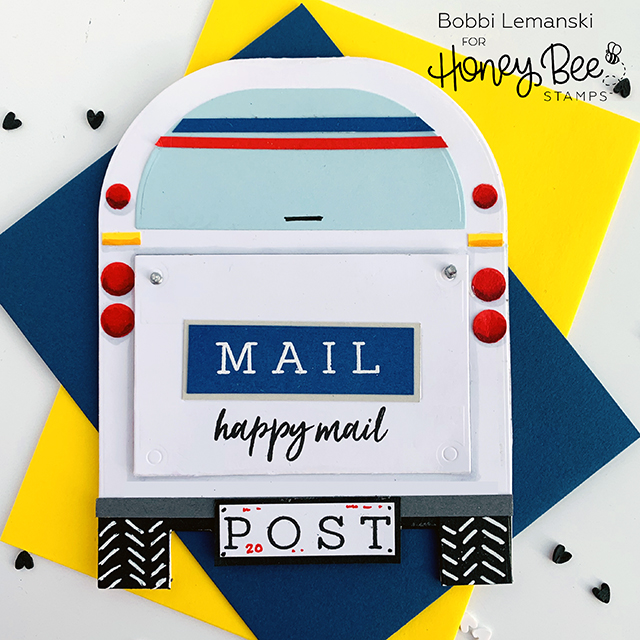
I’ve used the Post Box Card Base die set to create a post box, retro van and a backpack. (See below) I’m back today with this shaped card of the back-end of a mail truck. 🙂
To create this card, I followed these steps:
Die cut the card base from a folded 5″ wide X 11″ long 110 lb white cardstock, allowing the die line to “fall off” at the top of the box so that the card remains one folded base piece.
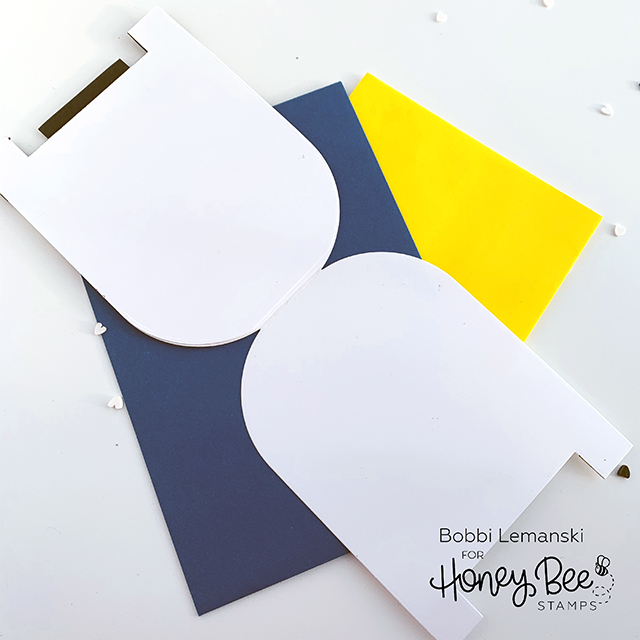
Cut the rectangular shape included in the die set out of one side only of the 11″ long piece. (See first photo below.)
Die cut another single layer post box shape out of 80 lb. white cardstock.
Die cut the rectangular shape from the set from another folded piece of white cardstock, allowing the long edge to “fall off” the folded edge. (See first photo below.) This will be the back door of the truck.
Add adhesive to the back of one side of the folded rectangle (back door of truck).
Place the single layer base inside the folded 11″ base and insert the folded back door piece through the opening, allowing the insert to fit perfectly with folded side side at the bottom. Secure in place. (See photo two below).
Note: Before attaching the single layer to the back of the inside front card panel, you’ll want to stamp and color the envelopes inside the truck.

Both of these cuts were die cut, allowing the die to fall off of the folded edge to created a folded hinge.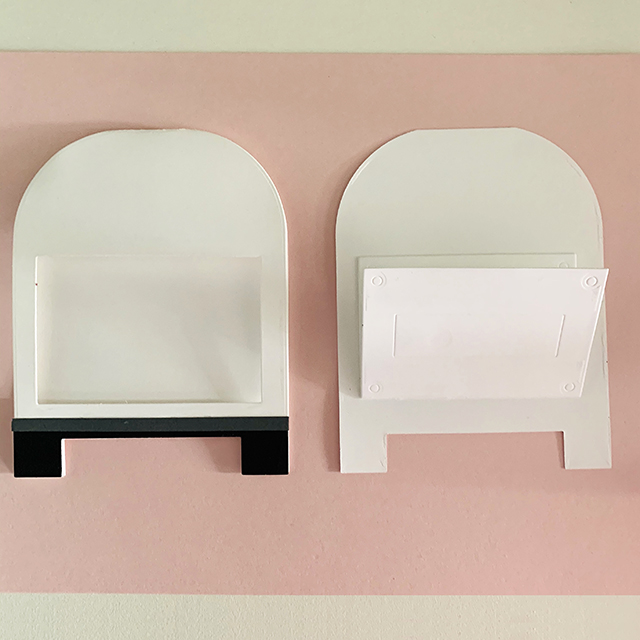
Left: Front of card, Right: This piece is adhered to the back side of the card front (on left) allowing the truck back door to open through the rectangular opening
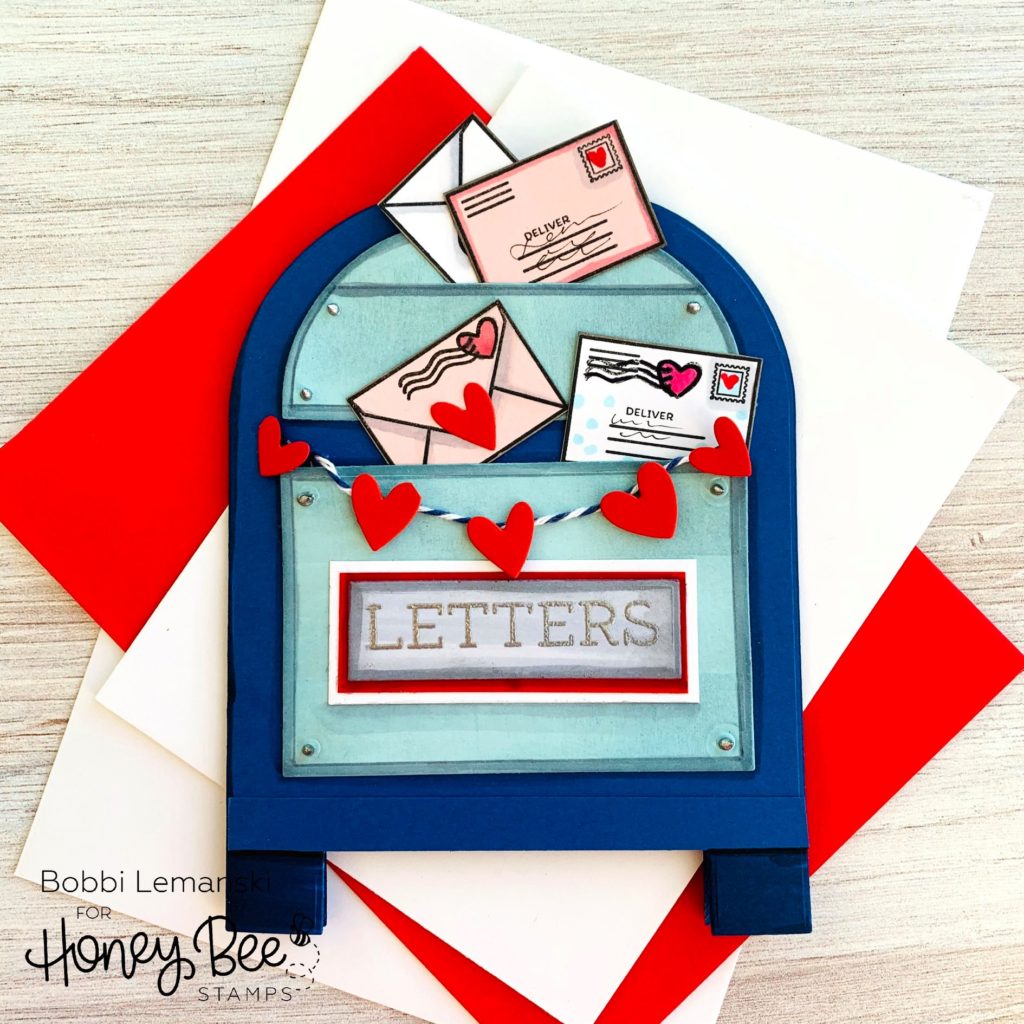
Now it’s time to add the final details to the truck…

Stamp and color the envelops inside the back door of the truck using a stamps from the Love Enclosed stamp set.
Stamp “MAIL” on a rectangular piece of royal blue cardstock and add a layer of warm gray to the back to frame it. Attach to the truck back door.
Use the post box die to cut the black wheels and under carriage by die cutting a 4/-1/4″ wide X 1″ tall piece of black cardstock. Attach to the front panel and add tire tread marks using a white gel pen. Add another gray strip to the top for the fender.
Stamp “POST” on white cardstock and crop to a rectangle. Add a black frame around it for the license plate. Add markings like the registration date on it to resemble a license plate. Attach to the fender.
Add additional details such as the back window die cut with a handle out of a lighter blue, brake lights, reflectors, stripes in the window (to cover the slit in the die cut), and corner silver screws using Nuvo Drops, etc.
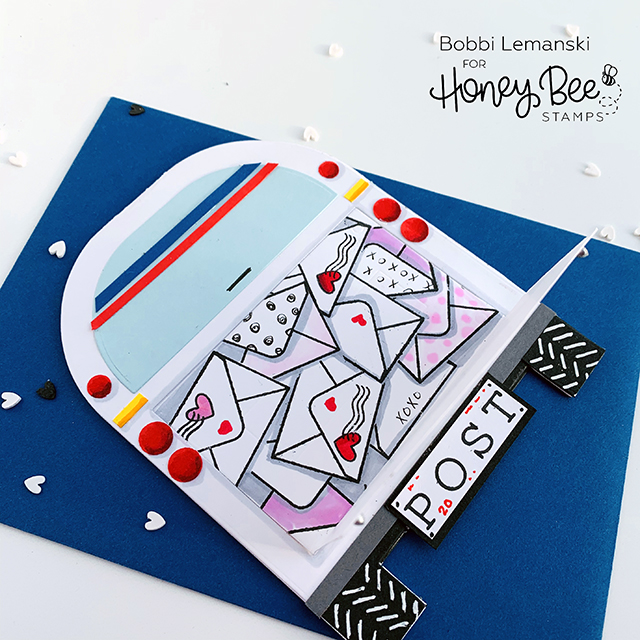
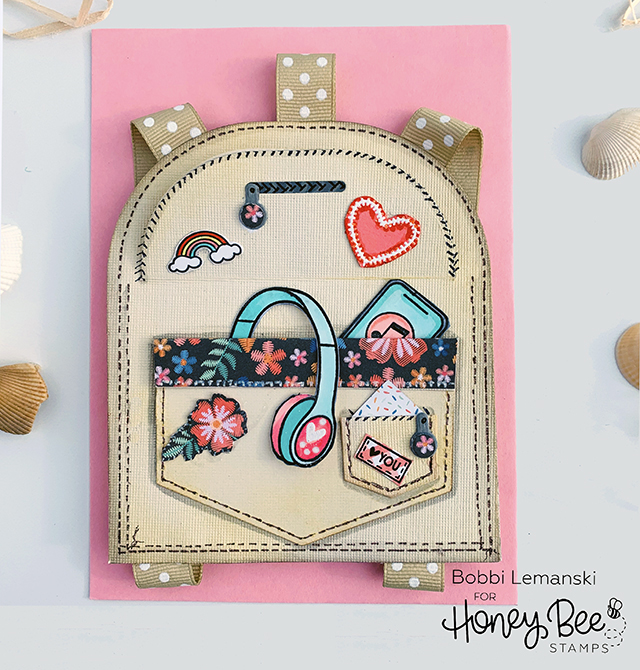
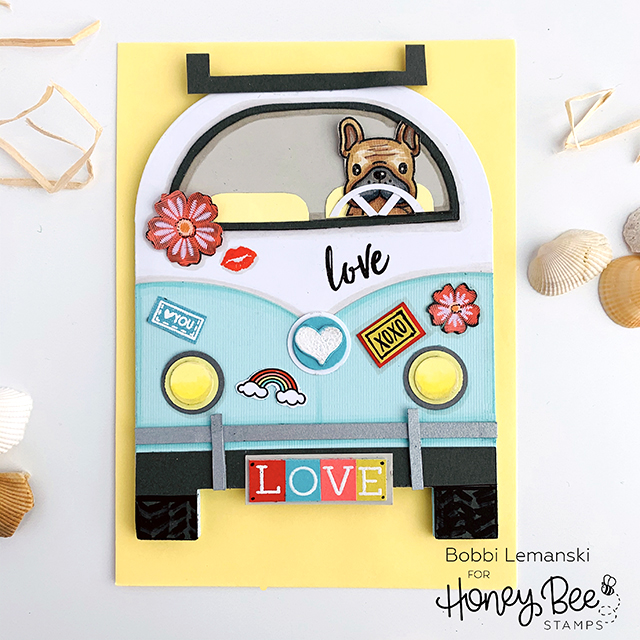
The truck back door opens to reveal the envelopes to be delivered. Open the entire card and add your message inside for the recipient. I think this is a fun card and while it may look like a lot of work, it really wasn’t. The dies make this super easy. The fun is adding the details to personalize! Here’s a few more looks I’ve done using this die… a post box, backpack and retro van!
Paper Hugs Envelope Card
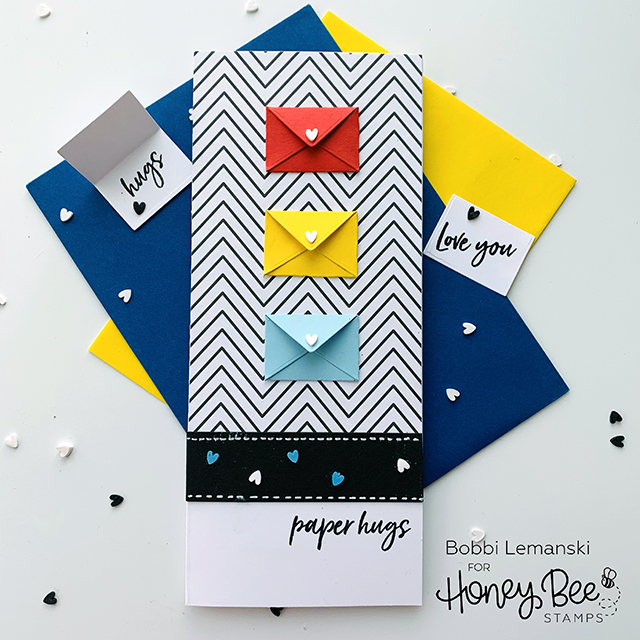
This vibrant 3-1/2″ wide by 8″ tall slim-line card is easy to make, following these steps:
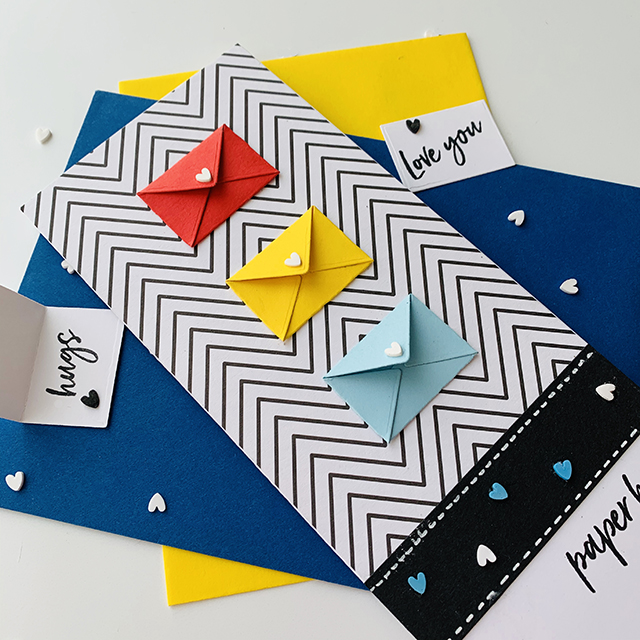
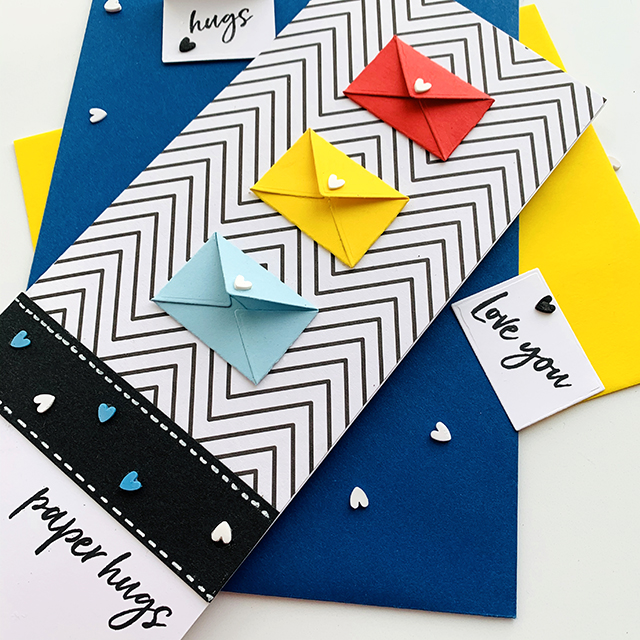
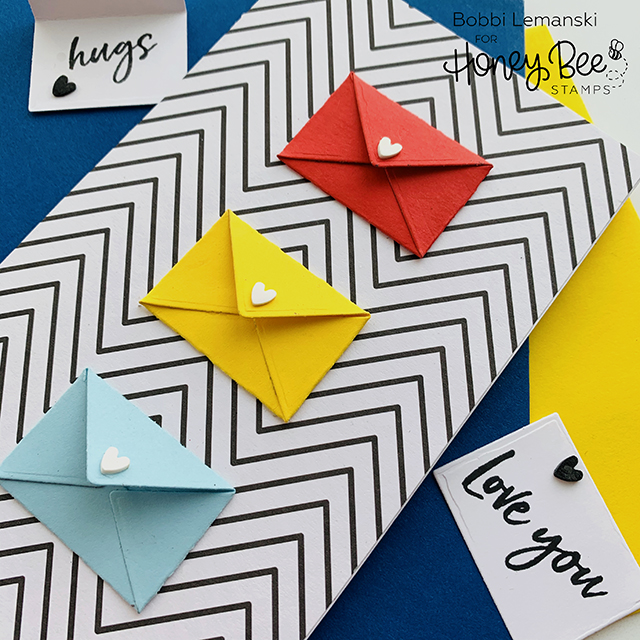
Using the Love Enclosed dies, cut three envelopes in tomato red, bright yellow and aqua cardstock. Fold them using the die’s scored lines and adhere them together, creating three mini envelopes.
Die cut three inserts in white and stamp words like “hugs,” “love you,” and your own personal messages on them to place inside the envies.
Add white Conversation Hearts to the envelopes for extra detail.
Since this card is 8″ tall and the black/white pattern paper is only 6″ tall, add a 3-1/2″ wide X 1″ tall black horizontal piece to the bottom. Add white stitching to it using the white gel pen. Adhere blue and white Conversation Hearts to the strip.
Stamp Paper Hugs in the bottom white space, right under the black strip.
Attach small envies to the pattern paper section to complete the look.
This card will fit in business-sized envelope or create your own matching envelope using an envelope maker.
You can shop all of these awesome products in the Honey Bee Stamp store using the links provided here or shop the latest Bee Mine release here! Thanks for visiting today!
Want to see more ideas and inspiration from me? Subscribe to my blog, BobbiHartDesign.com. I’ll send you updates on new posts! You can also find me on Instagram as @BobbiHartDesign and on Facebook as BobbiHartDesign.
Bobbi Hartmann Lemanski, Bobbi Hart♥ Design, Adding h♥art into every design