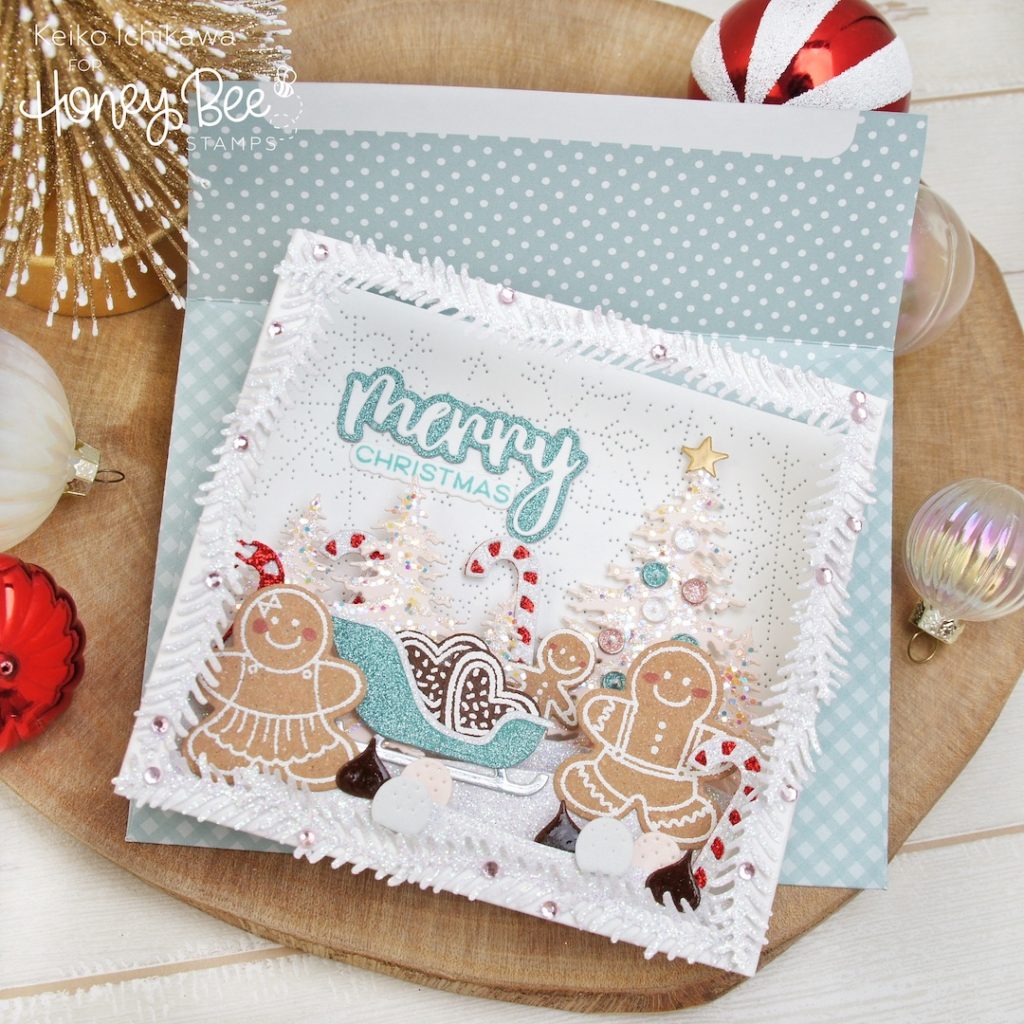
Happy new week friends! It’s Keiko from Happy Tree Studio and I have this super glittery pop up Christmas card for you today! This is what the Christmas in Candy Land looks like in my head. It folds flat to fit in the standard A2 envelops, but pops up once it’s taken out. I used bunch of brand new and not so new stamps and dies to create this card. I encourage you to shop your stash to find the elements you want to use to create your version!
For the pop up card base, I used both A2 Scene Builder Card Base dies and A2 Mountain Scene Builder Add On dies. I die cut the actual base (both front and back) and the hill pieces from white card stock and layered white glitter card stock on these hill pieces. To add some texture to the background, I opted for the subtle snowflake pattern created by Pierced Fancy Flakes A2 Cover Plate die instead of ink blending like I usually do. Since this die does not have the cutting blade, it can be easily used for the pieces bigger than A2 size to add texture. So useful! The pop up box is super simple to put together. I decided not to use the mountain piece but have three hills instead. TIP: I personally found it easier to adhere all the elements AFTER I glued the hills to the back piece but BEFORE I adhered the front panel.
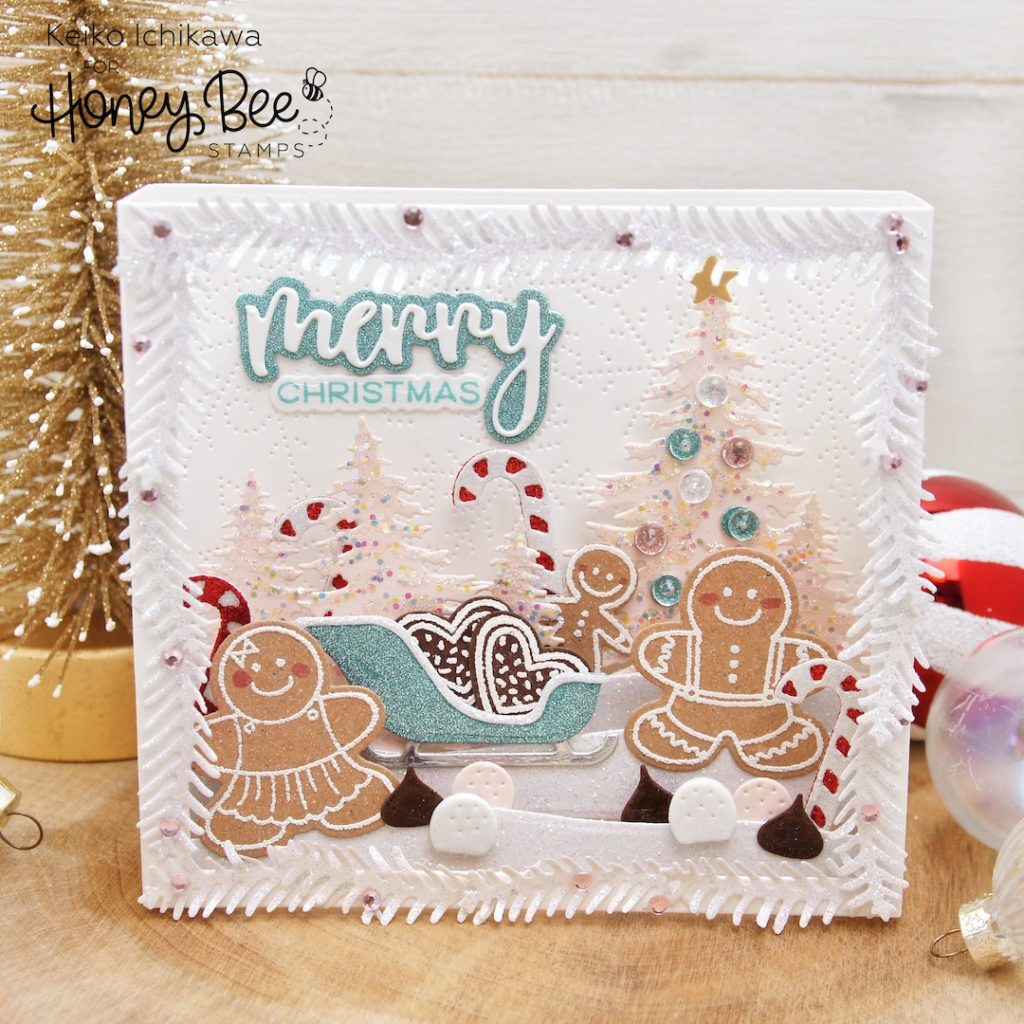
You can decorate the pop up scene however you like, but here are what I used for this card:
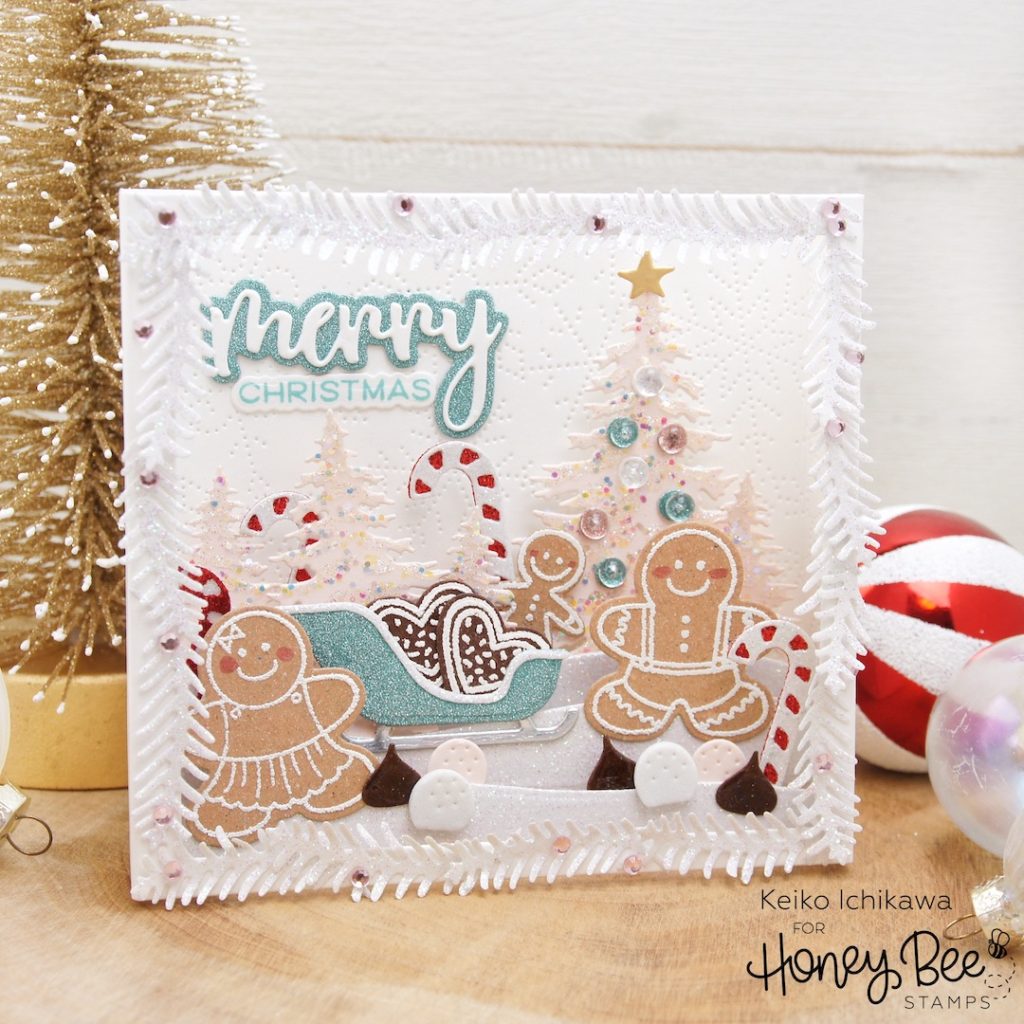
Pine Trees (dies) for large and medium size trees (tiny ones are from Scene Builder Add On)
Bitty Buzzwords: Holidays (dies) for “merry” word
Tag, You’re It: Holidays (stamp & die) for “CHRISTMAS” word
Gingerbread House Add On (stamp & dies) for gingerbread couple and small candy pieces)
Country Christmas Wreath (stamp & dies) for small gingerbread guy on the back
Mugs & Kisses (die) for candy canes
Toy Store House Builder Add On (dies) for sled
Mae the Mouse (stamp & dies) for heart shaped cookies
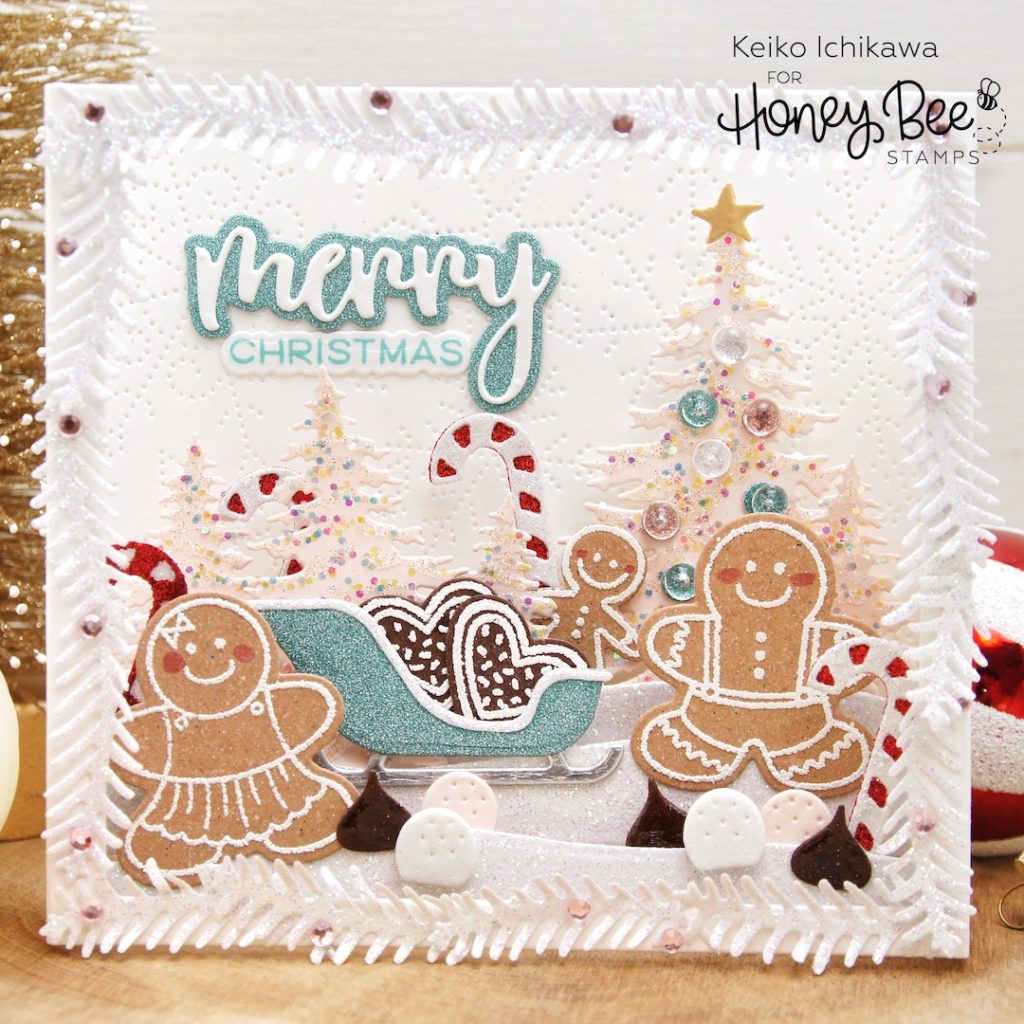
These elements are die cut from various colors of card stocks (many of them are glitter!) and I added texture to some of them. The gingerbread people are white heat embossed on Kraft card stock using white puff embossing powder and I added rosy cheeks with a pink marker. The heart shaped cookies are also white (puff) heat embossed on dark brown card stock. The trees are all cut from pale pink card stock an I added some Glossy Accents to mimic the snow and covered them with glitter. I decorated the largest tree with small glitter circle die cuts and added clear dew drops on top to make them into ornaments. I also added a gold star die cut on top of the tree. TIP: Be careful not to add too much dimensions to the area that overlaps with other elements or card base when folded for mailing. The tiny chocolate pieces are covered with Glossy Accents to make them look more realistic.
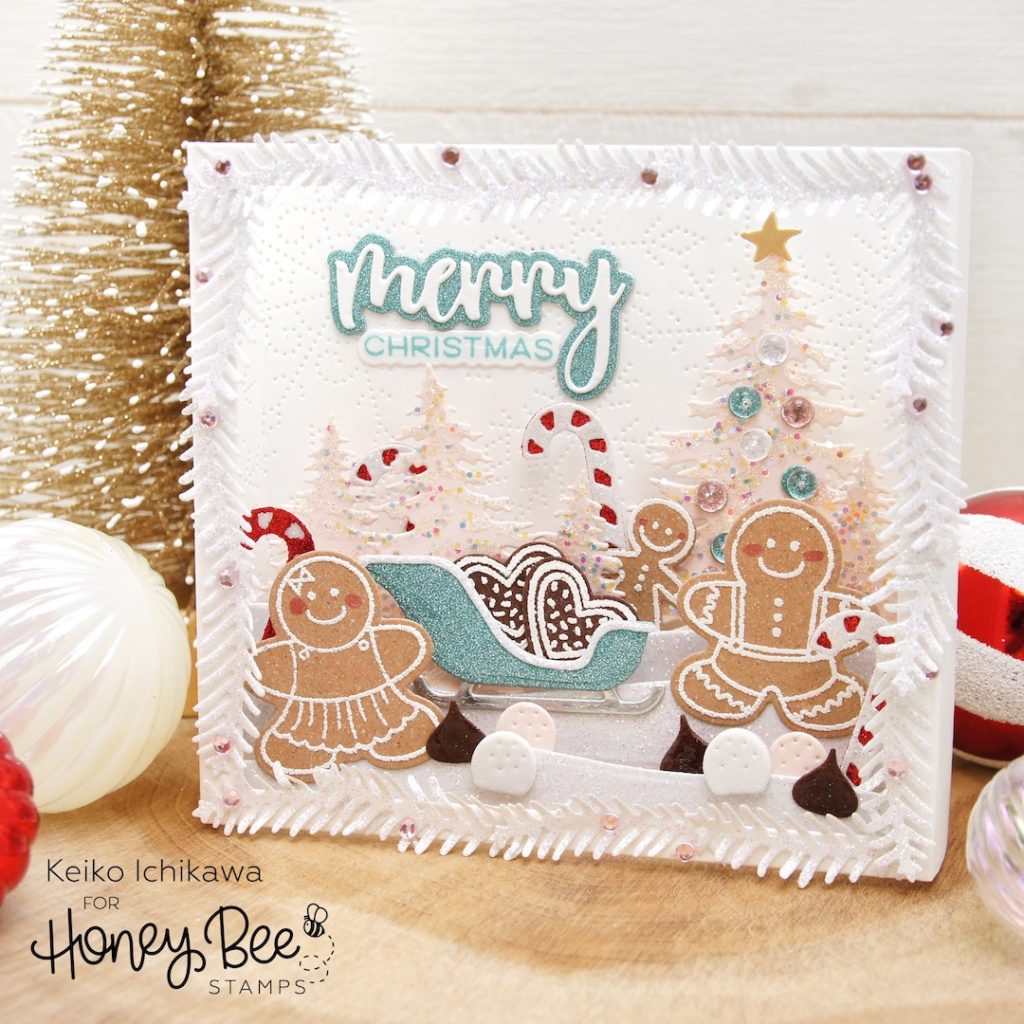
After adhering all the elements to the card base, I decided to decorate the front frame a little bit. I die cut a bunch of pine branches using Country Christmas Wreath dies from white glitter card stock and glued on the frame. Not that this card needed more glitter & shine, I couldn’t resist adding those gem stickers in pale pink color. TIP: They are self adhesive (and comes in a million different colors!), however since the pine branches were cut from glitter card stock (the texture make them hard to stick to), I used precision tip glue to secure them.
Thank you so much for stopping by today! If you have any questions, please leave them in the comment section below.
Have a wonderful week!
