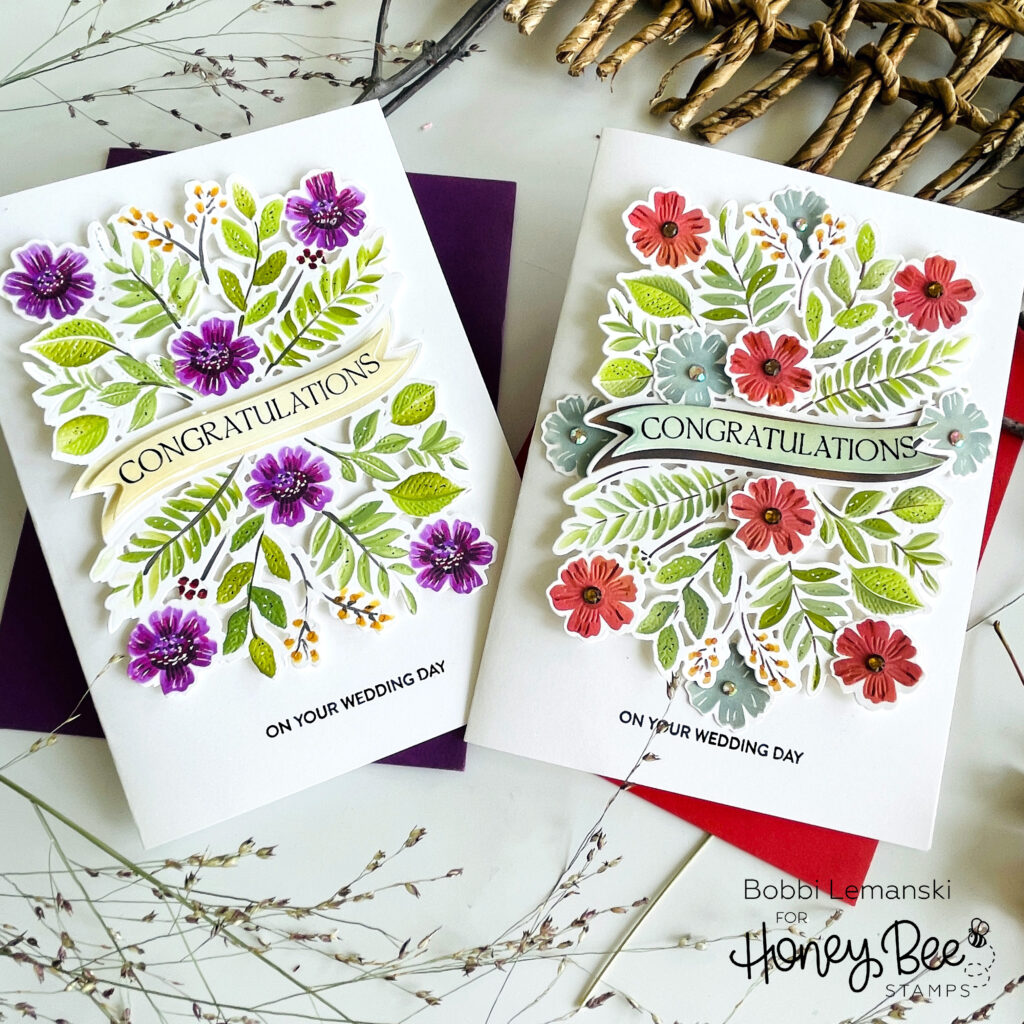
Hello Bee friends. It’s Bobbi, back with a fun new product to share from the Honey Bee Stamps Heartfelt Harvest release. I am so excited to show you this product set today that I ended up making two cards to share. I’ll be using both cards for two weddings we’ll be attending this fall. The collection is the Bountiful Banner collection which includes a stamp set, coordinating Honey Cuts, a stencil set and an impression plate. Using the impression plate with the stencil set gives the “impression” of a letterpress card which is so popular right now. I’m using the following Honey Bee products:
Bountiful Banner stamp set and coordinating Honey Cuts dies
Impressions: Bountiful Banner Honey Cut dies
Bountiful Banner – Set of Six Coordinating Stencils
The featured project below is made from Neenah 80lb Solar White cardstock for the card base and card elements. All of the black ink stamping was done using Honey Bee’s Bee Creative Intense Black Ink. I use Honey Bee Stamps Bee Creative Precision Glue and for when I want more dimension, Bee Creative Foam Dots With Tab for adhering my elements together. My card is 5″ X 7″ in size.
Plum and Gold Congrats Card
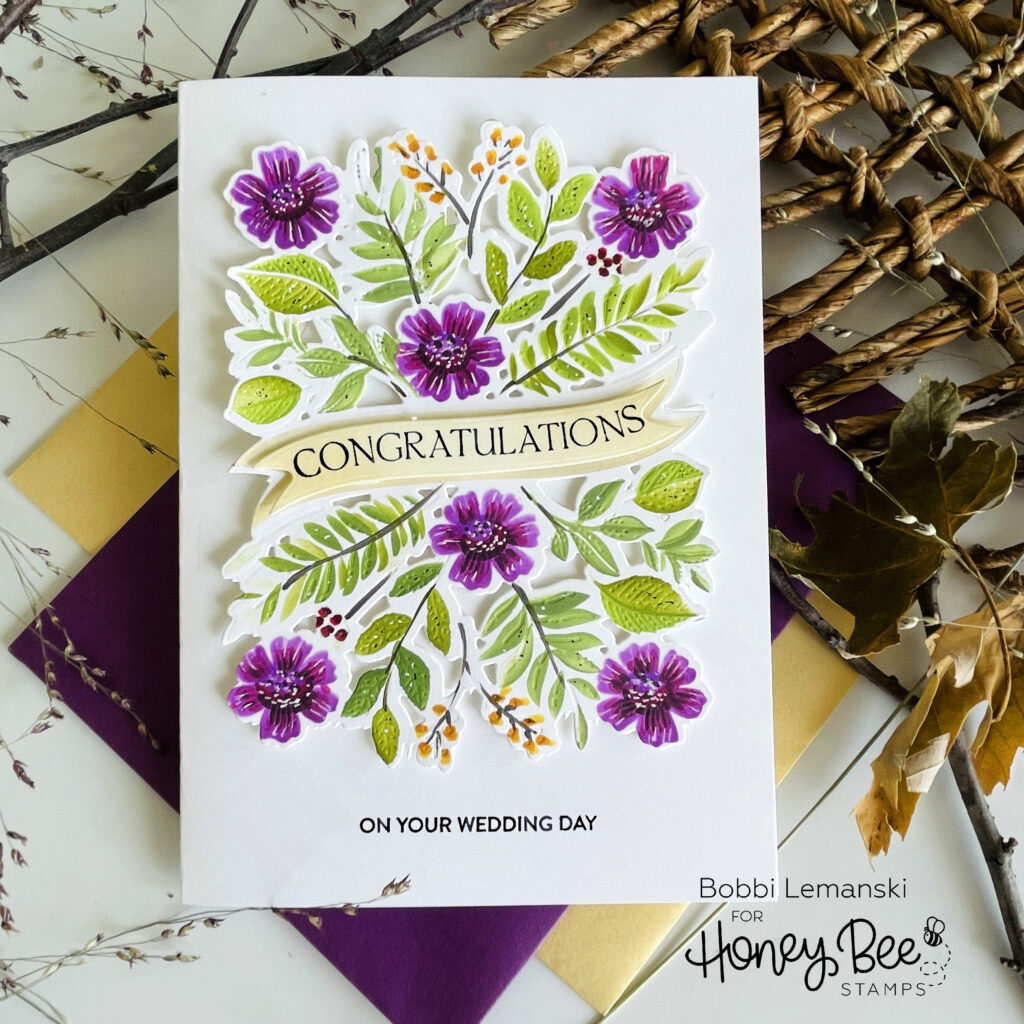
For this 5″ X 7″ card, I stenciled the design using the Bountiful Banner – Set of Six Coordinating Stencils on white cardstock. I used various green dye ink pad colors, Fossilized Amber Distress Oxide Ink for the smaller flowers and a plum/lavender ink for the larger flowers. The stencils give you various color options on the greenery which is beautiful. I cut the design out using the coordinating die set. I added a few accents to the flowers using a black fine tip marker, my Gelly Roll white pen and Copics markers for some shading.
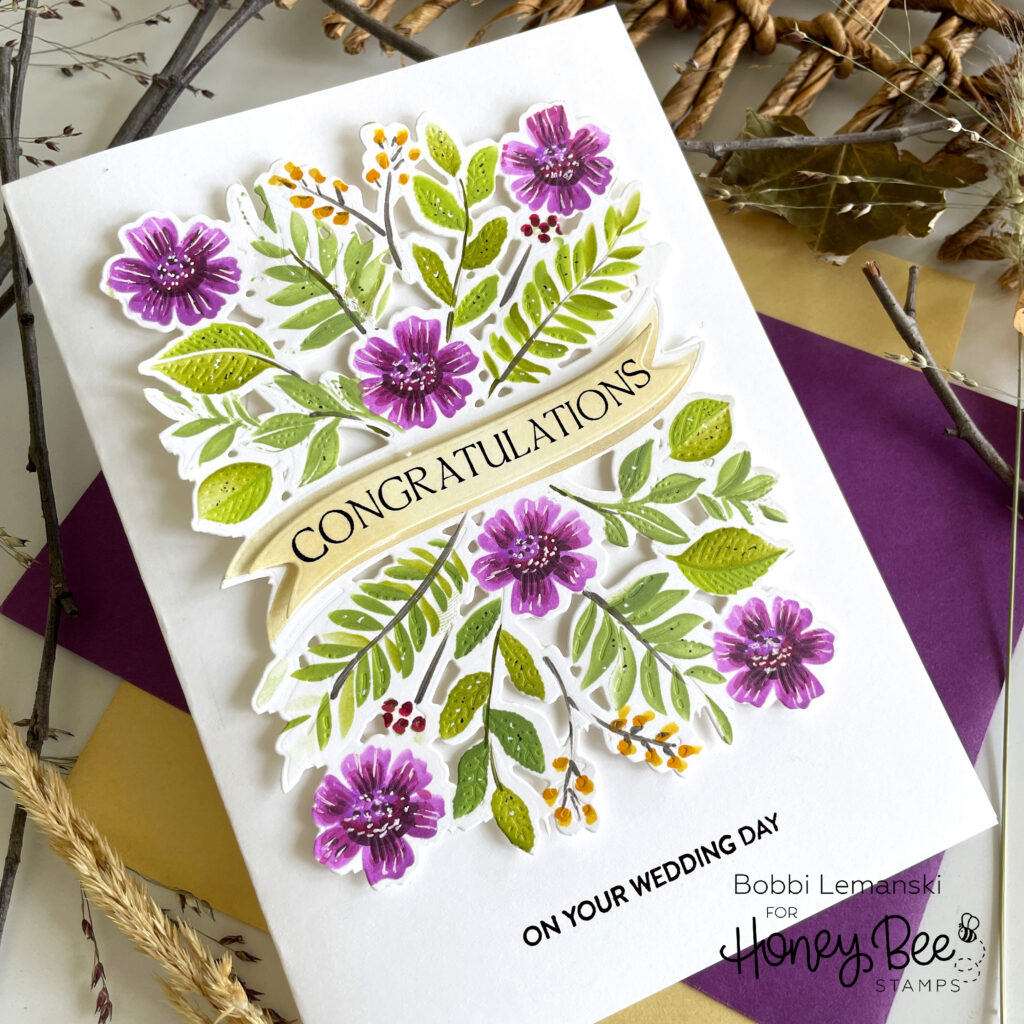
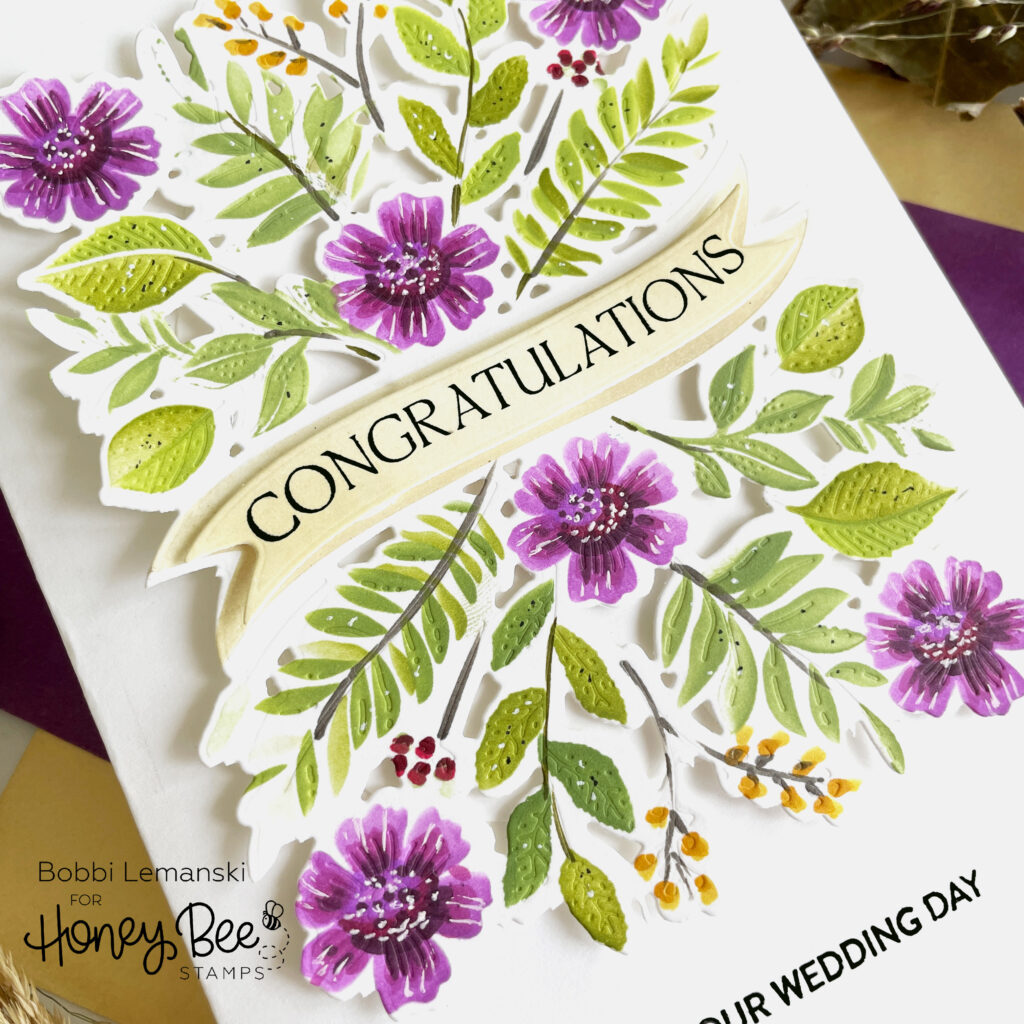
Now comes the fun. I ran the stenciled design with the Impressions: Bountiful Banner Honey Cuts through my die cutting machine together, matching up the outer die cut outline with the plate’s perimeter. It’s important these match up perfectly. TIP: Check the banner edges to make sure everything is lined up before putting it through your machine. I taped my layers together to make sure they didn’t move. The plate leaves impressions on the flat stencil design, giving the flowers and greenery amazing detail, resembling letterpress designs. I used the 3/4″ foam circles to attach the die cut design on the front of my plain white card base.
I used Distress Oxide Ink in Antique Linen to color the banner. I used it on the base and the die cut banner. I stamped the “congratulations” word on the banner in black. Lastly, I stamped a mini message, “On your wedding day” at the bottom of the card base to finish the card.
Ruby and Gray Congrats Card
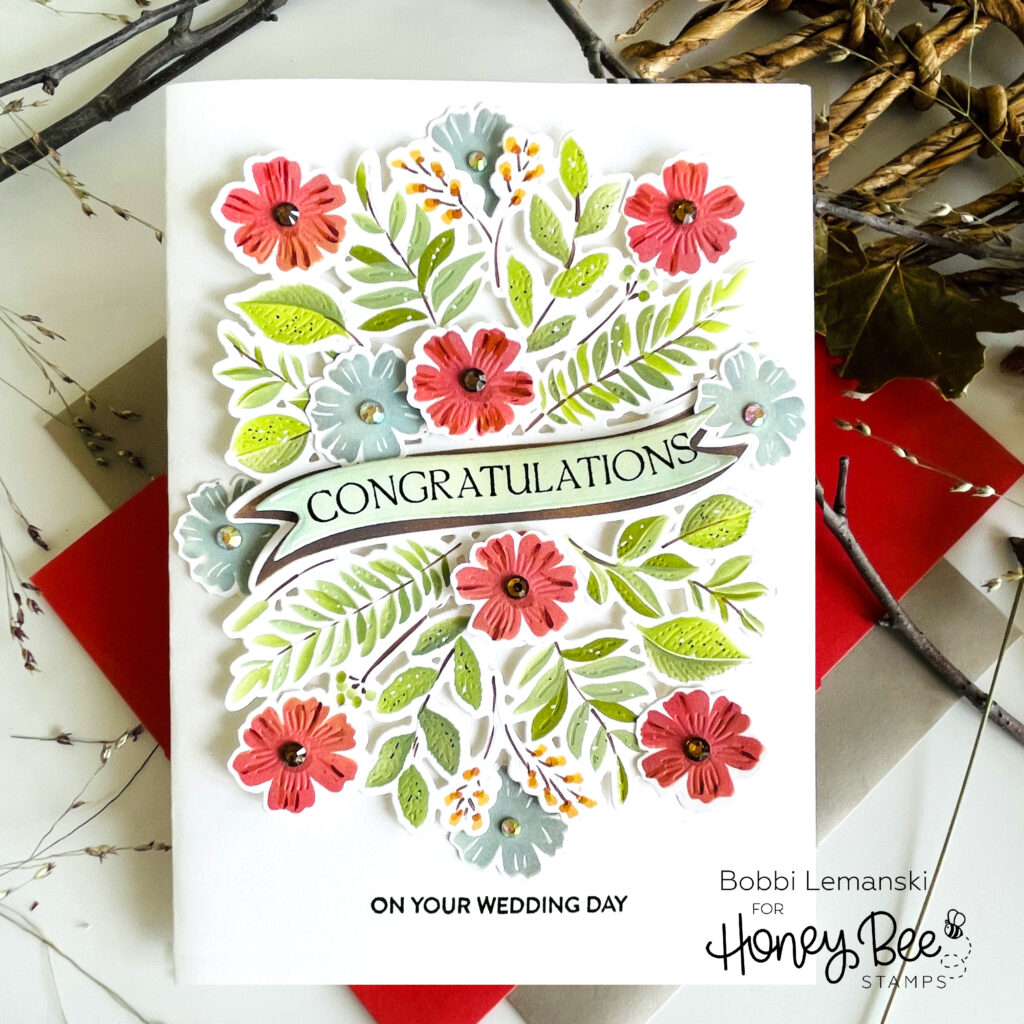
I had so much fun with making the last card that I decided to make another card for a wedding in October. I used the colors the bride chose for her wedding. To add some blue, I stenciled additional gray flowers and cut them out. I tucked them in behind the ruby flowers and greenery and glued them in place.

I used gem stickers from the Adventure Awaits gem sticker package to add centers to both colors of flowers.

I also stenciled the banner in two different colors (Ground Espresso on the bottom and Tumbled Glass and Antique Linen for the top banner to finish this card.
You can shop the entire Honey Bee Stamps Heartfelt Harvest release here. If you decide to place an order, please use the links in this post so that Honey Bee knows which ideas inspired you!
Thanks for stopping by today. If you want to see more ideas and inspiration from me, subscribe to my blog, BobbiHartDesign.com. I’ll send you updates on new posts! You can also find me on Instagram as @BobbiHartDesign and on Facebook as BobbiHartDesign.
One response to “Bountiful Banners: Is It Letterpress?”
Love these cards! Gorgeous! Thanks for telling us how you made these cards!