Hello Honey Bee friends! Today I have a super fun light-up card using the adorable Build-A-Bot set and coordinating Honey Cuts! Have you ever made a light-up card? Keep reading to see how easy it is to make this fun and interactive card!
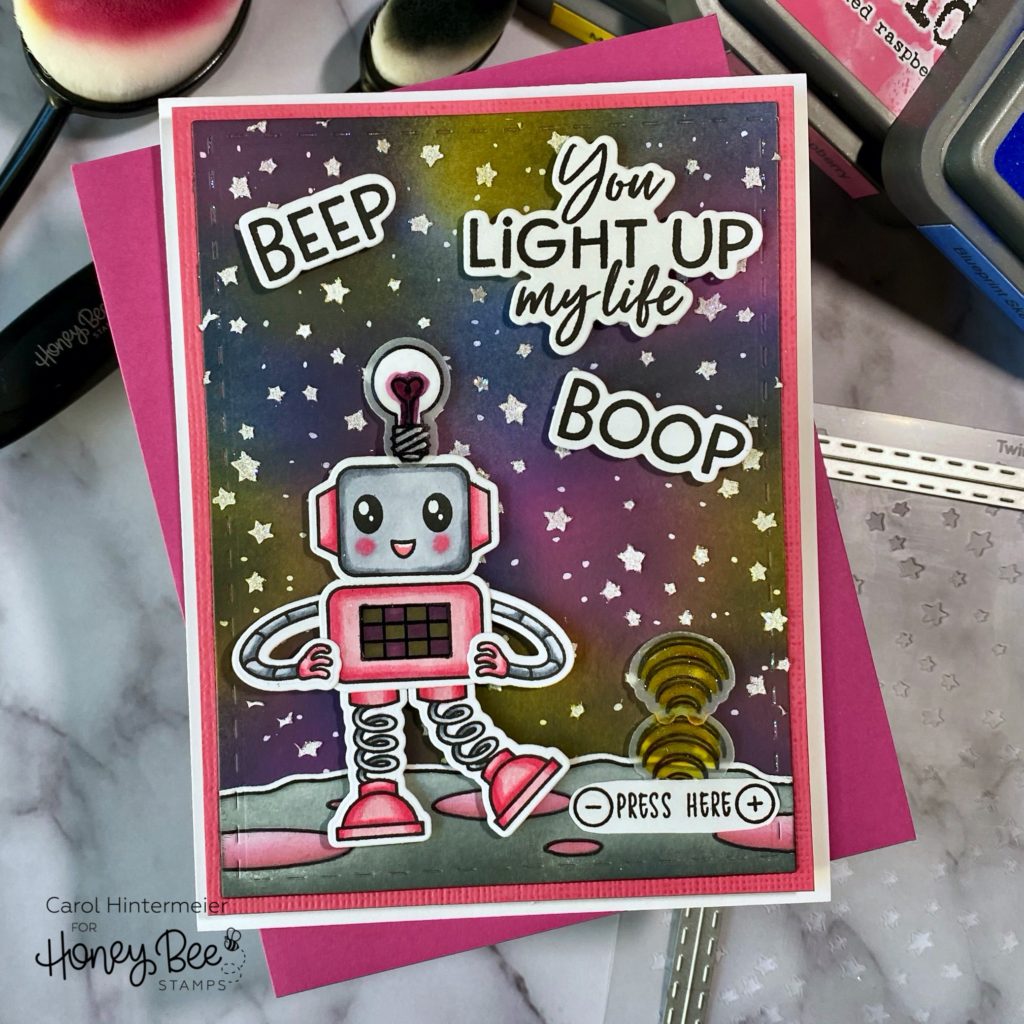
This is how the card looks straight out of the envelope:
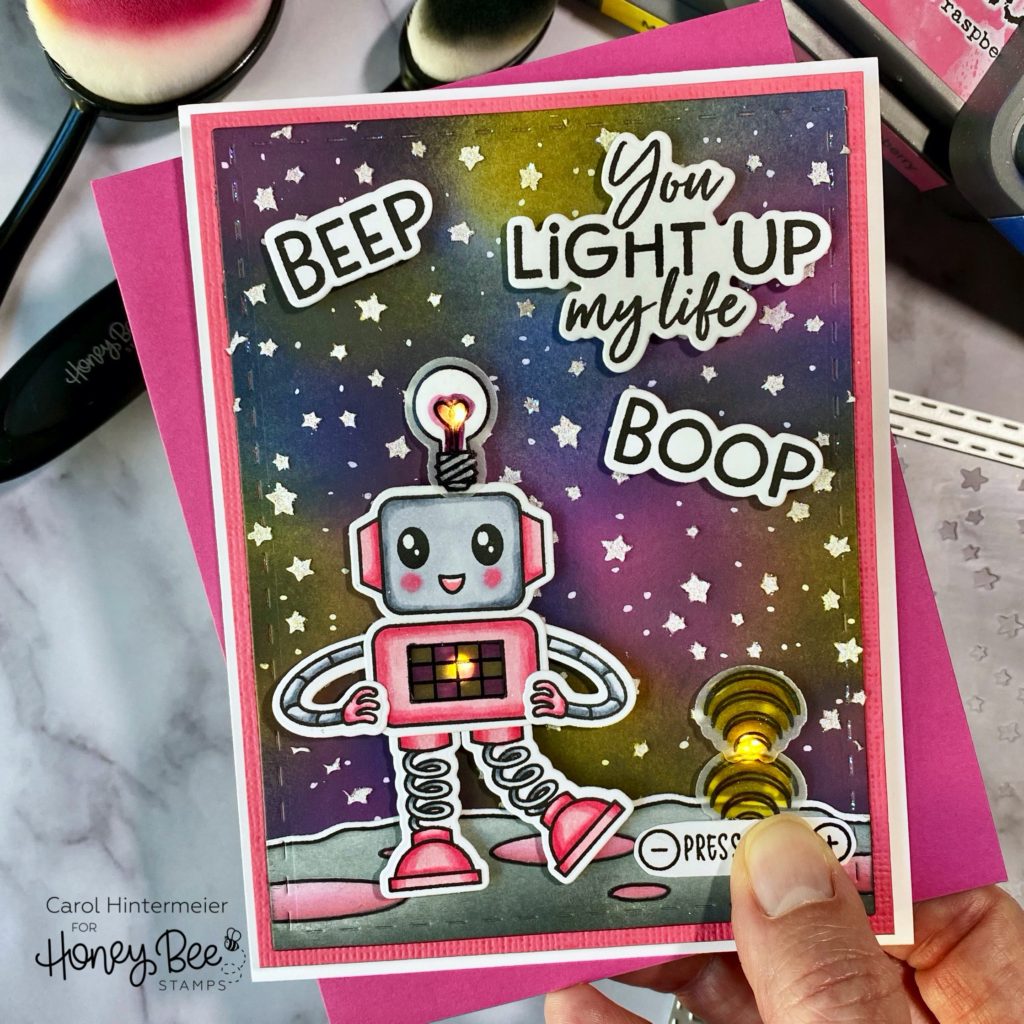
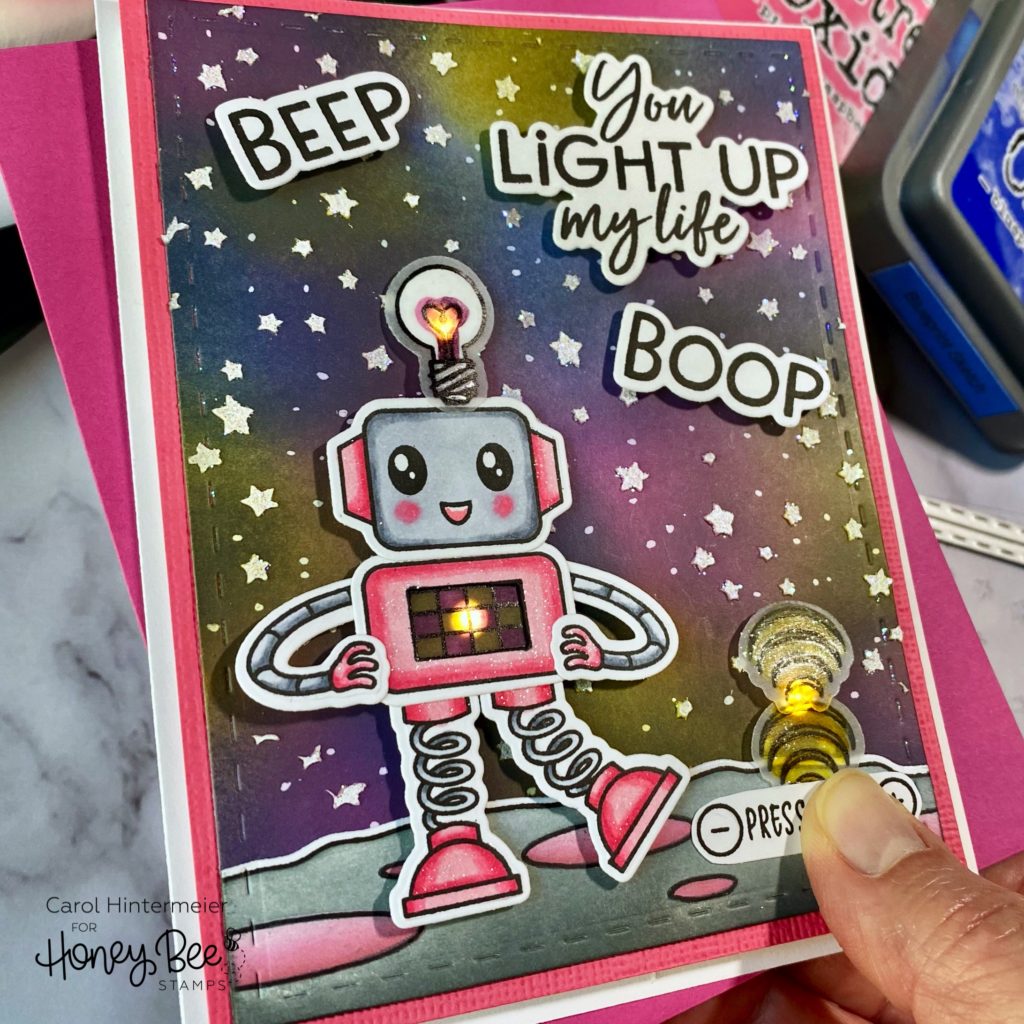
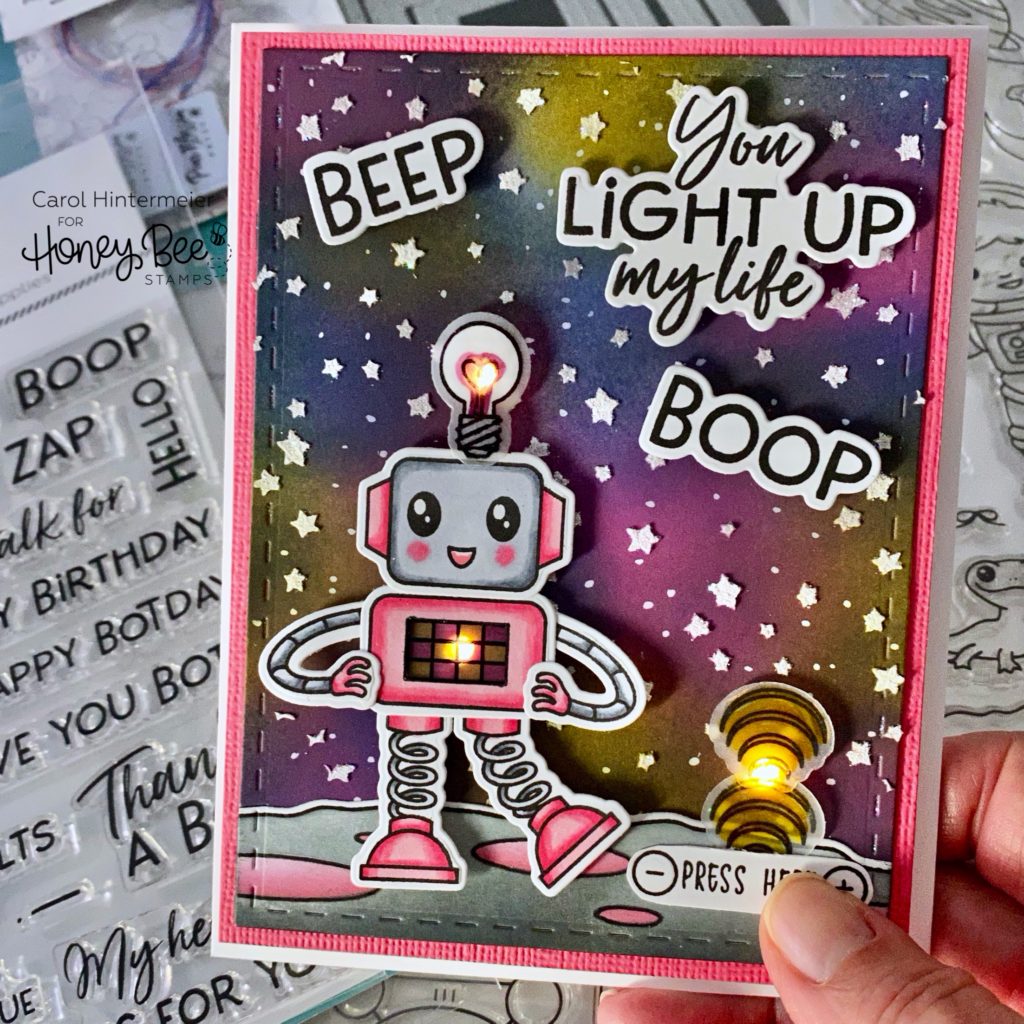
Now, you push where it says “press here” and ta-daaa! It lights up! How cute is that?!
Now I’ll list the steps for you to make this card:
- Die cut Neenah Solar White card stock with the largest A2 Double Stitched Frames Honey Cut.
- Create the galaxy background by blending Distress Oxide inks onto the die cut panel. I used Picked Raspberry, Blueprint Sketch, Mustard Seed, and Black Soot. The Blending Brushes make this so easy!
- I used an ink blending tool to add some Distress Micro Glaze to the inked background and used a paper towel to wipe off the excess. I love how this enhances the colors and also takes away the chalky look of the Oxide inks.
- Next use the Twinkle, Twinkle stencil and add some texture paste through the stencil, remove the stencil, add some glitter to the stars, and set aside to dry. (Don’t forget to wash your stencil right away!) When it was dry, I adhered it to a pink card stock layer. I also used a white gel pen to add more starry dots.
- I used stamps and dies from these sets for the scene on my card: Build-A-Bot, Far Out Friends, Gear Up, and One-Of-A-Kind (for the “press here”).
- The Bot pieces were colored with Copic markers and the moon with Distress Oxides using the To The Moon Scene Builder stencil set. Distress Oxides for the moon are Weathered Wood, Black Soot, Festive Berries, Picked Raspberry and Spun Sugar. I die cut the pieces with their coordinating dies. I also stamped the sentiments from the Gear Up set and die cut them with the coordinating Honey Cuts.
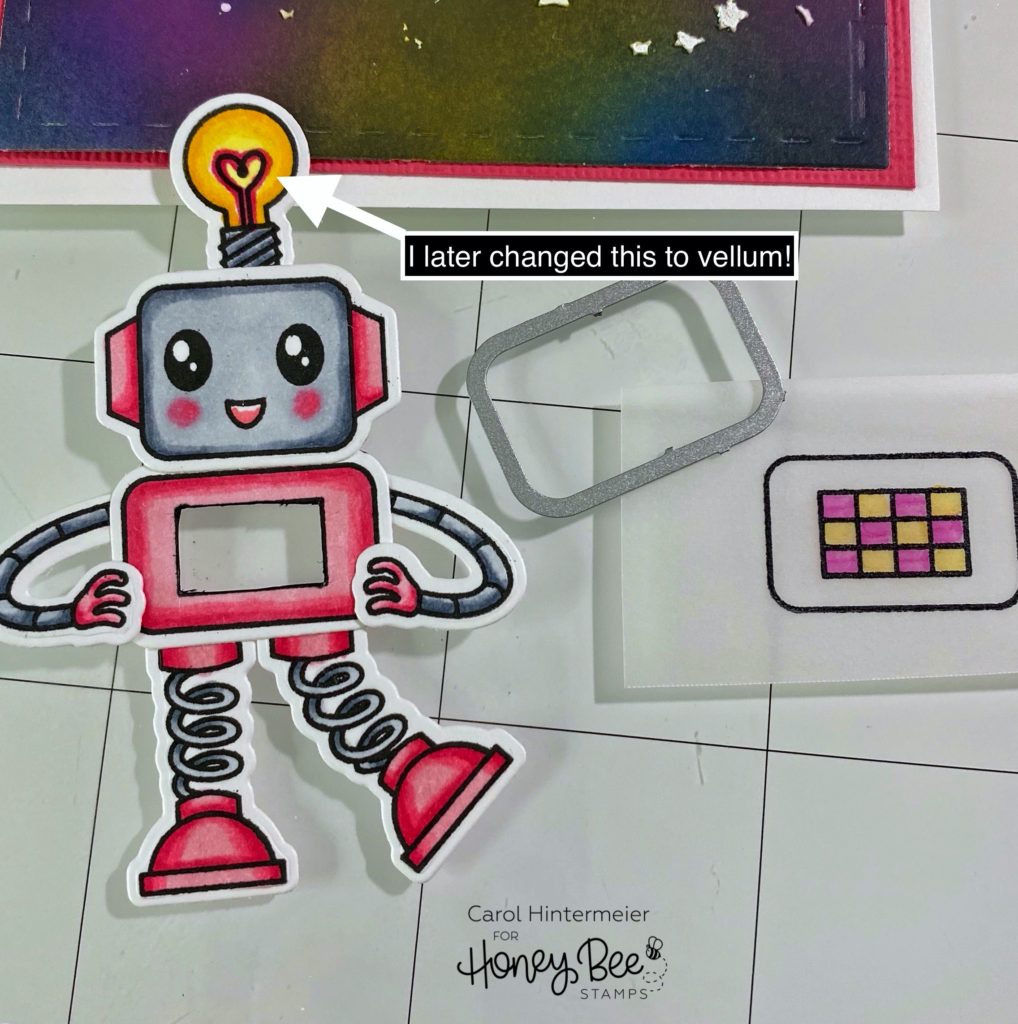
- I used a craft knife to cut out the grid in the middle piece of the Bot. I stamped that piece again, this time on vellum, with StazOn black ink. Be sure to use StazOn stamp cleaner to remove the ink from your stamps. (See the first photo below.) I colored the back of the grid with Copics, die cut it with the coordinating die, and adhered it to the back of the Bot middle. Now I can adhere the Bot pieces together with glue. (I changed my mind and stamped the lightbulb onto vellum too!)
- Now for the lighting portion. These lights really make it easy! I planned out where to place my robot and sentiments in order to know where to add three holes for the lights. I marked the spot with a black marker. I used a craft pick to punch the holes through the layered galaxy piece. Next, align the panel over the card base. Use a pencil to mark a spot on the card base through the punched holes. See the next photos for aligning the lights, battery pack, and foam tape placement. I used double-sided adhesive to hold the battery pack in place.

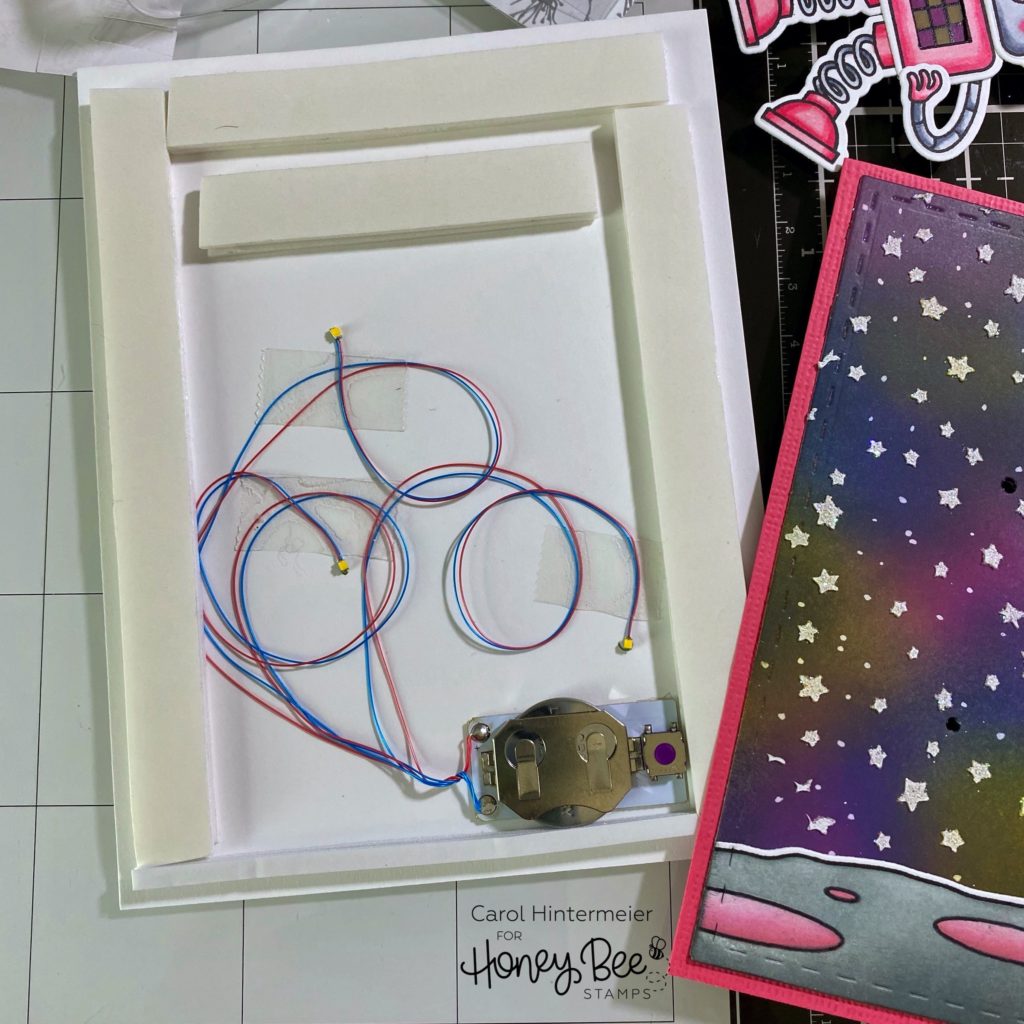
When I had the lights taped down, I double-checked that they were in the correct spot by putting the galaxy panel over the card base. Now I can remove the foam tape lining and adhere the panel to the card base. All that’s left now is to arrange the scene using foam tape to pop up most of the pieces!
I could play with the card all day! Haha! I hope I’ve inspired you to play with this fun Build-A-Bot set and add some lights for more fun! Thank you so much for stopping by today!