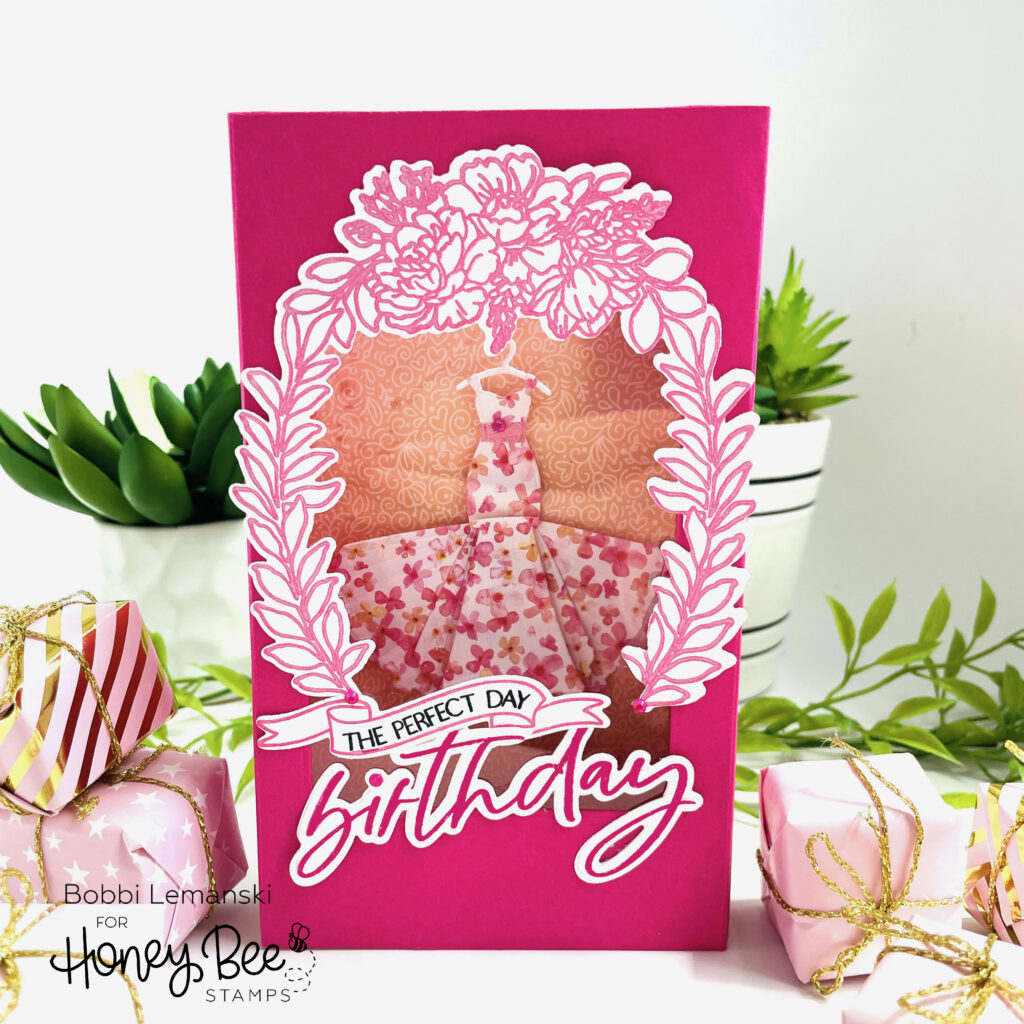
Hello friends! It’s Bobbi here with a little Barbie fun mixed in to today’s three-dimensional card. I’ve created a birthday card designed to look like a Barbie Doll Box. Do you remember getting Barbie’s in a hot pink box? I do and since I recently went to see the Barbie movie, this Bobbi has the Barbie on the brain! I’m using the following Honey Bee Stamps products:
Lovely Layers: Tie the Knot Honey Cuts dies
Perfect Day stamps and coordinating Honey Cuts dies
Miss You Big Time stamps and coordinating Honey Cuts dies
The featured project below is made from Neenah 80lb Solar White cardstock for the card base. All of the black ink stamping was done using Honey Bee’s Bee Creative Intense Black Ink. I use Honey Bee Stamps Bee Creative Precision Glue and for when I want more dimension, Bee Creative Foam Dots With Tab for adhering my elements together. My card is 4″ X 7″ in size and folds down to a 5″ X 7″ card and fits inside an A7 greeting envelope. Check out my reel on how I made this card here.
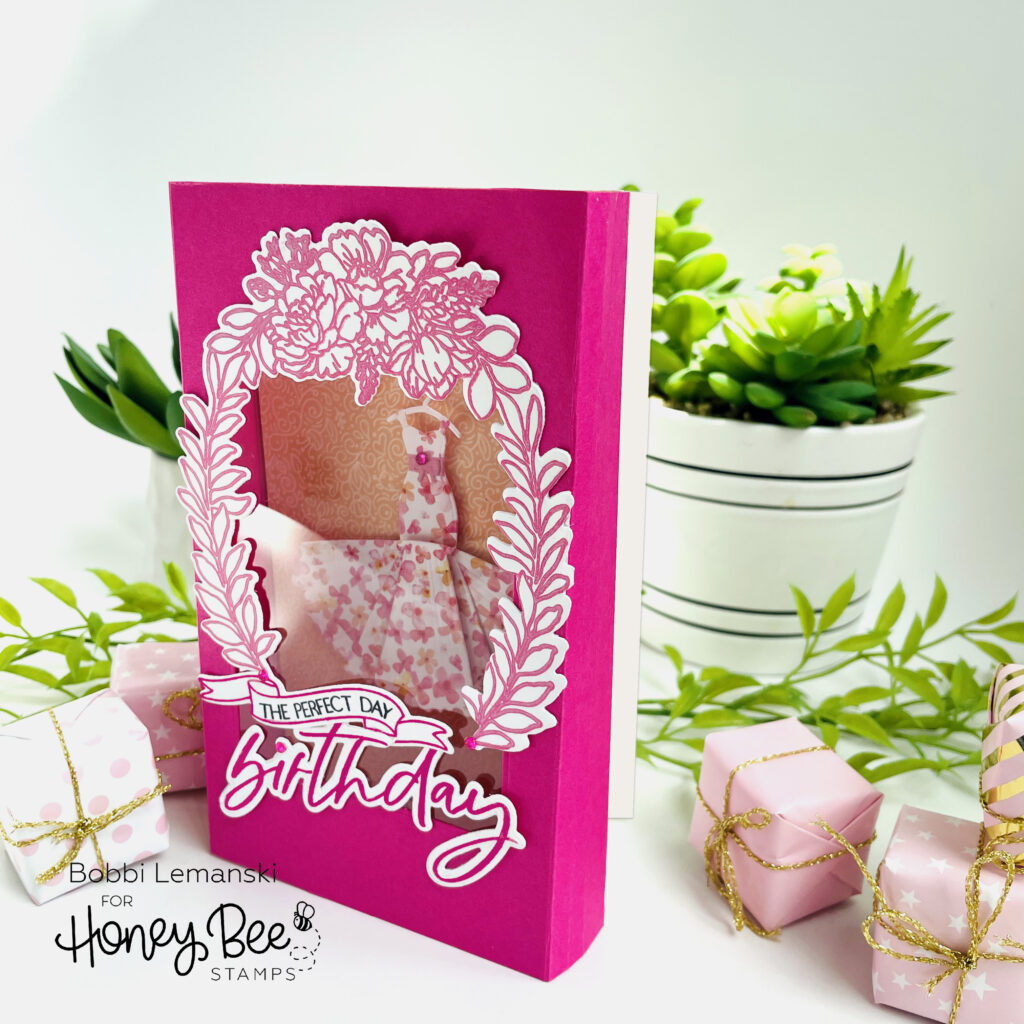
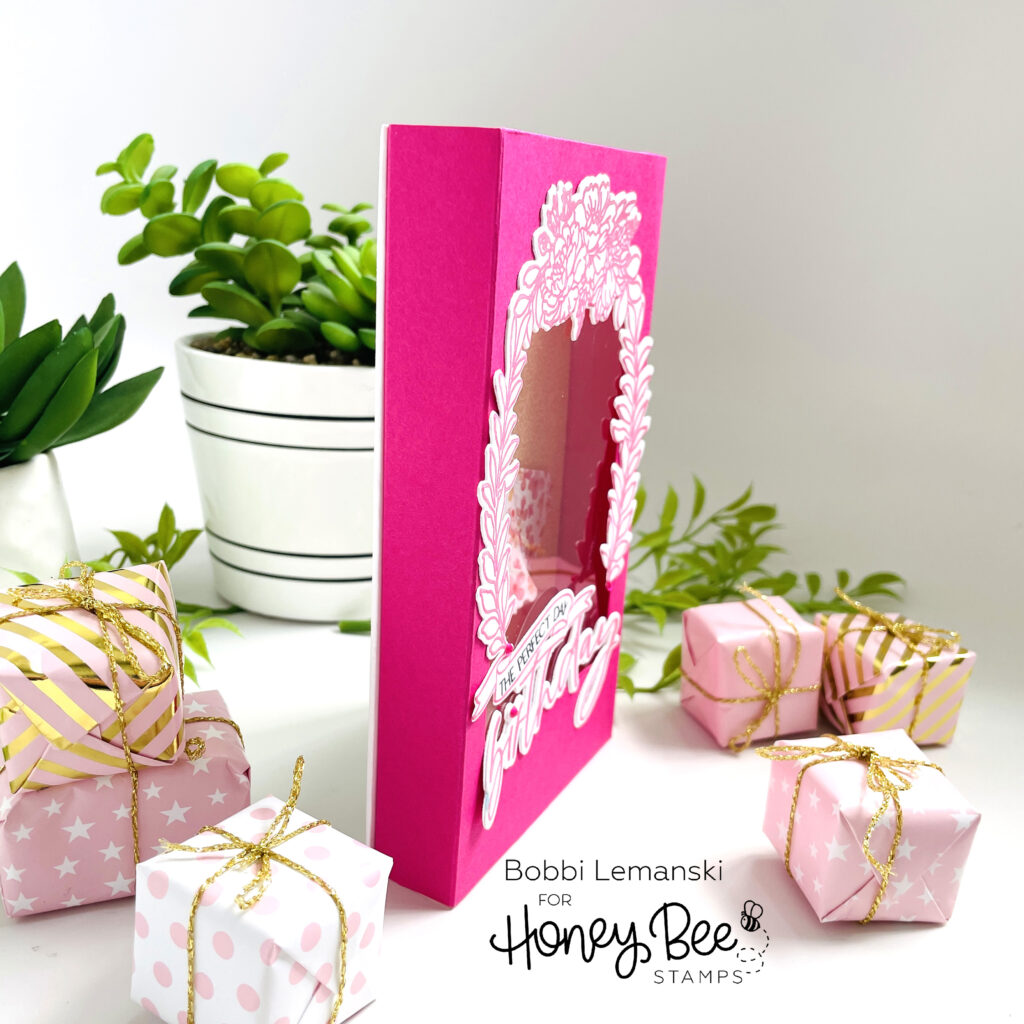
This 3D card measures 4″ wide X 1″ deep X 7″ tall and when folded flat, it is 5″ X 7″ and fits inside an A7 envelope. To make the box, I cut a 7″ square piece of hot pink cardstock and scored it from left to right at 1/2″, 1-1/2″, 5-1/2″, and 6-1/2″ to make the 1″ sides and the 1/2″ flap allowances for adhering the box to the card front.
The white card base measures 8″ wide X 7″ tall and scored down the middle to make a 4″ wide card. The card front panel, cut from a pattern paper measures 4″ wide X 7″ tall. I attached the pattern paper to the front of the card base using Honey Bee Stamps Bee Creative Precision Glue.
I chose a rectangle die with rounded corners for my window opening. Once I cut the window, I attached a piece of clear acrylic to the backside of the box panel to cover the entire opening.
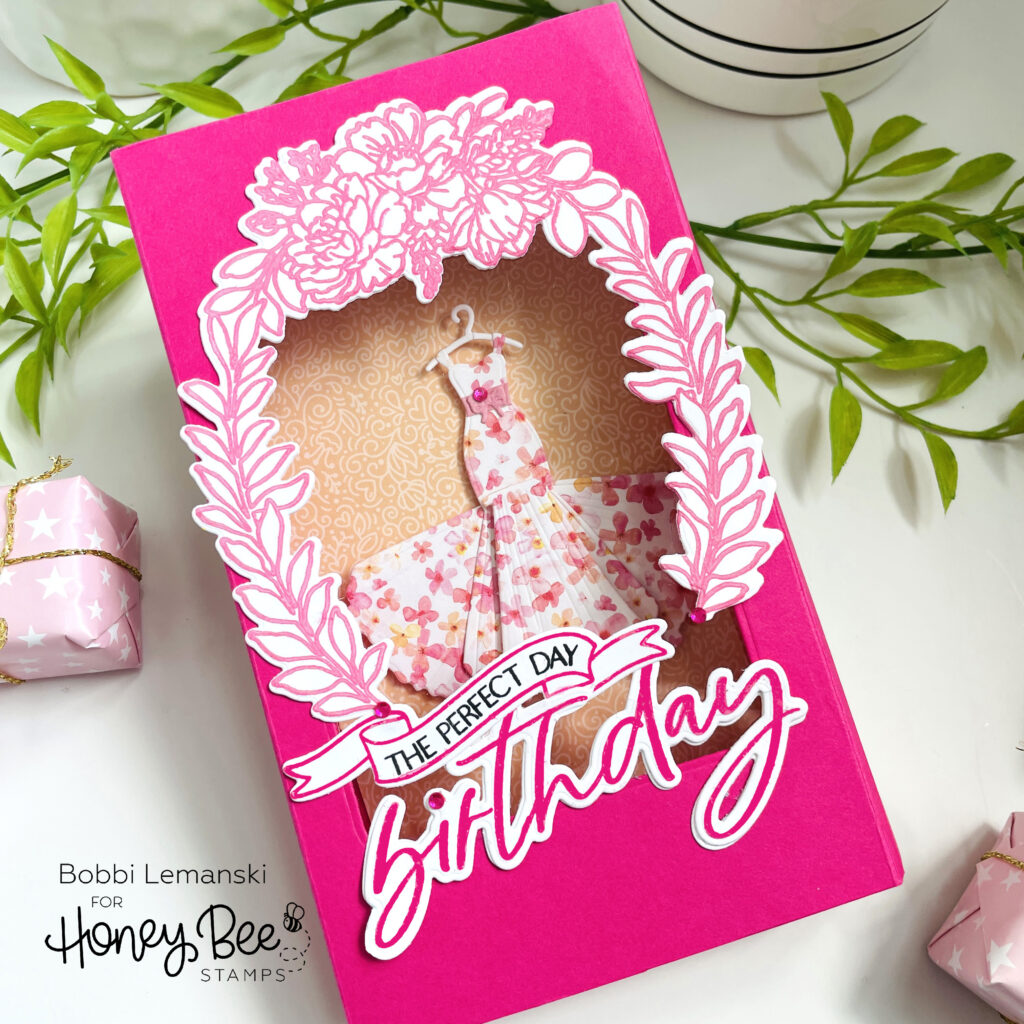
Inside the box, I made a dress that hangs from a hanger using the Lovely Layers: Tie the Knot Honey Cuts dies. I used pretty papers from the Simply Spring Paper Pad for the dress. To make the dress larger to fit my opening, I die cut the dress pieces, cutting three skirt parts and attaching the two extra pieces on the sides of the dress to make the skirting wider. The front skirting piece was attached using a foam tab to make it more dimensional. A waist sash, white bow and a little pink gem sticker gem complete the dress. I attached the dress to the center front of the card, matching it up with the window center.
Next, I attached the front box panel to the card front using strips of 3/8″ Tear Tape (double-sided tape) down both 1/2″ side flaps.
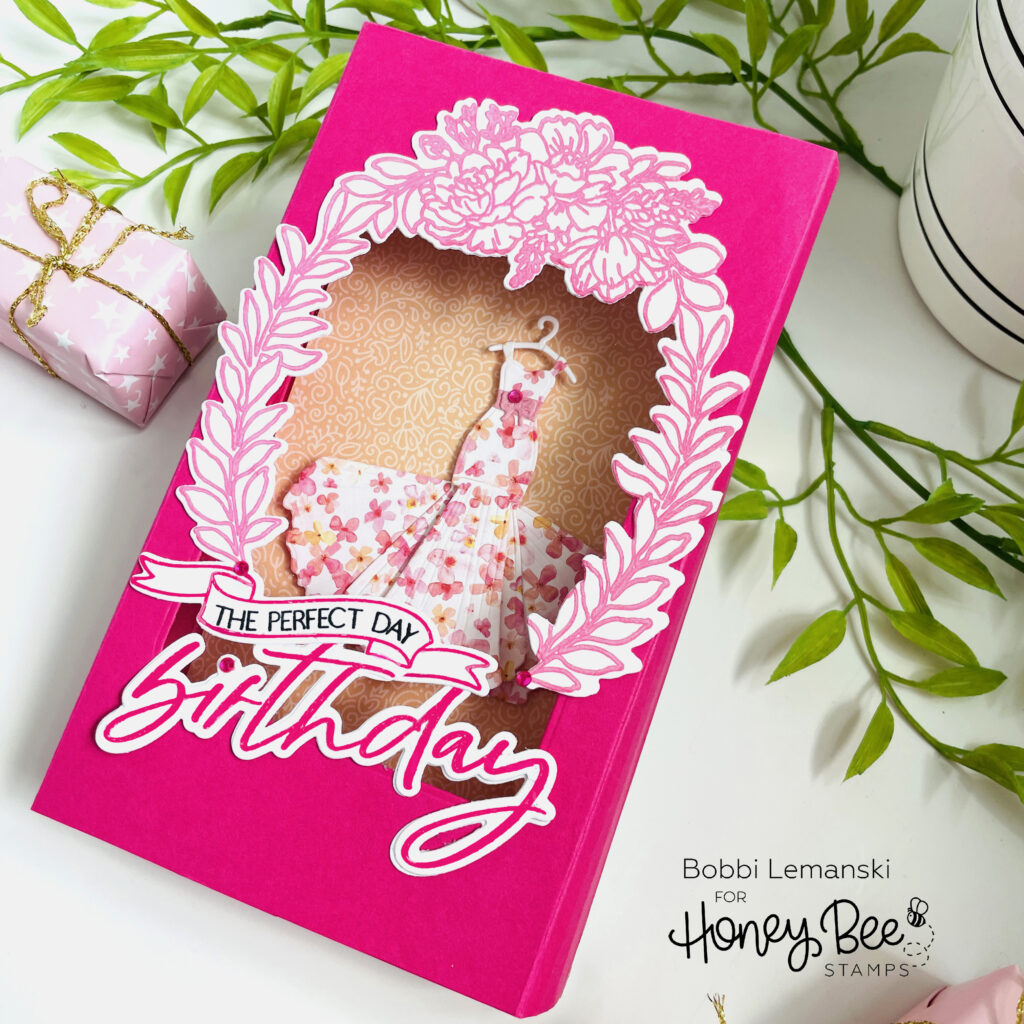
I used the Perfect Day stamps and coordinating Honey Cuts dies to embellish the window. I chose Picked Raspberry Distress Oxide Ink to stamp the leafy border and banner from the set. I also stamped the “happy birthday” phrase using the Miss You Big Time stamps and coordinating Honey Cuts dies using the same ink. I stamped the “The Perfect Day” phrase in the banner in black and hand cut the “birthday” from the happy and attached the elements to the base of the window opening. A few rhinestones were added for some sparkle to the front.
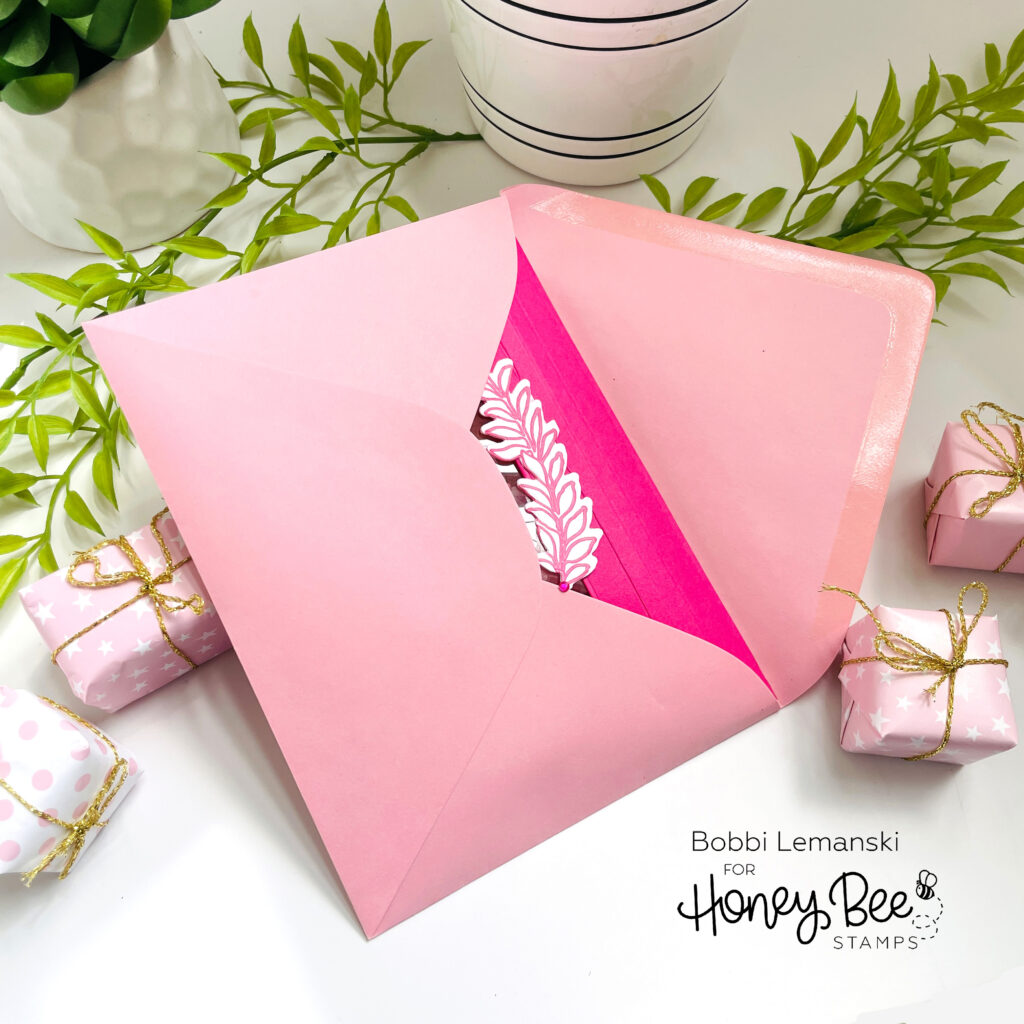
The card folds flat and fits inside an A7 envelope. Note: Extra postage may be required due to dimension and the weight. Check out my reel here on Instagram to watch me make this card!
You can shop the entire Honey Bee Stamps store here. If you decide to place an order, please use the links in this post so that Honey Bee knows which ideas inspired you!
Thanks for stopping by today. If you want to see more ideas and inspiration from me, subscribe to my blog, BobbiHartDesign.com. I’ll send you updates on new posts! You can also find me on Instagram as @BobbiHartDesign and on Facebook as BobbiHartDesign.