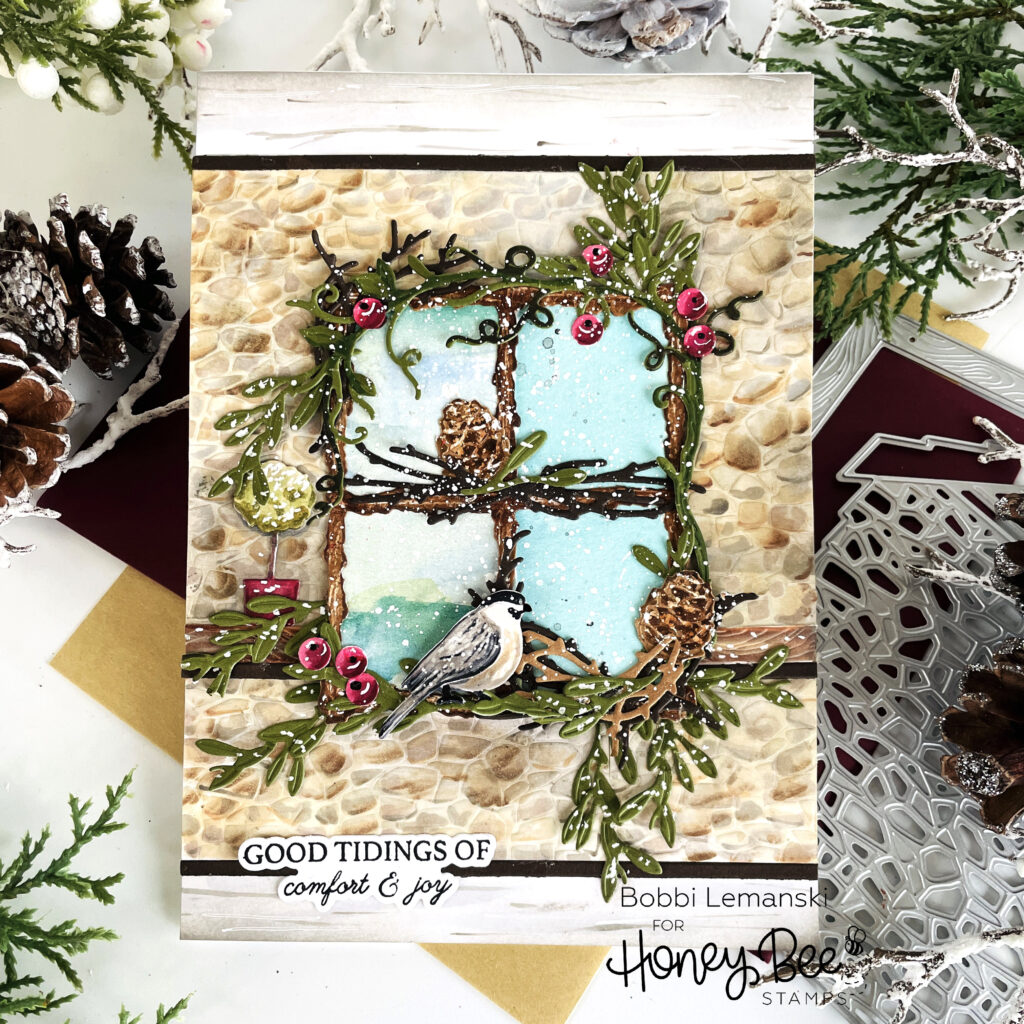
Hello friends. It’s Bobbi Lemanski here, excited to share new products from the latest Honey Bee Stamps Holiday Wishes winter release. Have you seen all the gorgeous new stamps and dies in the store? I am in LOVE with so many of the the new items including this awesome stone textured die. I’m also using this new frame set to create a window on my card. I’m using the following new Honey Bee Stamps items:
Lovely Layers: Front Porch – Honey Cuts
Lovely Layers: Seasonal Frame – Honey Cuts
Good Tidings stamp set and coordinating Honey Cuts dies
The featured project below is made from Neenah 80lb Solar White cardstock for the card base, card front panel and all the die cuts (except for the window frame, brown sticks and green leafy stems.) All of the black ink stamping was done using Honey Bee’s Bee Creative Intense Black Ink. I use Honey Bee Stamps Bee Creative Precision Glue to adhere my layers and elements together. When I want more dimension, I used Bee Creative Foam Dots With Tab that are 1/16″ thick. My card is 5″ X 7″ in size.
To make this 5″ X 7″ holiday greeting, I started by cutting the frame, two pinecones and branch/sticks swags from Kraft cardstock. I also cut and added branch garlands cut from a dark brown cardstock. The greenery stems were cut from an olive-colored cardstock. Using Copic Markers in E43, E44, E47, E55, and E57, I added some color variation to the window frame, pinecones and swags to make them look more dimensional and real. I did the same for the leafy garland and individual branches using YG91-YG99 Copic colors.
After cutting the berries from white cardstock, I colored them using RV89, RV69, RV56, RV34, and RV85. I added a black dot using a 100 black Copic and white highlights using my white Gelly Roll Pen. I attached them to the vines.
My bird was inspired by a winter bird called, black-capped chickadee. I cut the layers of the bird, attached them together using glue and colored the bird to look like the chickadee. I assembled the window frame and accessory elements together. I splattered white paint over the window vignette to look like a wintery snow scene. The window openings were filled in with watercolor paper washed in aquas and greens.
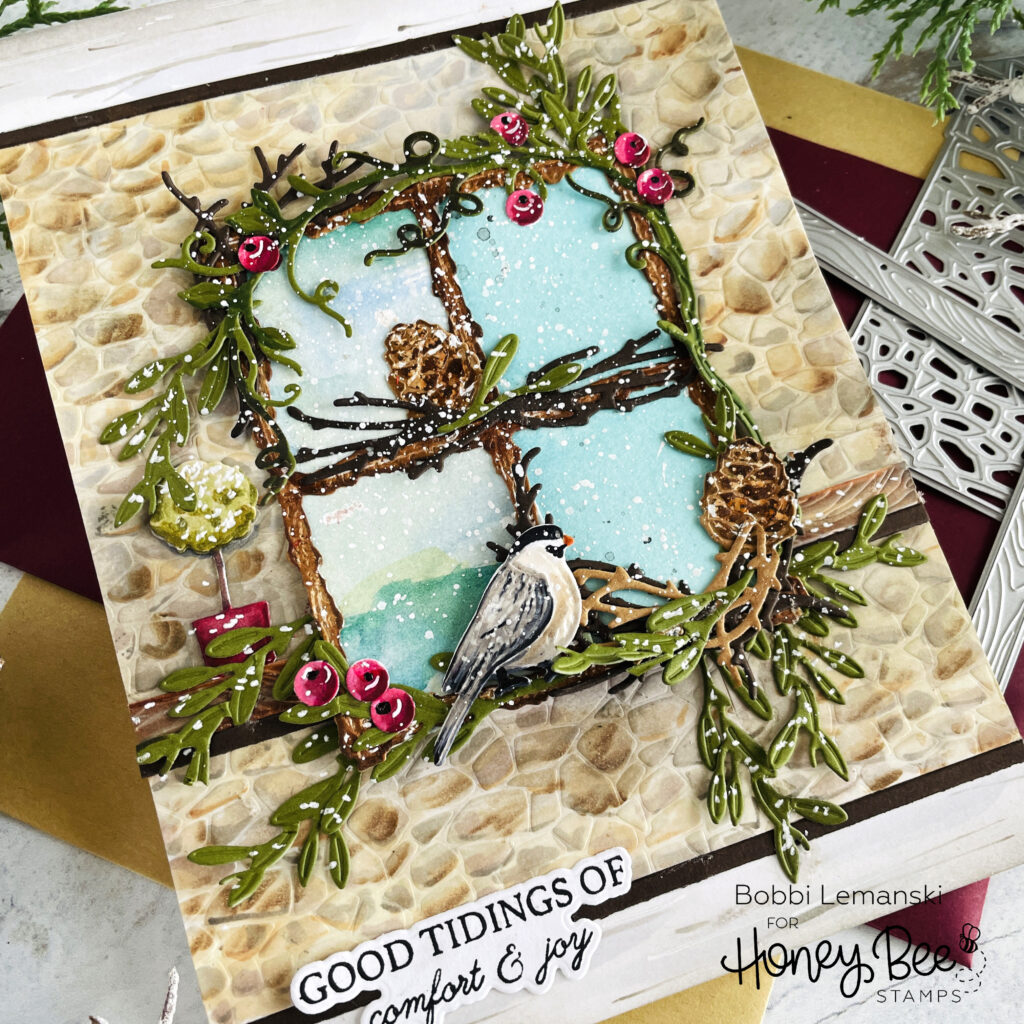
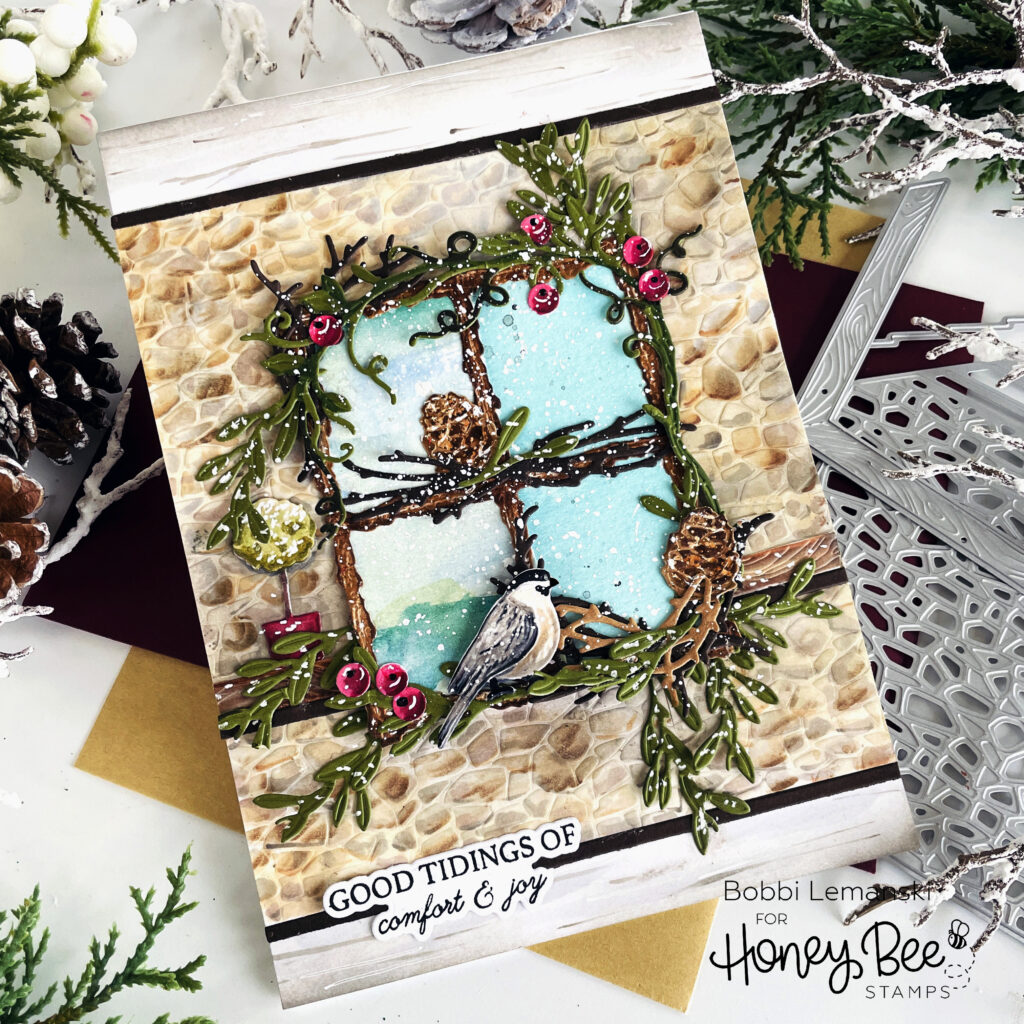
I wanted this window to look like it was a window from an old English stone cottage. I was excited to use the new stone texture die, a component of the new Lovely Layers: Front Porch – Honey Cuts set. It is so AWESOME! I absolutely love this look and so glad I have this set, not only for the front porch design, but just for this stony texture alone! The Seasonal Frame is too big to fit on the front porch background so I die cut several background pieces, cropped them to a square size and added multiples to the card front, leaving about an inch of white space above and below the stone on the card front. I applied ink to the stones using a detailed blending brush and Distress Oxide Ink in Antique Linen and a warm gray dye ink. I wanted the stones to have more depth and dimension so I used my Copics to add the following colors: E43, E44, E55, E57, E71, W6, W4, W3, W1, C3 and C1 to the individual stones. It’s important to add cool and warm grays when trying to achieve a realistic stone. I also like to use E71 when adding “red” to the stones. I used greenery and the wood ledge to cover any stone seams of the pieced background. Notice that I added a topiary from the Front porch set to the left side ledge to balance the weight of the bird’s nest in the right corner of the window.
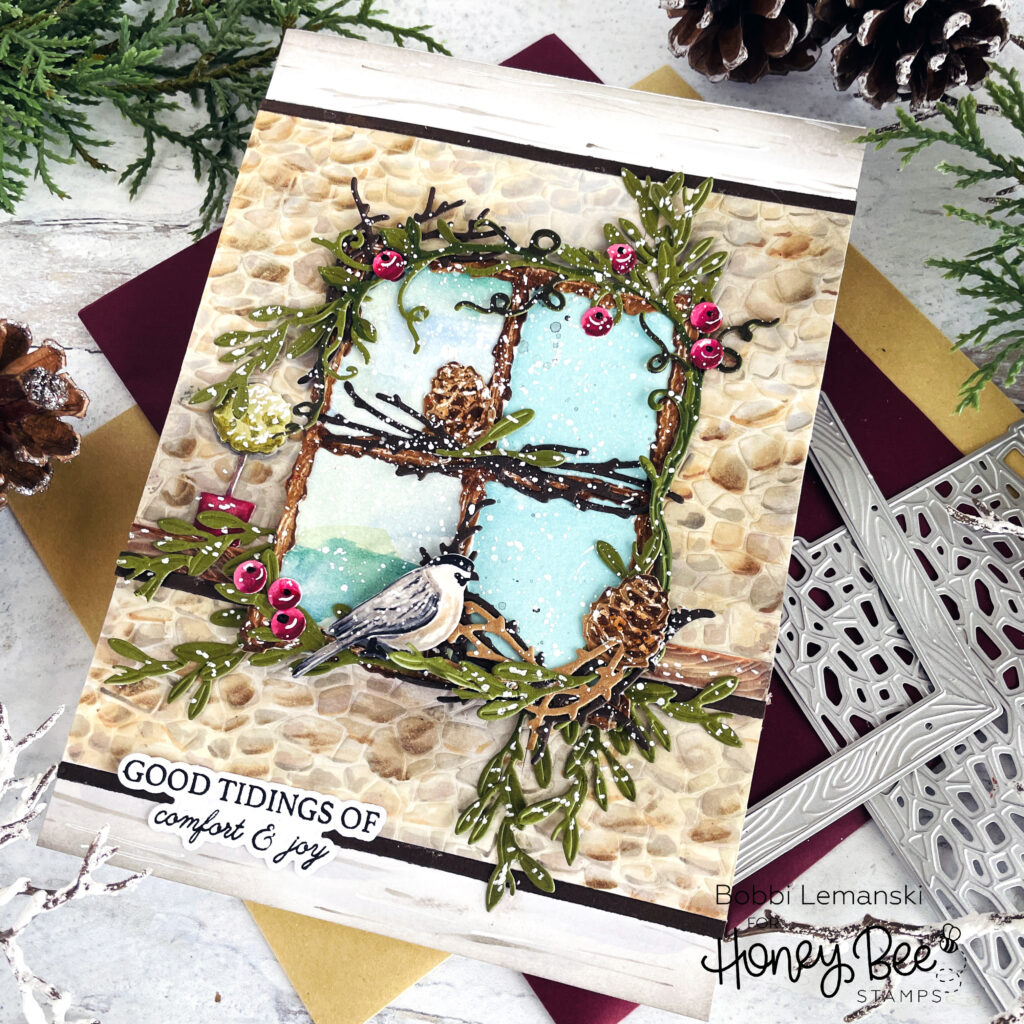
To complete the card, I finished the white spaces above and below to look like birch wood to fit the cottage feel of this card. I used C3, C1, E42, E43, W1 and my white pen to create the graining. I added 1/4″ dark brown strips to the top and bottom of the stone for a finished edge. I also stamped, cut and added to the bottom, a phrase from the Good Tidings stamp set and coordinating Honey Cuts dies. The front panel was attached to a white card base.
You can shop the entire Honey Bee Stamps Holiday Wishes Release here. If you decide to place an order, please use the links in this post so that Honey Bee knows which ideas inspired you!
Thanks for stopping by today. If you want to see more ideas and inspiration from me, subscribe to my blog, BobbiHartDesign.com. I’ll send you updates on new posts! You can also find me on Instagram as @BobbiHartDesign and on Facebook as BobbiHartDesign.
The featured project below is made from Neenah 80lb Solar White cardstock for the card base and card front panel. All of the black ink stamping was done using Honey Bee’s Bee Creative Intense Black Ink. I use Honey Bee Stamps Bee Creative Precision Glue for adhering my elements together. My card is 5″ X 7″ in size unless noted. I use the Bee Creative Clear Embossing and Watermark Ink Pad for all heat embossing.
4 responses to “A Winter Window’s View”
Simply stunning!
Thanks so much! Bobbi
I really liked the background textured stone die and searched for it on the site to order it. I could not find it but am anxious to get it when will is be available? I really liked the multiple colors used on the stones and tho I have a stone wall stencil for a project I am working on I discarded it as being a waste and really would like to have the die and see a clip on use of the die..
I did call and left a message about ordering the Textured Stone die.
Thank you
Barbara Medal
Tempe AZ
480m213m2104
Hi Barbara. The stone is part of the Lovely Layers: Front Porch Honey Cuts dies. It’s a cover die that creates the texture. Here’s the link:
https://bit.ly/3QWpHC8