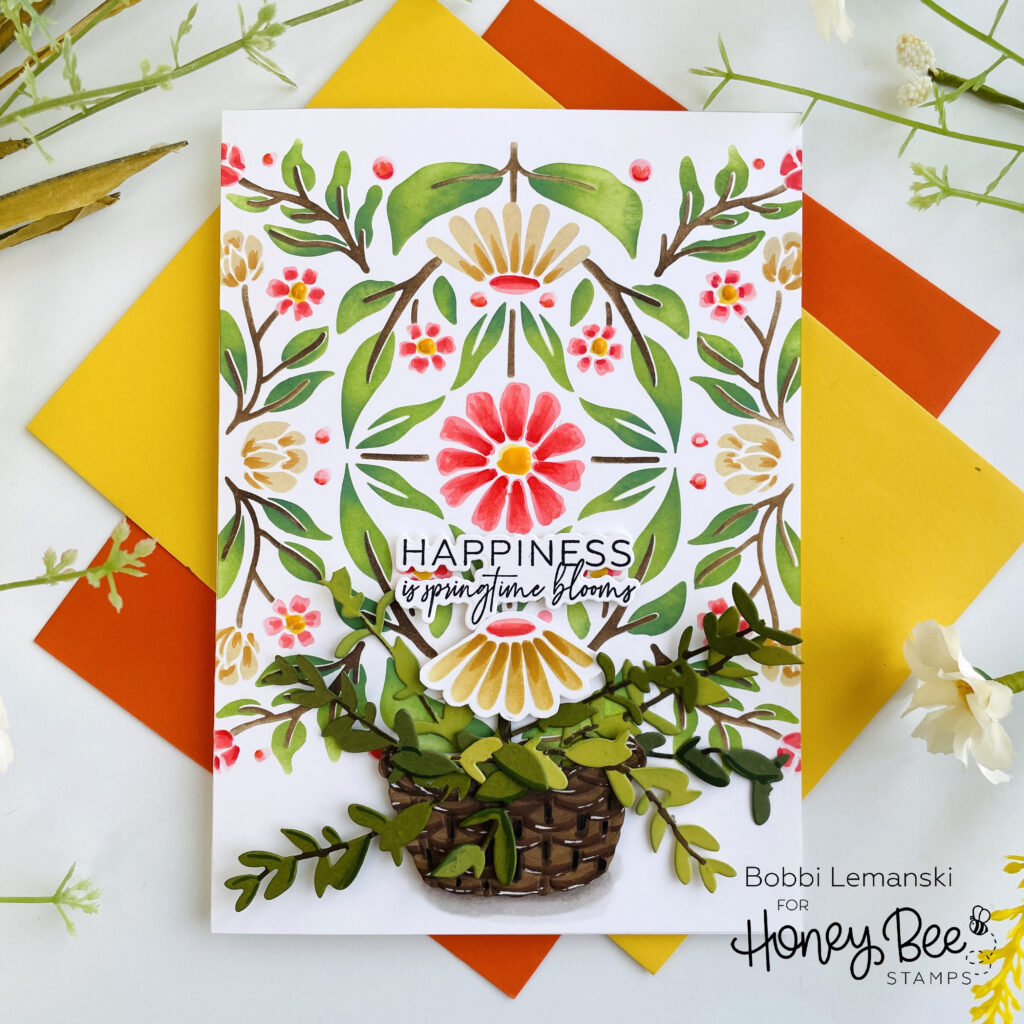
Hello Bee friends. It’s Bobbi Lemanski here with a stenciled card that is “growing” in happiness! I think this new Folk Art Daisy stencil is exceptional. I love that you can use all four layering stencils to create all sorts of pretty color combinations. For my card today, I thought it would be fun to create a little dimension by allowing the daisy in the stencil design to actually grow from a planter basket at the bottom of the design. With all creative ideas in my head, comes the actual execution of it. Here’s how it went….
I used the following Honey Bee Stamps products for this 5″ X 7″ card:
Folk Art Daisy – Set of 4 Layering Background Stencils
Lovely Layers: Spring Greenery Honey Cuts
Garden Bouquet stamp set and coordinating Honey Cuts
The featured project below is made from Neenah 80lb Solar White cardstock for the card base and card front panel. All of the black ink stamping was done using Honey Bee’s Bee Creative Intense Black Ink. I use Honey Bee Stamps Bee Creative Precision Glue and for when I want more dimension, Bee Creative Foam Dots With Tab for adhering my elements together. My card is 5″ X 7″ in size.
To begin, I stenciled the daisy design using all four stencils and Ranger Distress Oxide ink in Mowed Lawn, Rustic Wilderness (for the leaves) Walnut Stain (for the stems), Abandoned Coral and Scattered Straw for the flower petals. After stenciling the design, I added additional shadows/highlights using Copic Sketch Markers, keeping the coloring very simple. I also stenciled an additional daisy using the same colors as the stenciled background. I fussy cut it out and set it aside for later (mentioned below).
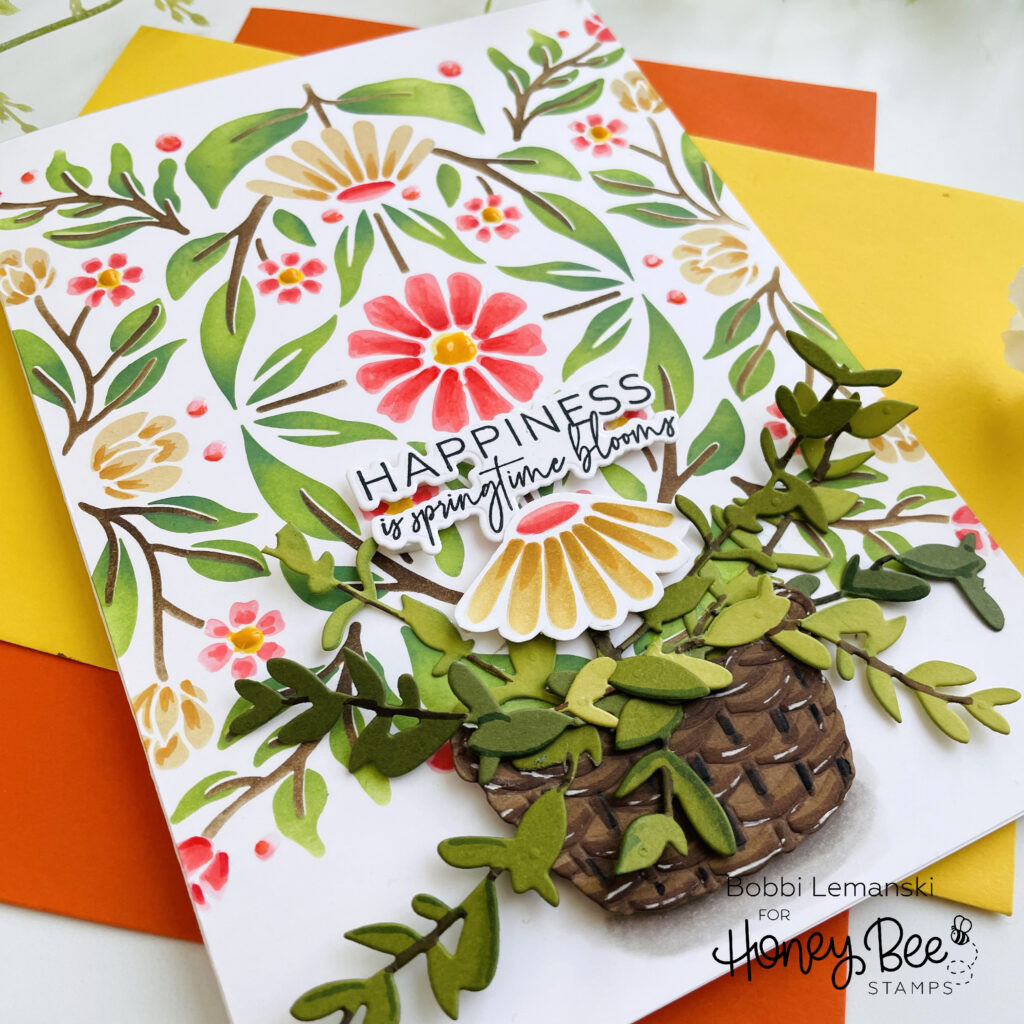
Next, I cut the rattan basket die layers from a Kraft cardstock and color enhanced it using Copic Sketch Markers in E49, E47, and E44 to make the design stand out more. I also used a Sakura white Gelly Roll Ink pen to add white highlights. I attached the basket and the additional daisy using foam dots with tabs to make them stand out from the busy background, layering the daisy directly over the background daisy. I added sprigs of greenery cut from yellow-green cardstock colors to the basket, coloring the stems with Copic Sketch Markers in colors, E47 and E49. I added a bit of shadow below the basket with W3 and W1 Copics, too. To finish the card, I stamped the happiness sentiment in black ink, used its coordinating die to cut it out and attached it above the daisy using foam dots.
You can shop the entire Honey Bee Stamps Simply Spring release here. If you decide to place an order, please use the links in this post so that Honey Bee knows which ideas inspired you!
Thanks for stopping by today. If you want to see more ideas and inspiration from me, subscribe to my blog, BobbiHartDesign.com. I’ll send you updates on new posts! You can also find me on Instagram as @BobbiHartDesign and on Facebook as BobbiHartDesign.