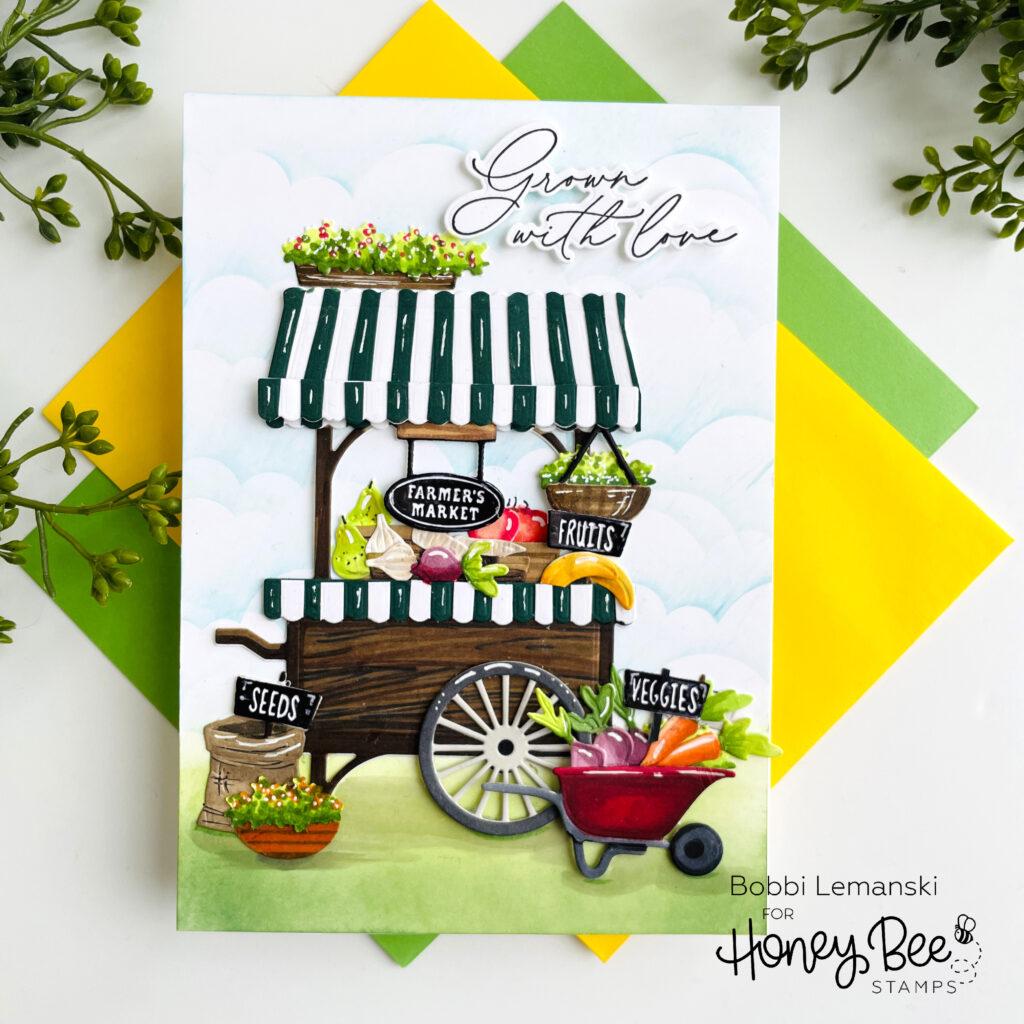
Hi Honey Bee friends! It’s Bobbi here rolling up with a farmers’ market cart today! This Market Cart Builder Honey Cuts has lots of add-on options including the newest, Farmers’ Market Cart Add-On Honey Cuts die set that turns this cart into a vegetable cart.
I’m using the following Honey Bee Stamps products:
Farmers’ Market Cart Add-On Honey Cuts
Market Cart Builder Honey Cuts
Eggstra Special stamp set and Honey Cuts for the sentiment
Outdoor Scene Builder 4 stencil set for the cloudy sky in the background
The featured project below is made from Neenah 80lb Solar White cardstock for the card base and card front panel. All of the black ink stamping was done using Honey Bee’s Bee Creative Intense Black Ink. I use Honey Bee Stamps Bee Creative Precision Glue for adhering my elements together. My card is 5″ X 7″ in size unless noted.
To make this 5″ X 7″ card, I started by die cutting all of the separate elements from the add-on set. I cut multiple pieces of each vegetable. I added woodgraining to the cart using E49, E47, E44 and E55 Copic Sketch Markers. I added additional highlights and shading to the other elements using my Copic Markers and my white Gelly Roll pen. I hand drew foliage in several planters and added it to the cart. For the awning, I die cut two full awnings – one in white and one in green – and hand cut the stripes, gluing a green stripe on every other white stripe section to make the striped awning design. I also added the separate scalloped piece included in the set to the bottom awning section using Foam dots to make it stand out for more dimension. I added another scalloped piece to the side of the cart to match.
For the background, I ink blended green ink on the bottom of the background using Mowed Lawn Distress Oxide Ink. I added shading using Copics over the ink. I stenciled clouds on the top half of the panel using the Outdoor Scene Builder cloud stencil and Tumbled Glass Distress Oxide Ink. I assembled the cart, adding the vegetables to the cart and the wheel barrel. I glued the cart, wheel barrel, sack and planter to the front panel and attached the full panel scene to a white A7 card base. Lastly, I stamped and attached the scripted “Grown With Love” sentiment using Foam dots to complete the card.
You can shop the entire Honey Bee Stamps Simply Spring release here. If you decide to place an order, please use the links in this post so that Honey Bee knows which ideas inspired you!
Thanks for stopping by today. If you want to see more ideas and inspiration from me, subscribe to my blog, BobbiHartDesign.com. I’ll send you updates on new posts! You can also find me on Instagram as @BobbiHartDesign and on Facebook as BobbiHartDesign.