
Hello crafty friends. It’s Bobbi Lemanski here with a card for the fishing legend. This card could be used for Father’s Day or as a birthday card for your favorite fishing sports person. My inspiration was my brother-in-law’s man cave. He has lots of signs and sports gear and trophies hung all over his walls. I thought this would be a fun card idea and a great way to showcase many of the new release products.
I’m using the following Honey Bee Stamps products from the Adventure Awaits release:
Lucky Lures stamp set and coordinating Honey Cuts dies (I used the stamps, only.)
Shield Layering Frames Honey Cuts dies
Lovely Layers: Lures Honey Cuts Dies
Fishing Legend stamp set and coordinating Honey Cuts dies
The featured project below is made from Neenah 80lb Solar White cardstock for the card base and card front panel. All of the black ink stamping was done using Honey Bee’s Bee Creative Intense Black Ink. I use Honey Bee Stamps Bee Creative Precision Glue for adhering my elements together. My card is 5″ X 7″ in size.
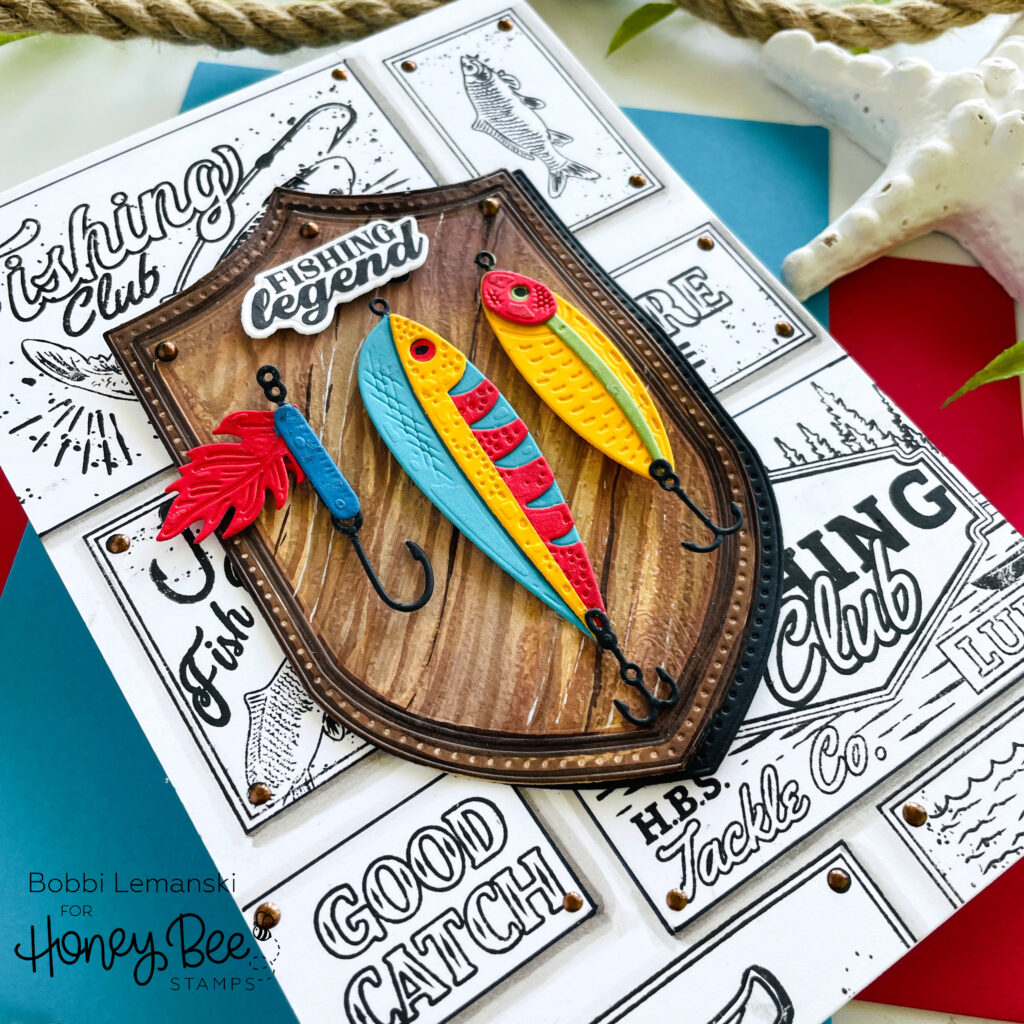
To make this 5″ X 7″ card, I embossed a piece of light kraft cardstock using the Woodgrain 3D Embossing Folder. Using the Shield Layering Frames Honey Cuts dies, I cut a shield frame from the embossed cardstock and colored it in browns for a woodgrain look. I used Copics in E49, E47, E57, E55, E43, and W3. I cut another shield from black cardstock and layered the two shields, offsetting the two a bit for a shadow effect.
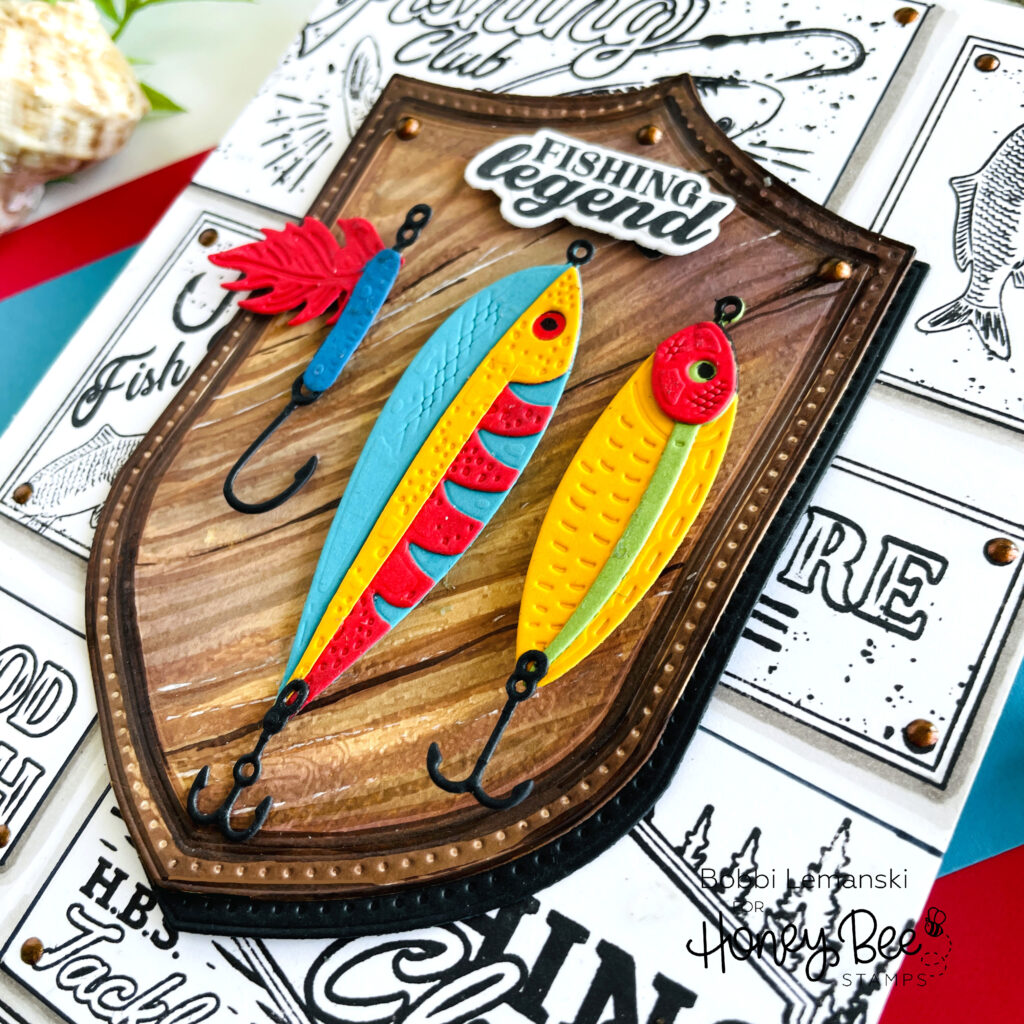
The lures were cut from bright cardstock colors of yellow, turquoise, red and green. The hooks were cut from black cardstock. I assembled the lures and attached them to the front of the shield using white foam dots. I stamped the “fishing legend” sentiment, cut it out using the coordinating dies and attached it at the top of the shield with a foam dot.

For the background, I stamped multiple signs from the Lucky Lures stamp set in black ink. I kept the signs black and white for a strong contrast to the colorful shield feature element. I added shadowing around the signs using Copic markers, W4, W3 and W1 to make them look dimensional, like a sign nailed to the wall. Lastly, I added bronze-colored nail heads to the top of the shield-shaped plaque and the corners of the background signs. I used Pearl Pen in Bronze for the nails.
You can shop the entire Honey Bee Stamps Adventure Awaits release here. If you decide to place an order, please use the links in this post so that Honey Bee knows which ideas inspired you!
Thanks for stopping by today. If you want to see more ideas and inspiration from me, subscribe to my blog, BobbiHartDesign.com. I’ll send you updates on new posts! You can also find me on Instagram as @BobbiHartDesign and on Facebook as BobbiHartDesign.