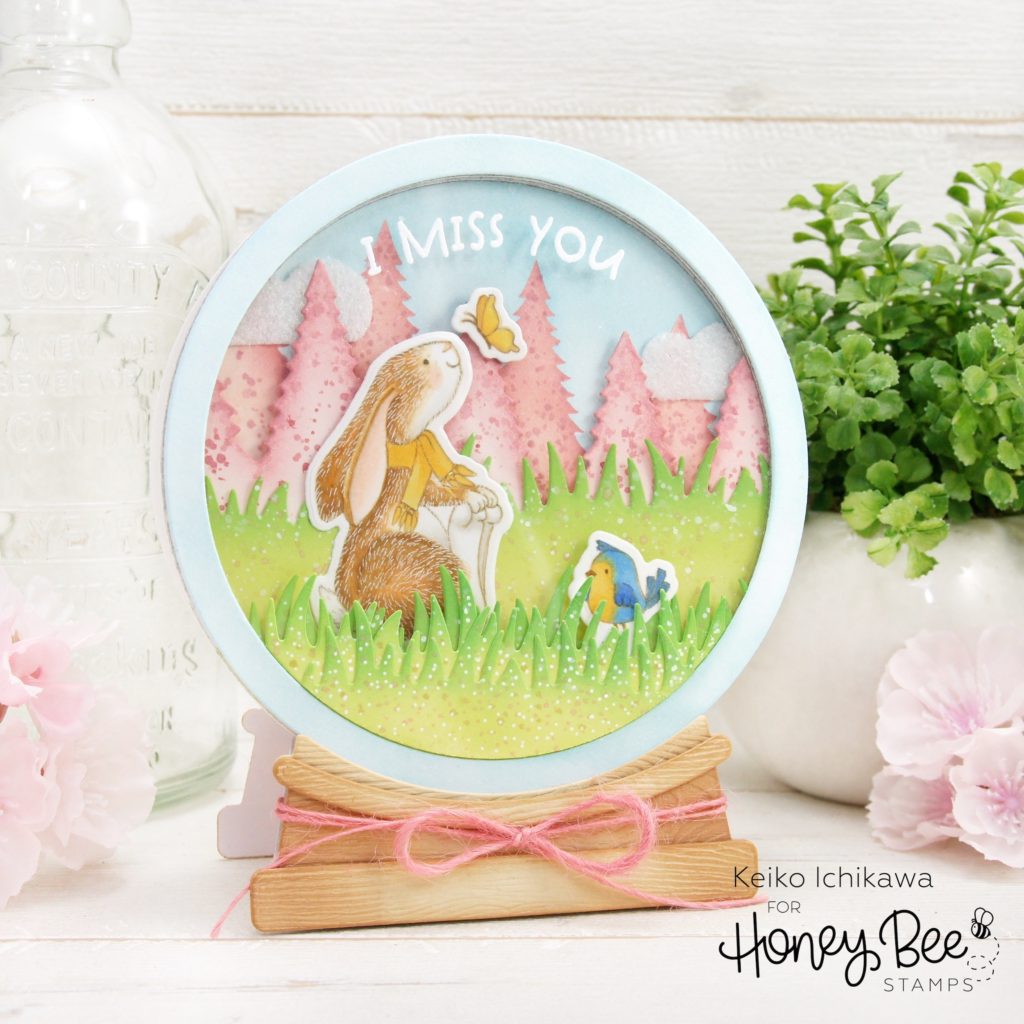
Hi Friends! Hope you are doing well. It’s Keiko from Happy Tree Studio here today sharing this springy 3D card with you! It’s a snow globe filled with spring air instead of snow! You can easily make this into a shaker card too!
Here is the Honey Bee Stamps supplies I used:
Globe & Ornament Shaker Card (die)
Silent Night (stamp & die): bunny
Snow Buddies (stamp & die): bird
Oh My Whiskers (stamp & die): butterfly
Bad Influence (stamp): sentiment
Mountain Z Fold Card (die & stencil): tree borders
Up Up And Away (die): clouds
*Click on the links in blue to check them out in the Honey Bee shop!
I started off with die cutting all the snow globe pieces. I die cut:
1. Three solid shape from white card stock (one for background, two for tree and grass border)
2. Another solid piece from acetate (for clear window)
3. Six of the frame piece from heavy weight card stock (as a frame)
4. Snow globe base pieces from woodgrain card stock
5. One card base (after scoring the card base, die cut with the die slightly hanging off from the bottom of the ornament shape)
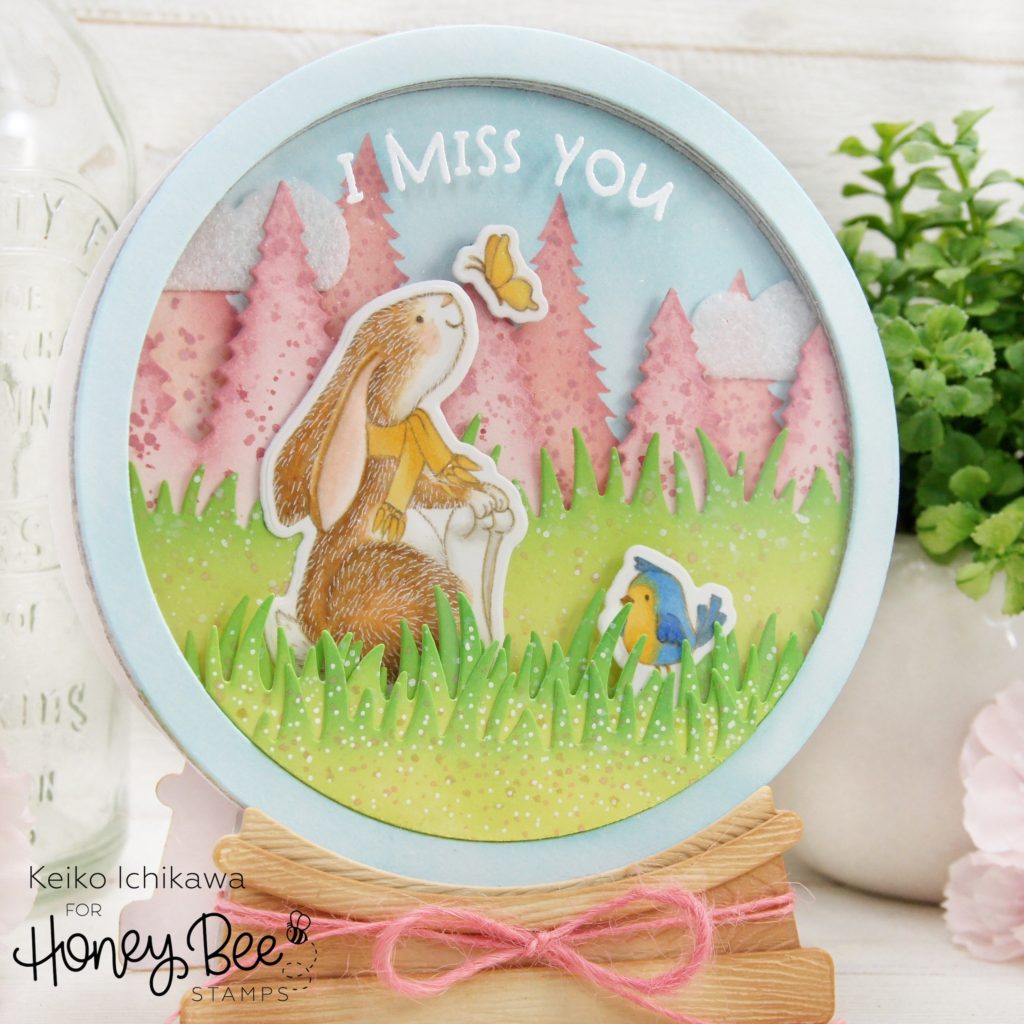
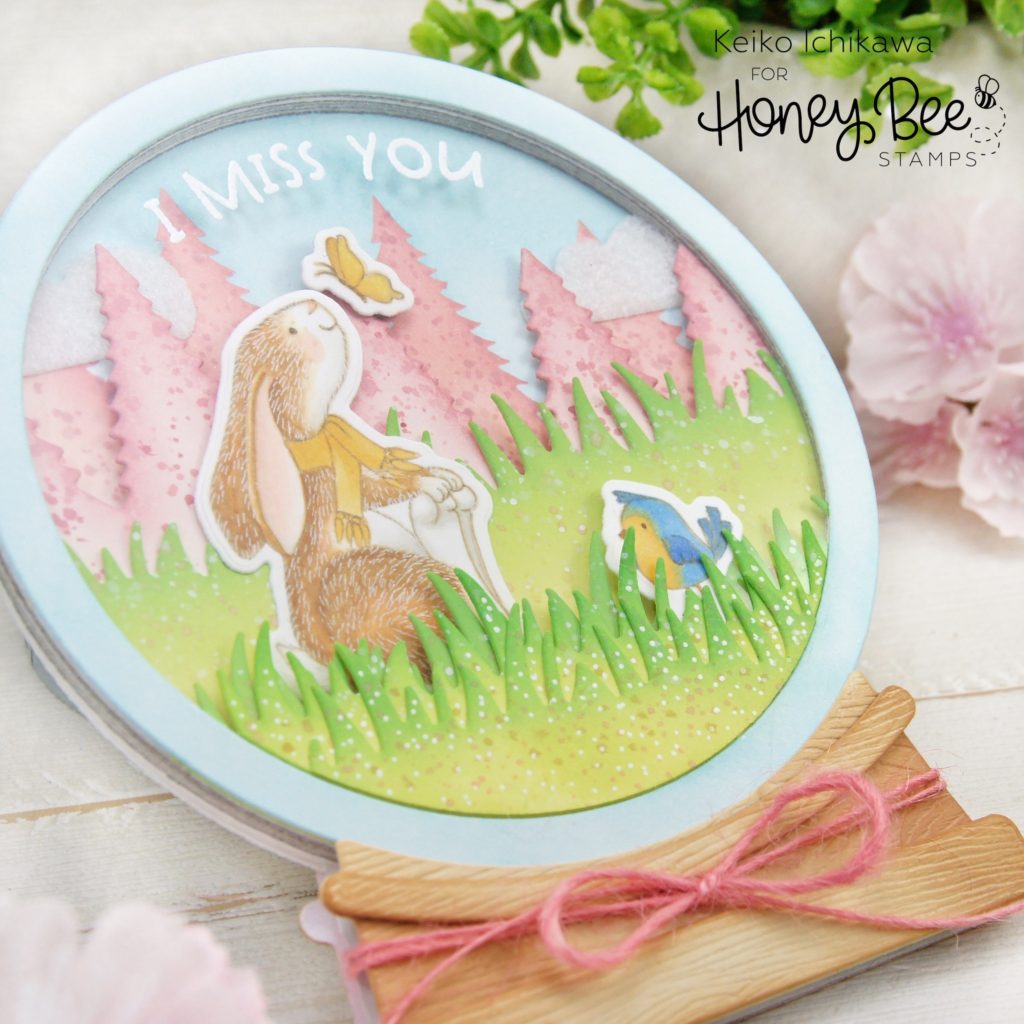
On one of the solid background piece, I blended blue ink for the sky and pink for the trees using a stencil. TIP: The part sticking out (the ornament top) is the bottom of the snow globe where you will adhere the base. From other two solid pieces, I die cut tree line and grass border, inked them, and splatter them with inks. TIP: before die cut, make sure you line these pieces up with the background to decide exactly where you want to cut. For the grass borders on the front was cut from the inside leftover pieces of the frame die cut and inked the same way. I inked one of the frames with light blue (this will be the top of all the frame pieces). The clouds were cut from fuzzy textured paper I found in my stash. The sentiment was white heat embossed on the acetate (make sure you use heat resistant one). The snow globe base pieces were inked with few shades of brown inks. I then stamped the bunny, bird, and butterfly in light brown ink, colored them with Copic Markers and die cut them with the coordinating dies.
Now all the prep work is done! All you need to do is to assemble the pieces. Below is how I layered all the components:
From the bottom;
Card base
Background
Clouds
3 frames
Tree border
Grass border & butterfly
Bunny
2 frames
Acetate
Inked frame
Bird
Grass borders
TIP: The tree and grass borders are sandwiched in between the frame pieces.
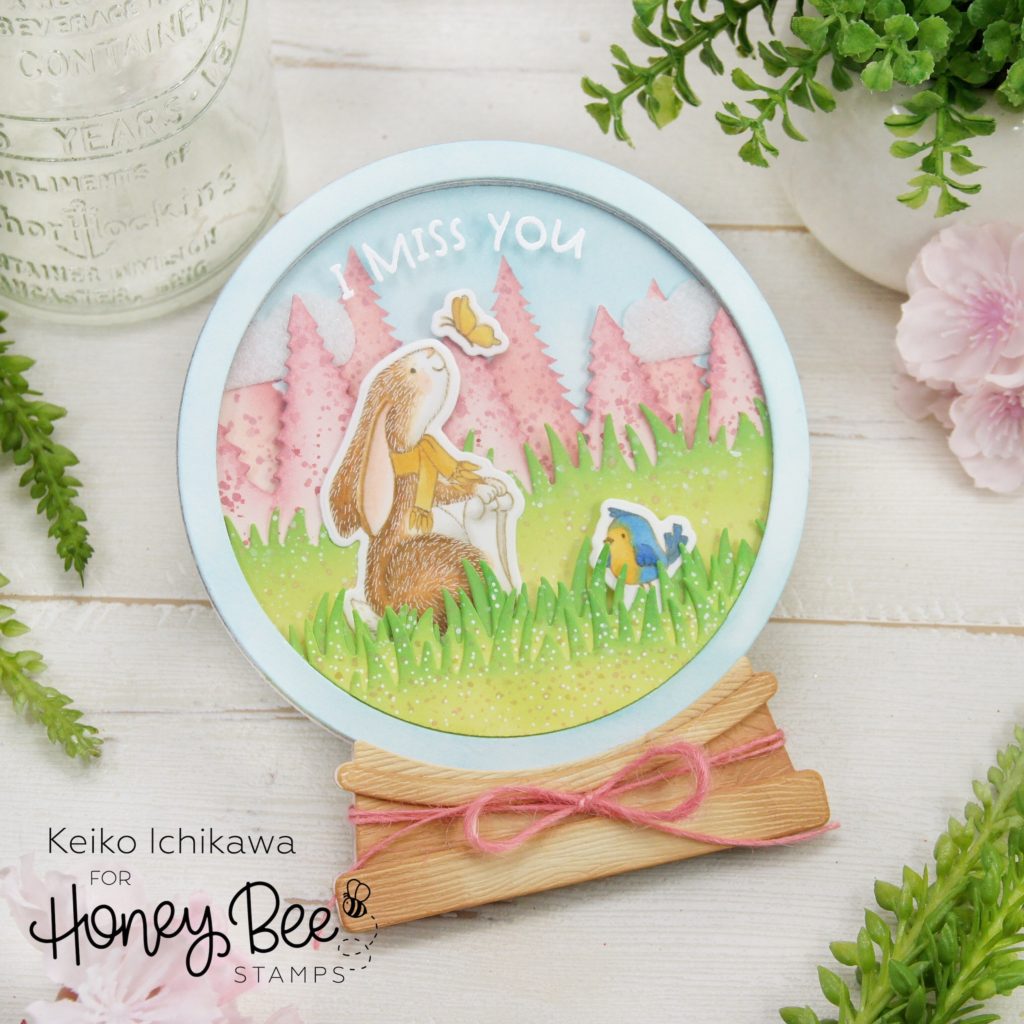
I glued the snow globe base pieces and tied a piece of pink twine around to finish off the design.
Thank you so much for stopping by today.
Please stay safe and healthy!
