Hello and Happy Monday Honey Bee Friends!
Today I have a Spring-inspired Pop-Up Shadow Box Card mixing and matching a bunch of Honey Bee Stamp products. If you are a Jennifer McGuire fan, you may have seen her share how to create these amazing pop-up cards on a recent tutorial of hers. So, of course, I was dying to try this card technique out!
CARD DETAILS
I began this card by cutting out the top and bottom panels at 6 1/4″ x 5 1/2″. To create the pop-up mechanism you will need to score both panels, on each side at 1/2″ and at the 1″ mark. Then fold the pieces in to create a zig-zag fold on each side on the panels.
To the top panel, I die cut a hexagon window. I also die cut the same window using the same hexagon die onto a piece of blue cardstock that I had previously die cut using the Scalloped Frame die. To add another layer of dimension I used the next smaller Stacked Hexagon die to die cut another window to add beneath the card front.
Now that all the pieces for the card were made I then set them aside to plan out the scene.
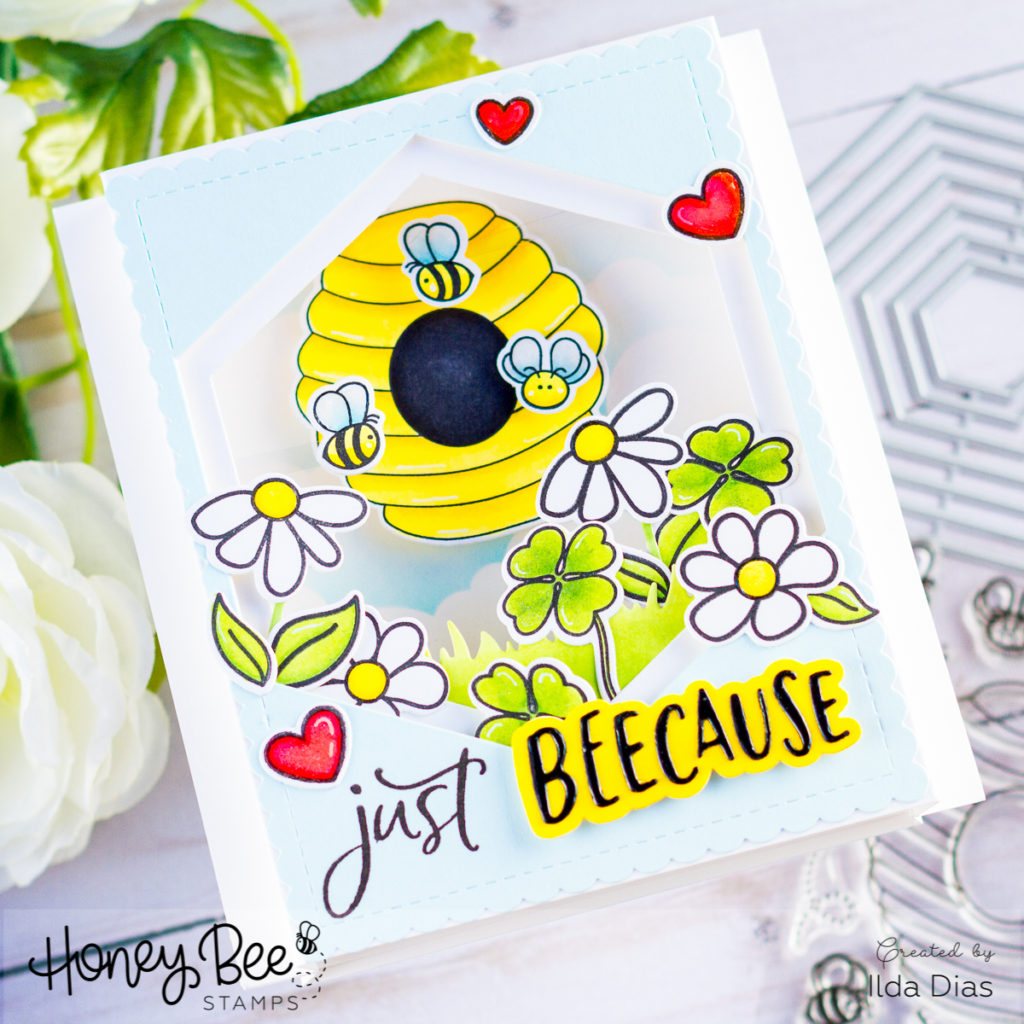
I began by creating a background for the card. On a piece of Bristol paper, I blended out some clouds using the Outdoor Scene Builder Stencils.
Next, I stamped out all the images I was planning on using on to Neenah cardstock and colored them in using Copic Markers. I then die cut each image using their coordinating dies. Below is a list of the stamps and coordinating dies I used.
Bee and Hive – Bee Hive Stamp Set | Bee Hive Honey Cuts
Flowers and Hearts – Busy Bee Stamp Set | Busy Bee Honey Cuts
Shamrock – Mae the Mouse Stamp Set | Mae the Mouse Honey Cuts
To the back piece of the card that I had initially scored, I glued down the background cloud piece. Next, I glued the hive down by popping it up with foam tape. I also added the floating bees by gluing them to thin strips of acetate and attaching them to the side flaps on the bottom panel.
To the top piece, I began by gluing the top blue scalloped piece to the card front. I then attached the smaller hexagon panel to the inside of the card using foam tape. Before gluing down the colored images, I die cut a grass border piece colored it with Copics and glued it along the bottom of the hexagon to build the scene from. Once I was happy with the arrangement of the flowers I glued them in place. To finish the card, I added glue to the side zigzag tabs and adhered them together.
The card when finished will measure 4 1/4″ x 5 1/2″ when flattened and will fit nicely into an envelope.
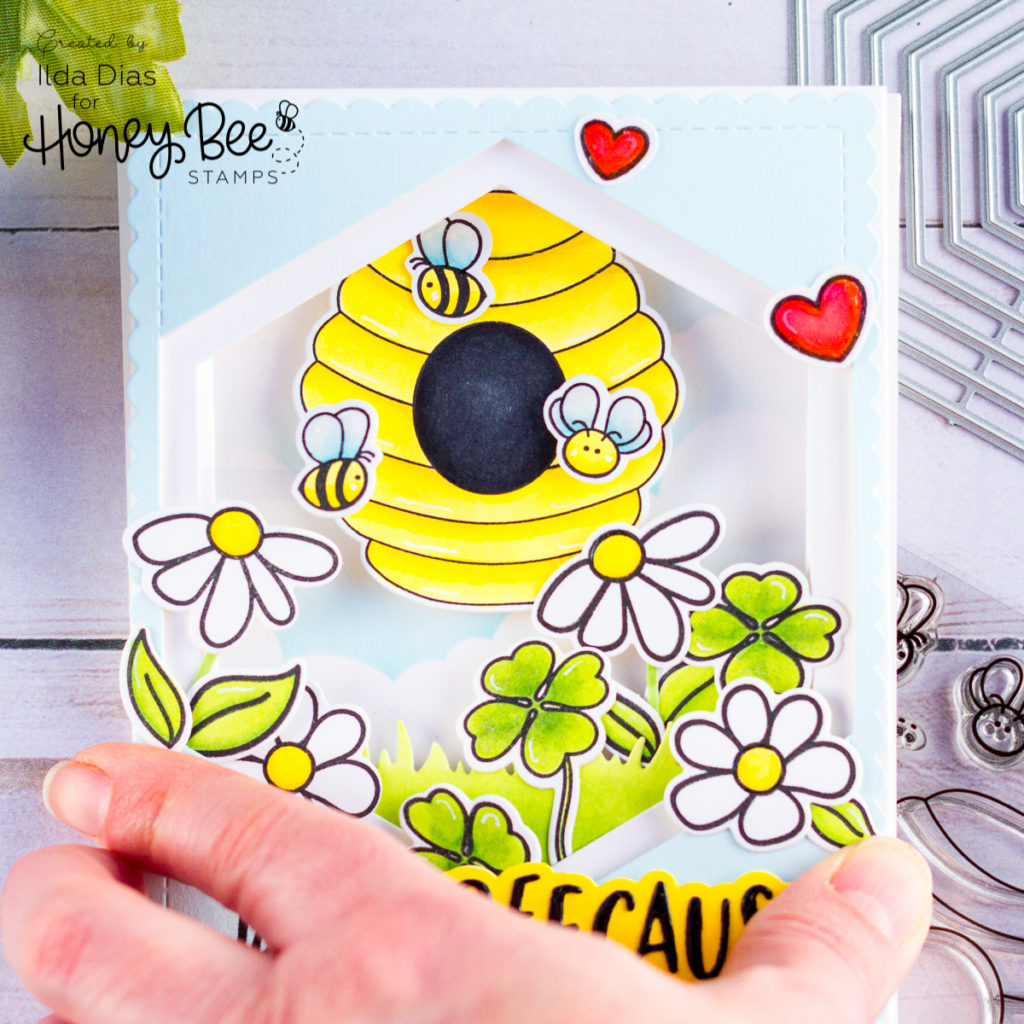
Here is a top view of the card as it stands up without any problems. Check out all those layers of dimension!
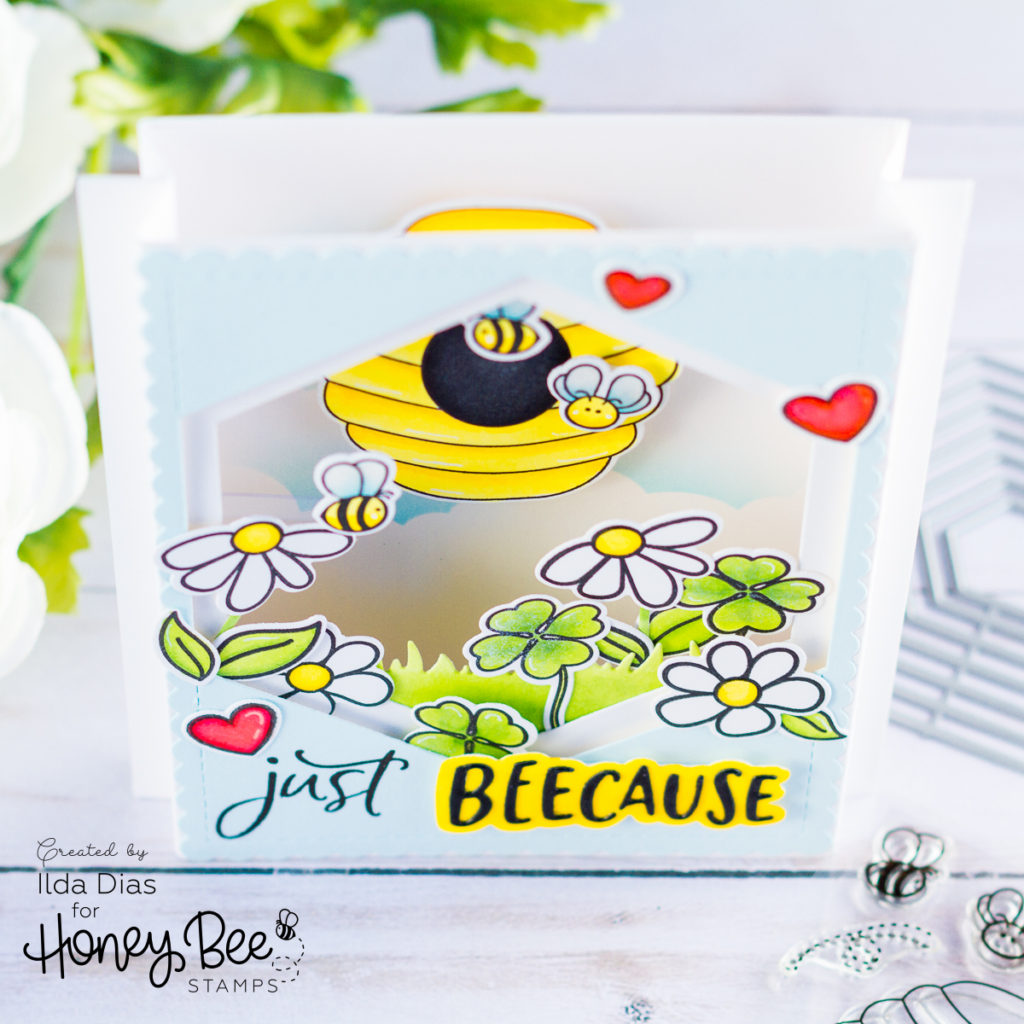
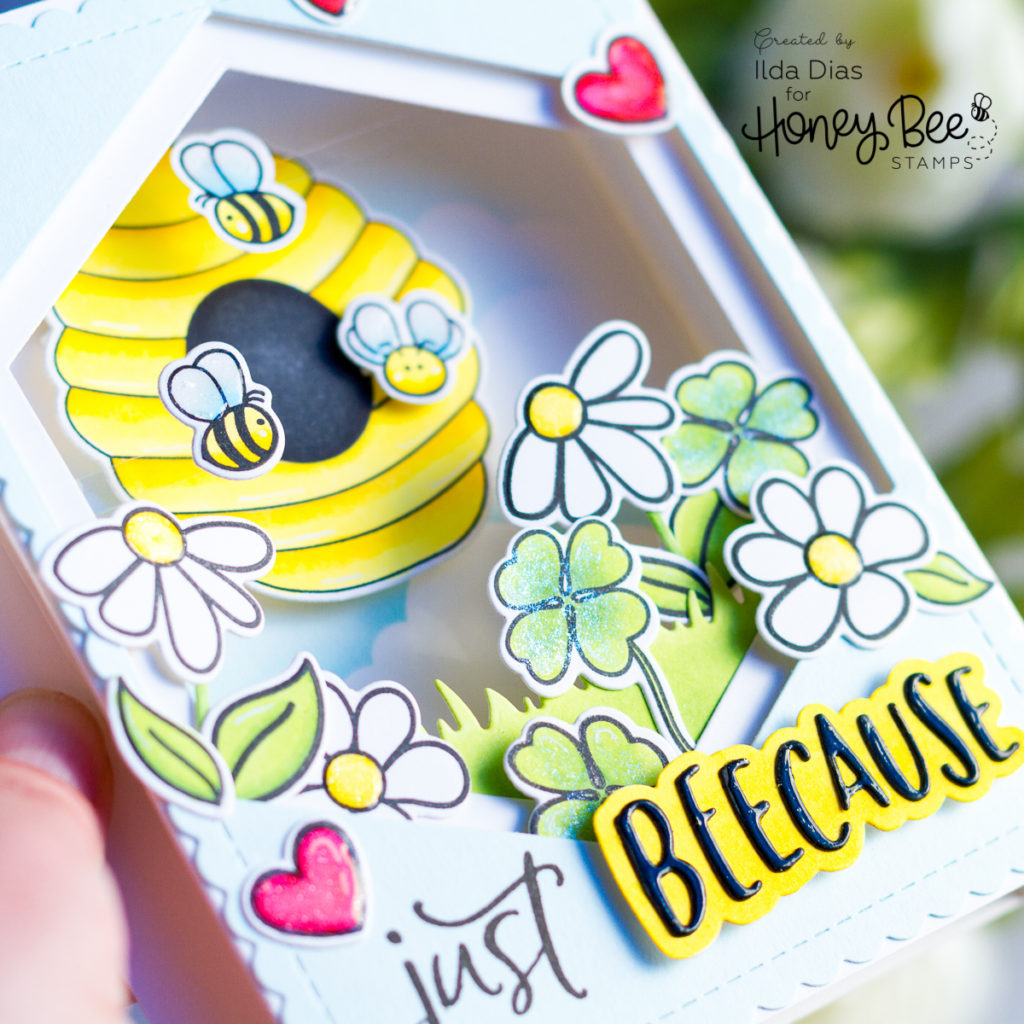
For sparkle, I added some Liquid Pixie Dust and a layer of glossy accents. The sentiment was created by stamping out the just from the Hi Honey stamp set and then I pieced together the Beecause from the Hi Honey Cuts set.
SUPPLIES
 HEXAGON SOLID STACK CUTS Shop at: HBS |
 SCALLOP A2 FRAME HONEY CUTS Shop at: HBS |
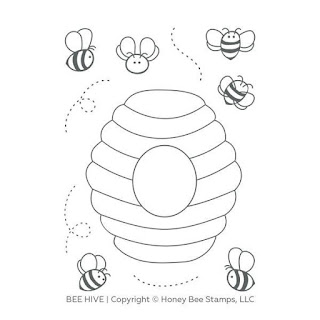 Bee Hive Shop at: HBS |
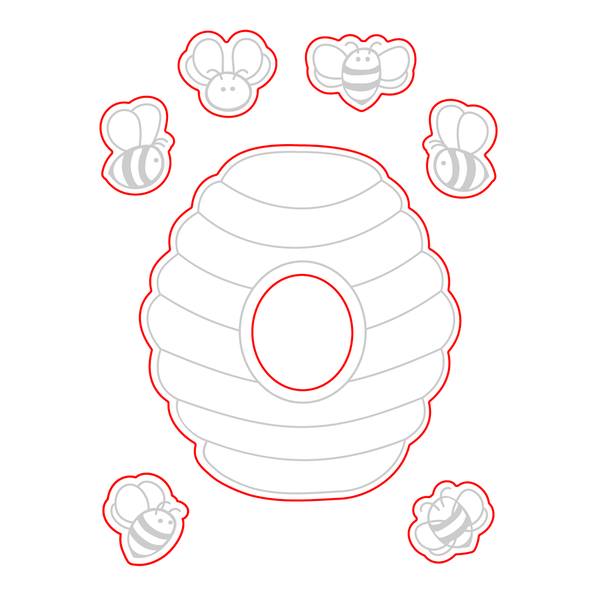 Bee Hive Dies Shop at: HBS |
Busy Bee Stamp Set Shop at: HBS |
 Busy Bees | Honey Cuts Shop at: HBS |
 MAE THE MOUSE Shop at: HBS |
 MAE THE MOUSE HONEY CUTS Shop at: HBS |
 HI HONEY Shop at: HBS |
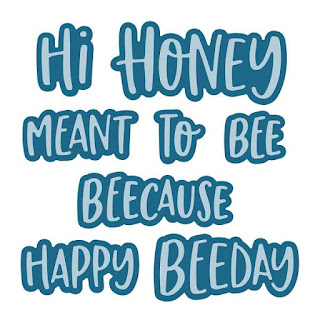 Hi Honey Dies Shop at: HBS |
 Outdoor Scene Builder Stencils Shop at: HBS |
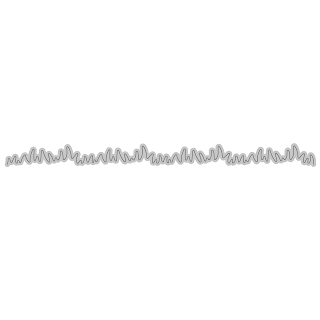 Grass Border Dies Shop at: HBS |
I hope you were inspired by this creation. I had so much fun making this Honey Bee Spring Scene Pop-Up Shadow Box Card. It may look and sound complicated to do but it is actually super easy to make and the dimension you get is pretty amazing!
Thank you for stopping by and until next time… Crafty Hugs, Ilda

2 responses to “Honey Bee Spring Scene Pop-Up Shadow Box Card”
So cute and cheery!
Thanks so much Sue! Happy you liked it 🙂