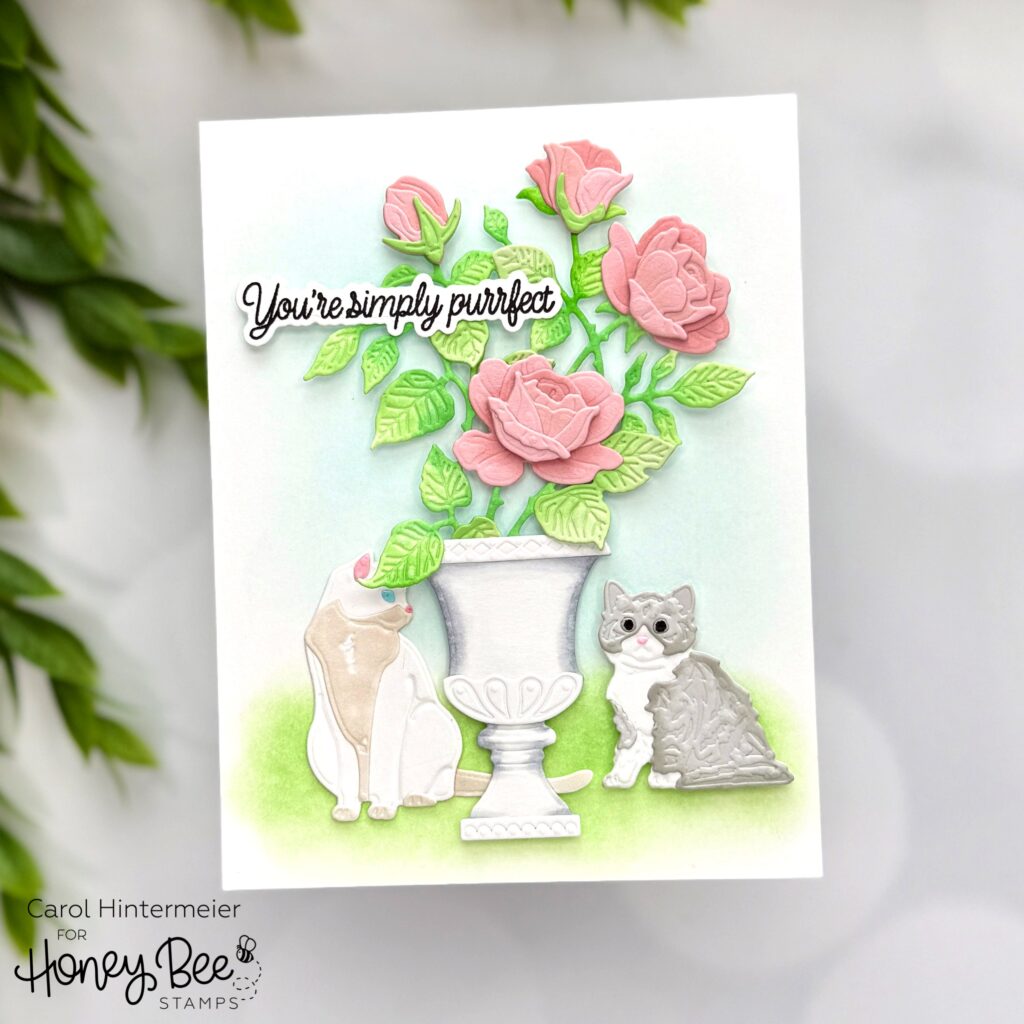
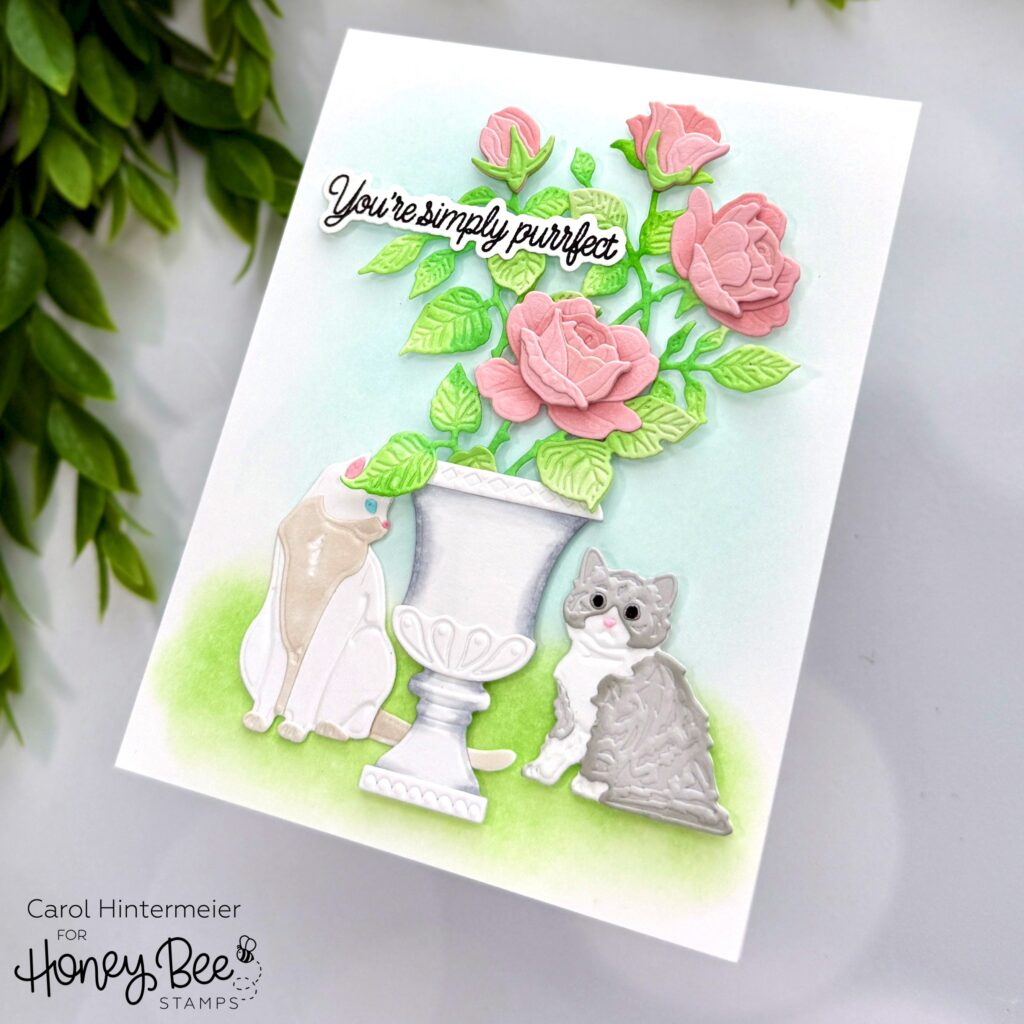
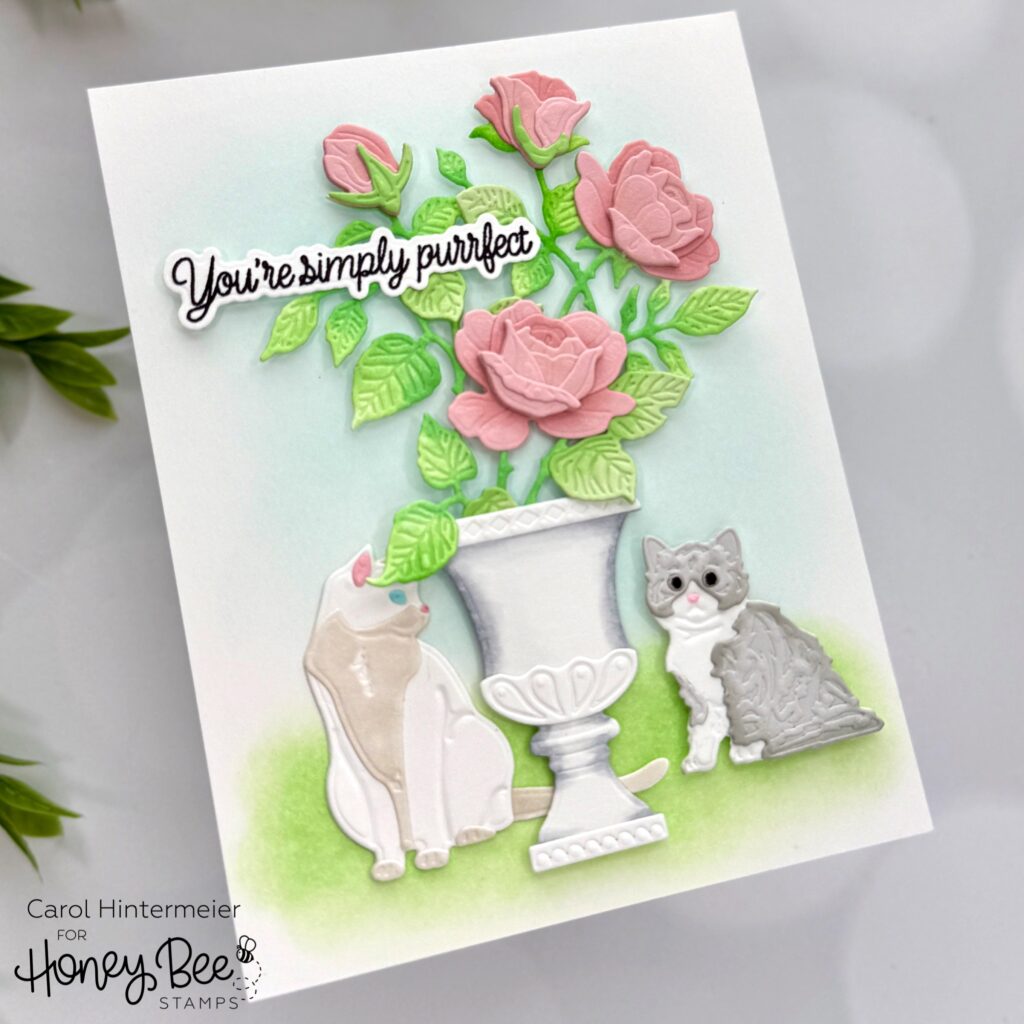
Hello Honey Bee friends! Today I’m sharing details of how to make this sweet kitty card that features the new Lovely Layers: Cats along with another favorite, Lovely Layers: Sweetheart Roses. I can just visualize these sweet kitties prowling around in a beautiful springtime garden and was inspired to make this card!

To create my garden scene I chose light pink and light green cardstocks and die cut the roses, bush, and leaves from the Lovely Layers: Sweetheart Roses. I die cut the planter pot from white cardstock. Then I used blender brushes and coordinating inks to shade the flower layers, the shrub and leaves to add a bit of depth. I used glue to adhere the layers together. (Be sure to download the Layering Guide found in the product description on the website.)
To add shading to the planter, I used three gray Copic markers: C3, C1, and C00. After I glued the layers of the planter together, I added glue to the bottom of the Sweetheart Roses to adhere it to the planter.

Next I chose two of the kitties from the Lovely Layers: Cats and die cut them from white and a light gray cardstock. For the gray kitty I added shading with a blender brush and gray ink. I colored parts of the other cat with an E40 Copic marker. Again, I used glue to adhere the layers together.
Now that I had the card elements all colored and ready for the card, I was really stuck on what to do for a background!!! Does that happen to you?
After much muddling through ideas, I thought that a soft inked background would pair best with the focal images. I used a blending brush to lightly add green ink for the “grass”. This was the same light green ink I used on the Sweetheart Rose bush. Then I inked on a very light blue ink for the sky. I really like how this turned out!!!
I used foam dots to pop up the Sweetheart Roses and the gray cat. Tip: I love these foam dots and only used these! I just use my non-stick scissors to cut them into smaller pieces! (I just saw that these foam dots are out of stock, but just click the “notify me” button to know when they are available.)
I glued the white cat to the left and adhered the Sweetheart Roses and the gray cat. The sentiment is from the Pet-tastic Stamp Set and stamped in black pigment ink. I cut it out with the coordinating die. To adhere it over the Sweetheart Rose bush, I added a small piece of a foam strip on the left side and glue to the rest.

I’m actually shocked that I made a card with softer colors that I like! Hahaha!! I hope you like it too! Thank you so much for stopping by! Have a wonderful and crafty day! Carol


One response to “You’re Simply Purrfect – A Garden Scene”
Carol, I’m so glad that I popped in this afternoon. Your card has given me just the inspiration I need to get in my craft room and make something pretty with my Sweetheart Roses too! I haven’t used them in way too long and they are too pretty to spend spring in a storage container lol. Your instinct on your background was spot on ~ it turned out so lovely, compliments the scene rather than competing with it. Such a beautiful card. Thanks again for the much needed inspiration!