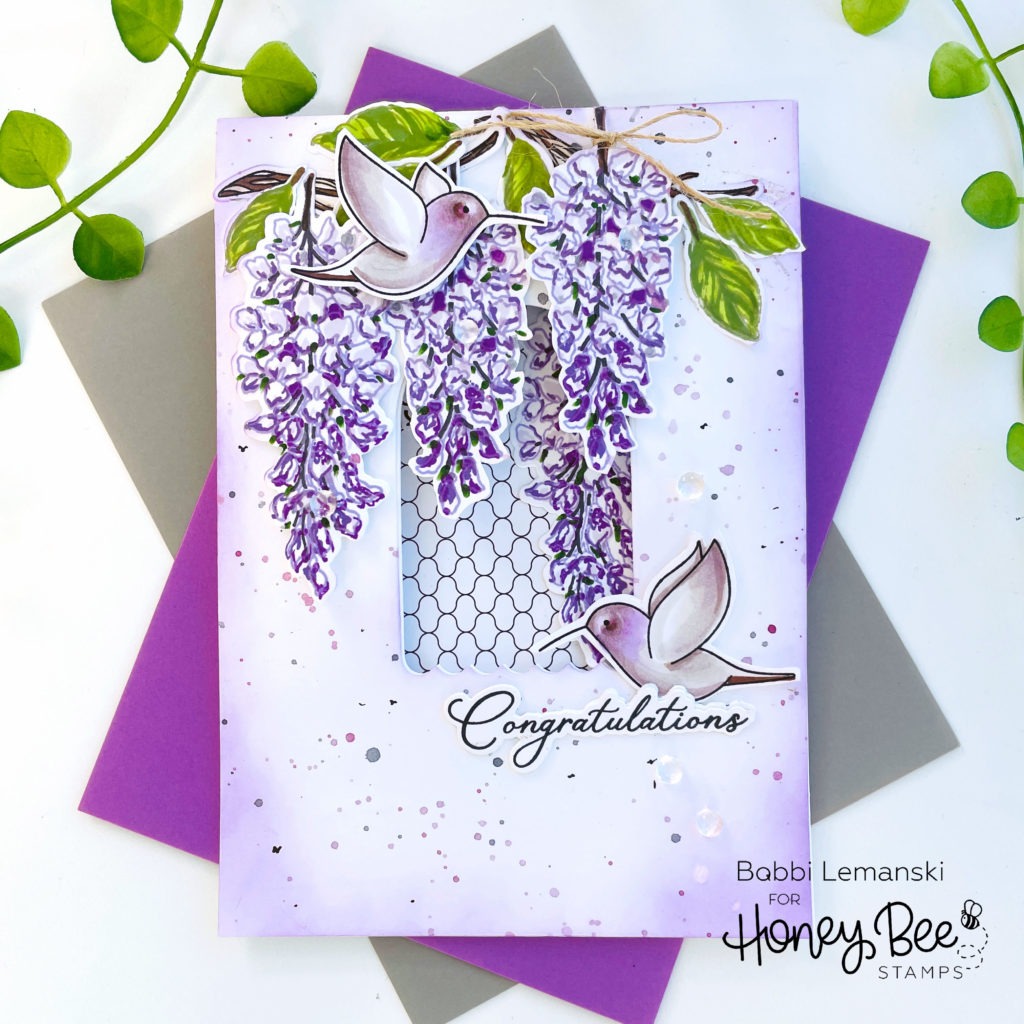
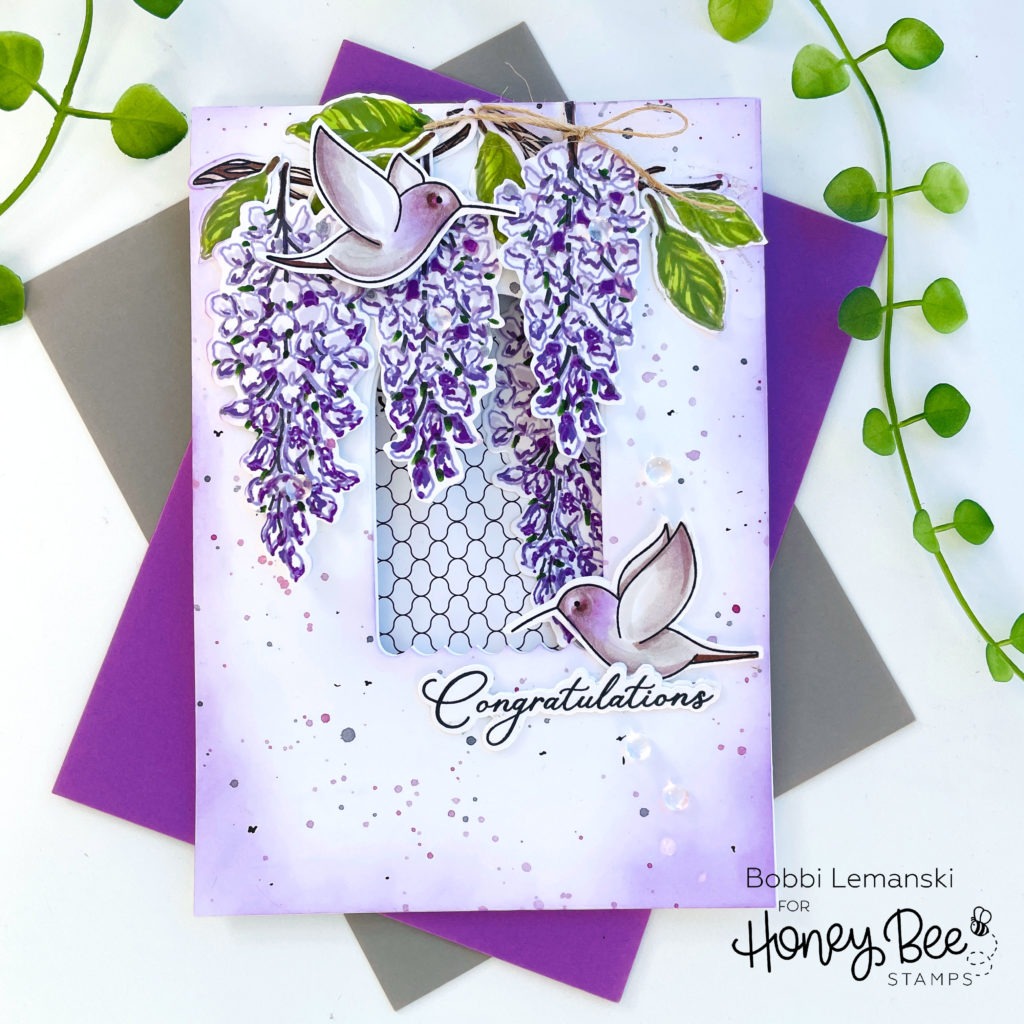
Happy Mother’s Day, friends! It’s Bobbi Lemanski here with a wedding card featuring the new Layering Wisteria stamps and dies. This new stamp set also includes a “Happy Mother’s Day” phrase, suitable for today’s special day, too. 🙂 I’m using the “congratulations” phrase for this one along with two “love birds” for the lovely couple! Here’s the list of the Honey Bee Stamps products I used:
Layering Wisteria stamp set and coordinating die set
Layering Wisteria Add-On stamp set and coordinating die set
Grandma’s Garden stamp set and coordinating die set
The featured project below was made from Neenah 80lb Solar White cardstock for the card base and card front panels. All of the black ink stamping was done using Honey Bee’s Bee Creative Intense Black Ink. I use Honey Bee Stamps Bee Creative Precision Glue for adhering my elements together. My card is 5″ X 7″ in size.
How to Make this Card
To make this card, I started by stamping the florals using four shades of violet/purple for the blossoms and several colors of greens for the leaves. I used browns for the branches. I created two larger blossoms and and two smaller ones. All the elements were die cut using the coordinating dies.
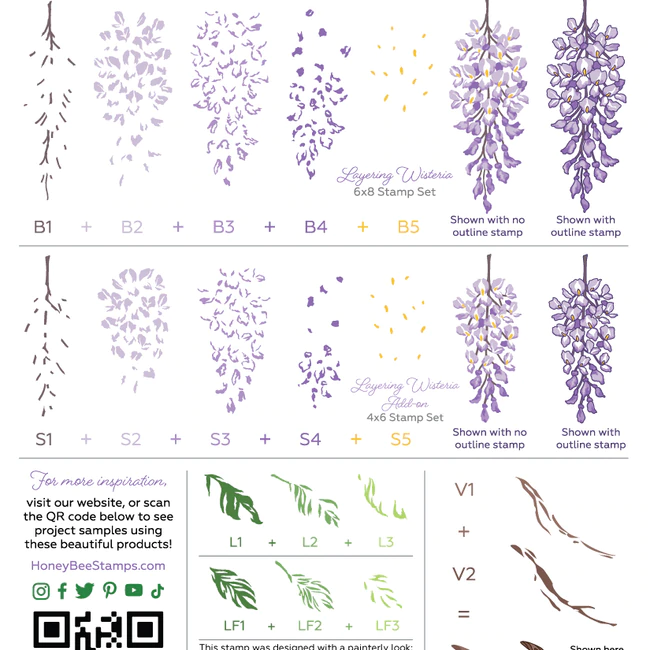
Here’s a stamping guide available to help with the multi-layer stamping. You can choose to stamp the outline or keep it more realistic and go with no outline. I used a light lavender ink for my outline. It’s sort of something in between – a line, but not a dark, black outline. I really love how it turned out with this choice.
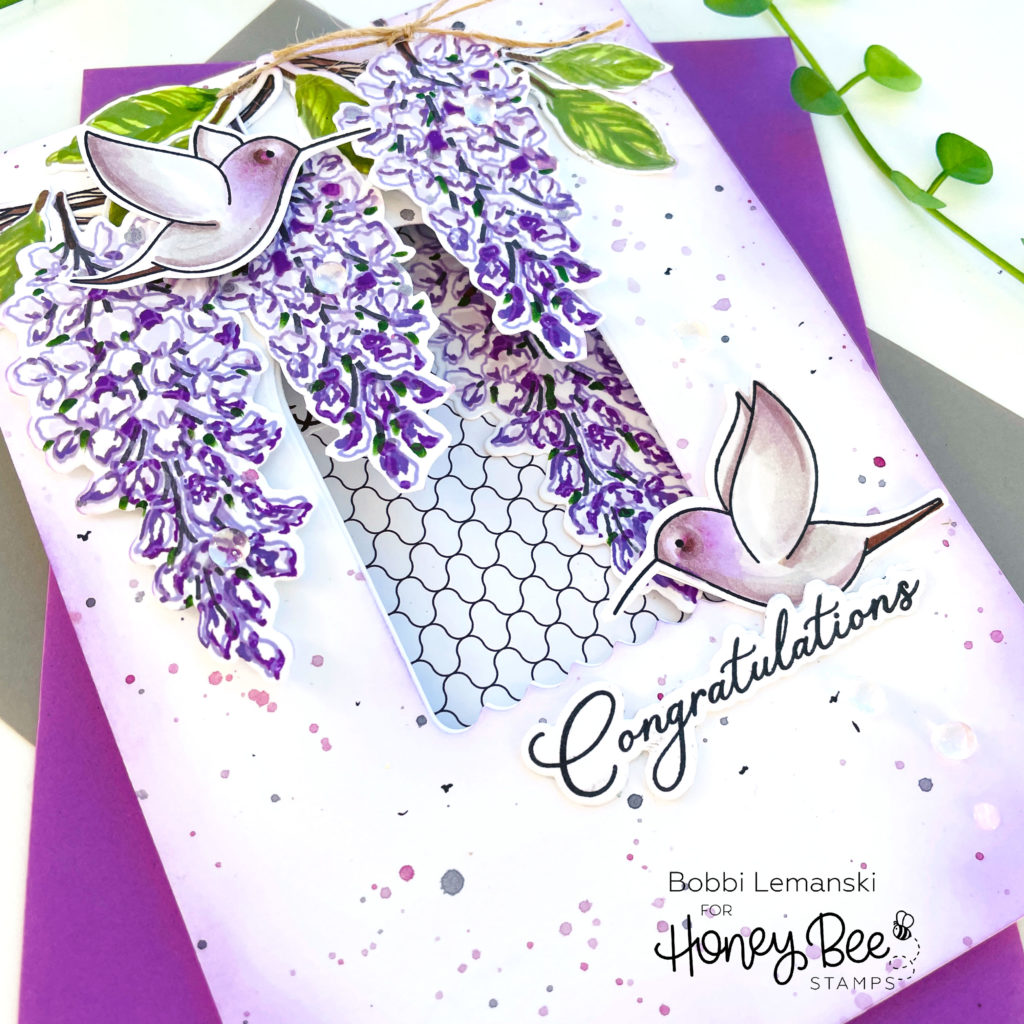
To make the open window card front, I cut two 5″ X 7″ card fronts from white cardstock and ran both of them through my die cutting machine with a tag die from the Terrific Tags die set in the center. I splattered violet and black watercolor paint on the top panel and let it dry. Once it was dry, I lightly sponged on Seedless Preserves Distress Oxide Ink around the edges. The wisteria, branches and leaves were attached to the front as well as the “congratulations” phrase and several dew drops, too.
I stamped and die cut the two birds from the Grandma’s Garden stamp set and coordinating die set and colored them in using Copics in E71, E49, E43, RV93, V09, V12, W2 and W0 to blend with the flowers. I added them to the front, too.
This card is a top-fold design and requires a hinge at the top since the card cannot be cut from one piece of cardstock. It must be hinged together instead. I cut the back panel 5″ wide X 8″ long and scored 1″ from the top. The 1″ section was sandwiched between the two die cut front panels to conceal the hinged section. Notice, I backed any flowers that show through the window with a white die cut for clean look.
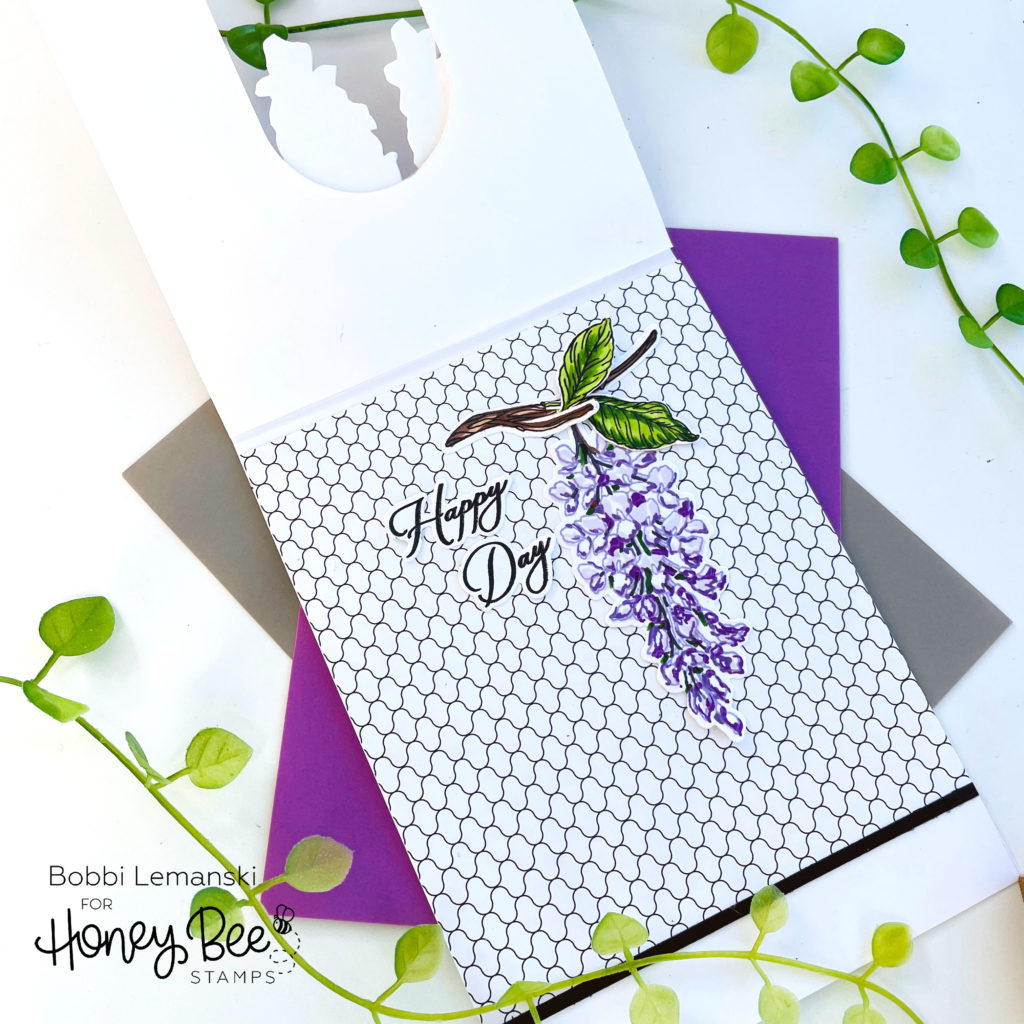
Inside the card, I attached a 5″ wide X 6″ long black and white pattern paper with a 1/4″ black strip at the bottom edge. I added the fourth blossom to the inside, allowing it to show through the window from the front. I also stamped and attached “happy day” to the inside. (I left the “Mother’s” word out.) A little hemp twine bow on the front finishes off this card.
You can shop the entire Honey Bee Stamps Birthday Bliss release here. If you decide to place an order, please use the links in this post so that Honey Bee knows which ideas inspired you!
Thanks for stopping by today. If you want to see more ideas and inspiration from me, subscribe to my blog, BobbiHartDesign.com. I’ll send you updates on new posts! You can also find me on Instagram as @BobbiHartDesign and on Facebook as BobbiHartDesign.
One response to “Wisteria Wedding Window Card”
Beautiful! Loving this Wisteria set.