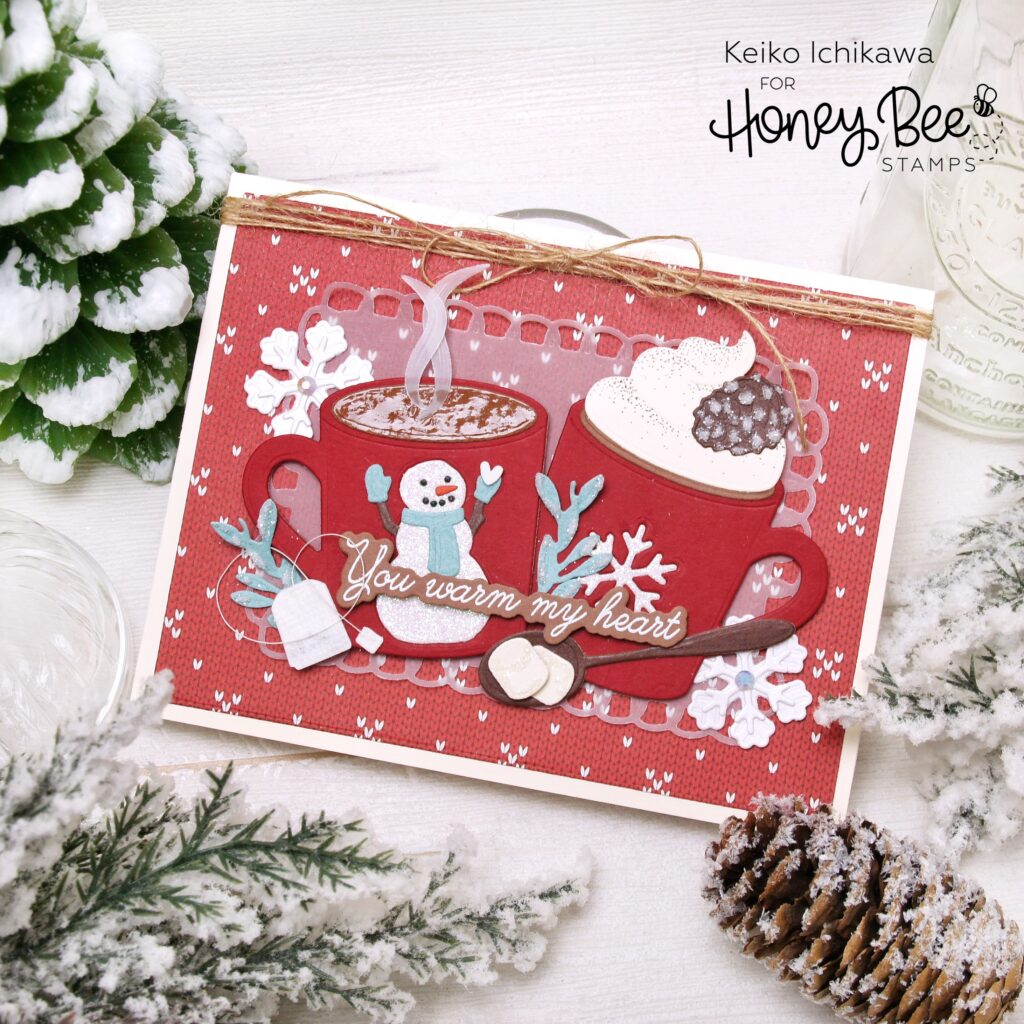
Happy brand new year crafty friends! I wish all of you a healthy crafty 2024!! It’s Keiko from Happy Tree Studio and for the first card for the year, I created this winter themed coffee card made with various die cut elements and a sentiment. This is pretty simple card to put together so I hope you will give it a try!
For the background, I chose a knit pattern from Holiday Wishes paper pad and using Sweet Stacks: Rectangles die, trim it slightly smaller than the A2 card base made with cream card stock. To add more texture to the background, I die cut a piece of velum using the rectangle with pretty details included in the Decorative Star Layering Frames set. TIP: To hide the adhesives, I first adhered the mugs on the velum panel and then applied liquid glue on the back of the mug.
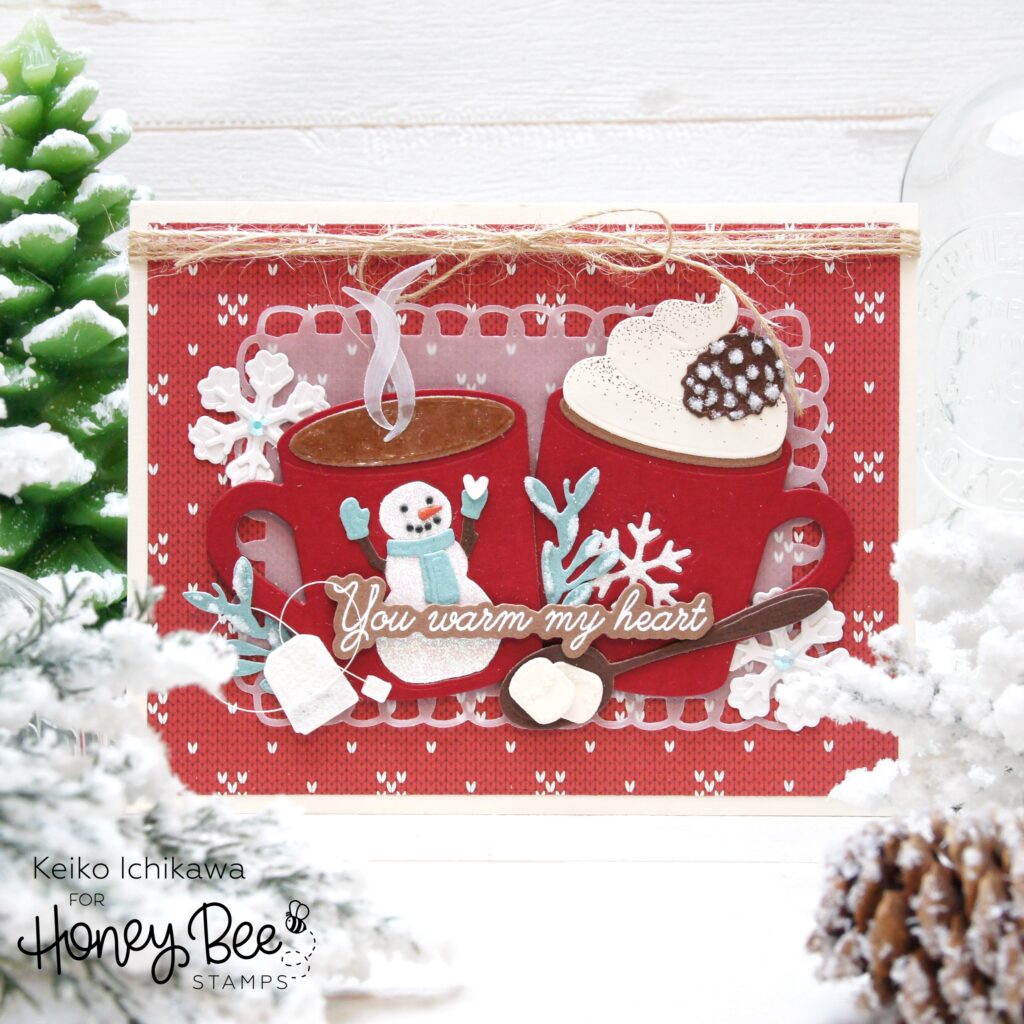
I love going through my die sets (not only the new ones but all of them!) to see what I can use to create the scene I have in mind. Here are the ones I used for this card:
Mugs & Kisses
Teapot & Cup (teabag)
Holiday Front Porch Add-On (snowman)
Lovely Layers: Seasonal Frame (greenery and pinecone)
Lovely Layers: Large Snowflakes
I love adding colors to my die cuts but for this card, I decided to go for more simple, graphic look so used colored card stocks instead. The only “coloring” I did was adding some stippling dots with brown pen on the whipped cream to mimic cocoa powder (I am not a fan of cinnamon powder!). I used some textured paper for the teabag and velum for the steam. For the mugs, I die cut the snowflake and the body of the snowman out from the mug and inlayed the white glitter ones to achieved the smooth look. You can do the same for the details of the snowman but I decided not to. TIP: I die cut another mugs and used them as a base to adhere all the pieces on.
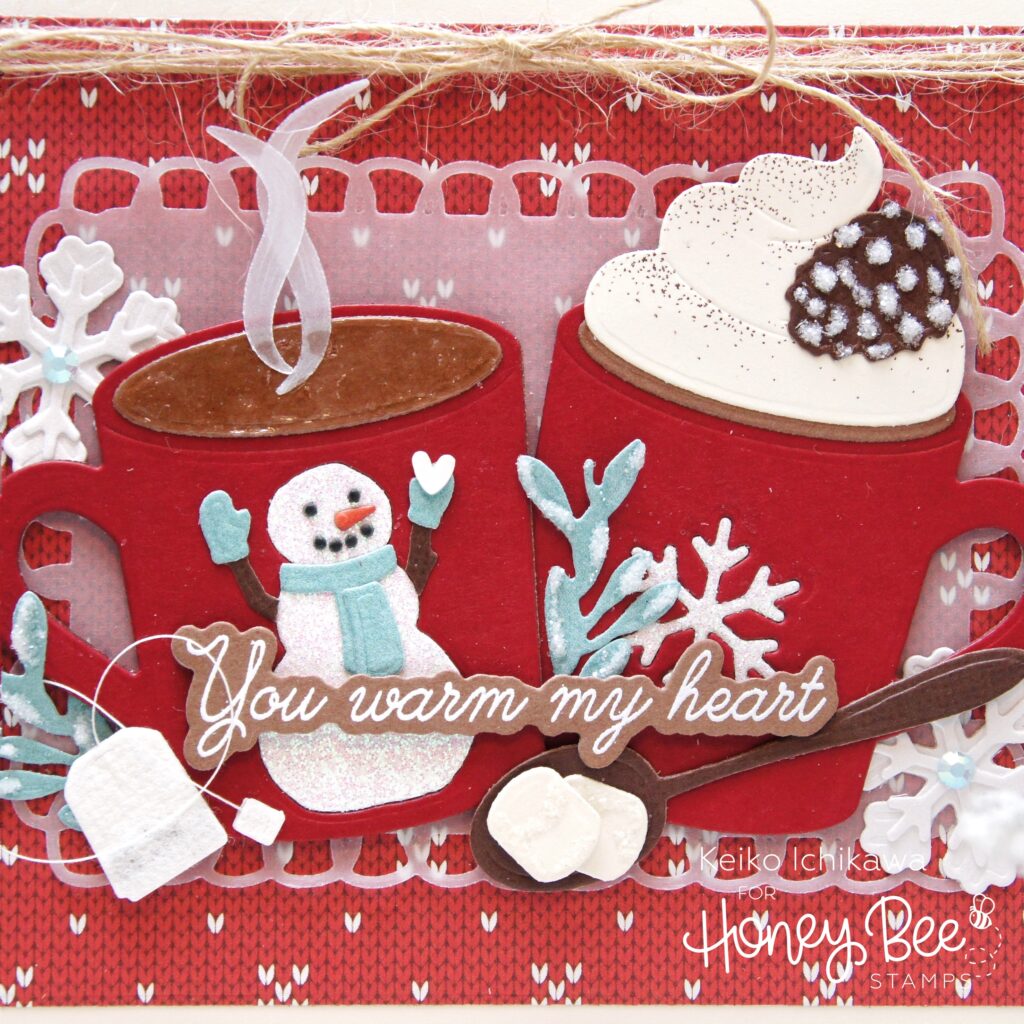
The sentiment is from Let It Snow stamp set and I white heat embossed it on brown card stock and die cut with a coordinating die. After adhering the elements on the card base, I added some glitter to the pinecone, greeneries, and marshmallows. I also applied Glossy Accents to the tea and added some gems to the snowflakes and a white clay heart to the snowman’s hand. I then tied some twine to finish off the card.
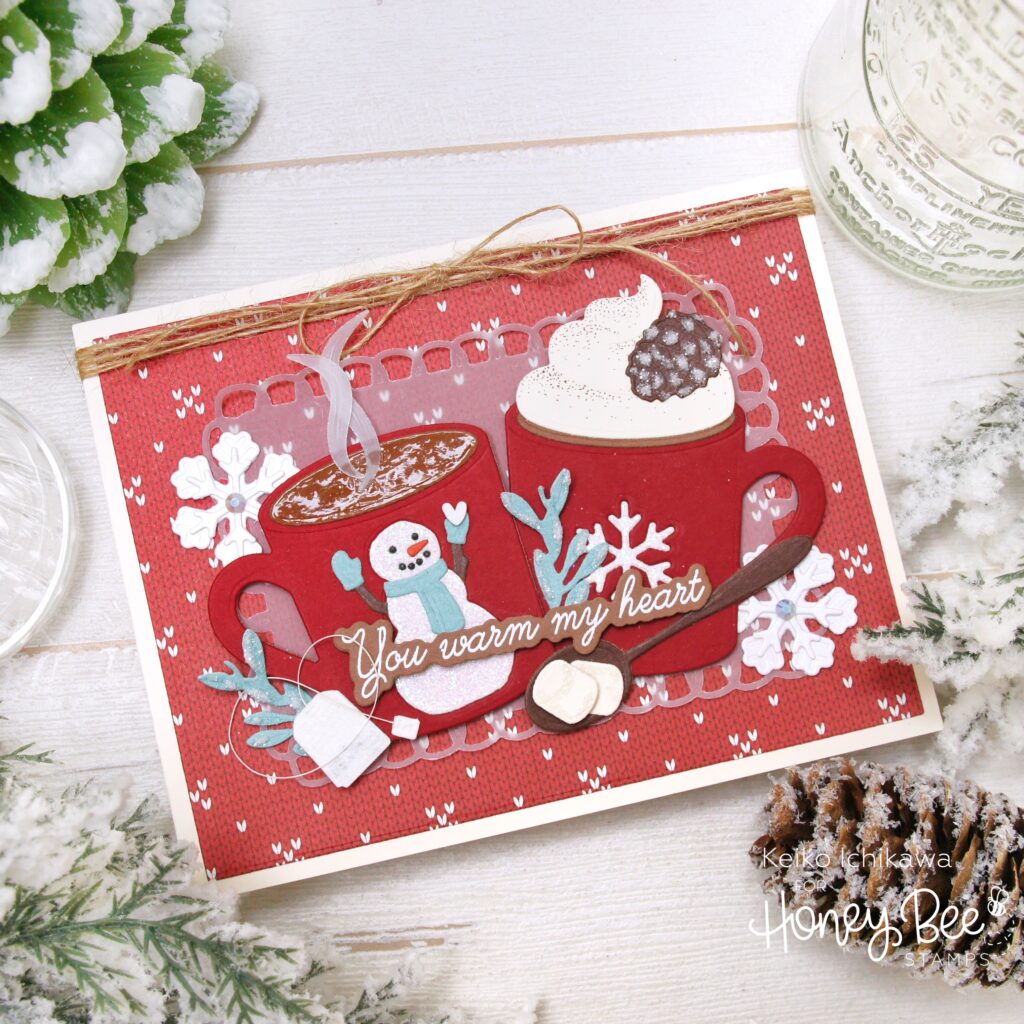
Thank you so much for stopping by today. Have a wonderful day!
