Hello Honey Bee friends! I hope your week is going great! Today I’m sharing two masculine birthday cards that are fun to make with the awesome Candle Cover Plate Honey Cut! In the last month or so I’ve needed birthday cards for milestone birthdays of two awesome guys in my family. I really wasn’t planning on sharing these, but after I made the second one, I loved how quick and easy they were to make and decided to share these with you!
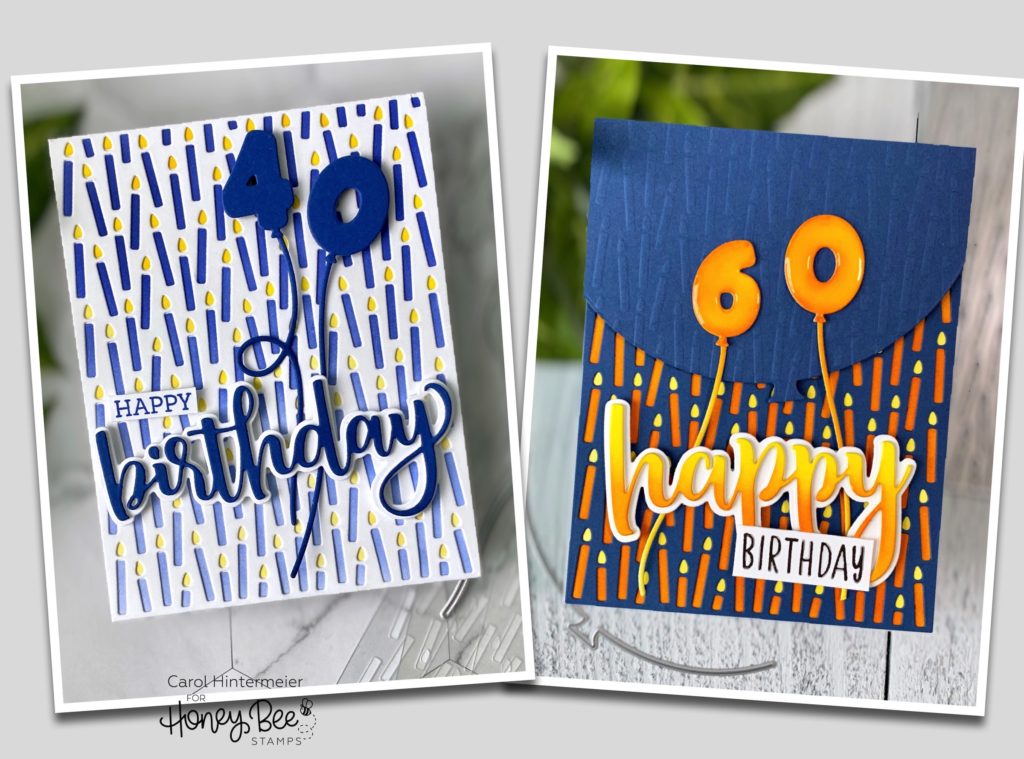
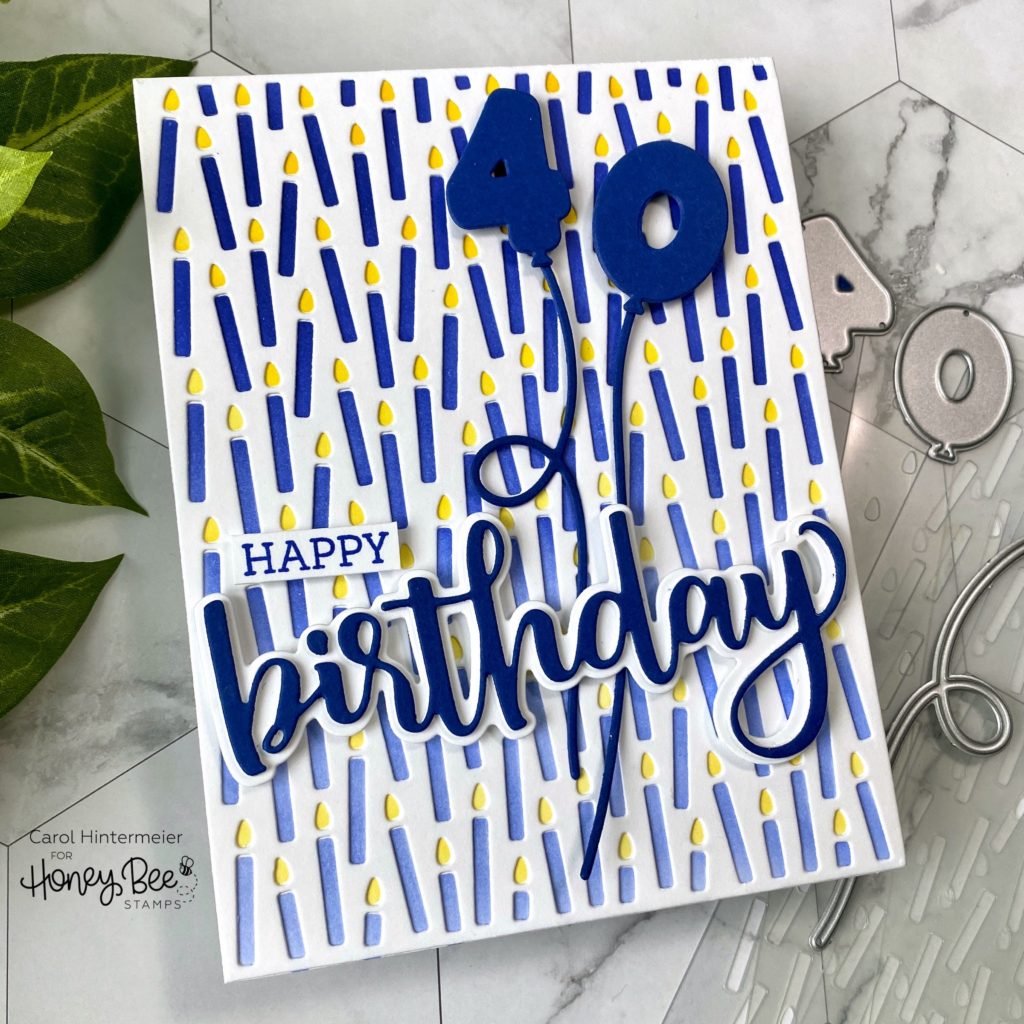
As you can see, these are somewhat similar, but not! Both of these cards have the some of the same steps in that I began with the Birthday Candle Background Stencil set. I used a piece of A2 sized white card stock to stencil some Distress Inks through the “candle only” stencil. On the first card I did an ombré blue with Blueprint Sketch Distress Ink. The second card’s candles are inked up with Spiced Marmalade. I used my Background Blender brushes for all of the stenciling, which makes it so easy!
Next I used the stencil that has just the flame portion and stenciled on some Squeezed Lemonade Distress Ink on each panel. The stencils have lines etched into them that makes lining up each stencil layer a snap!
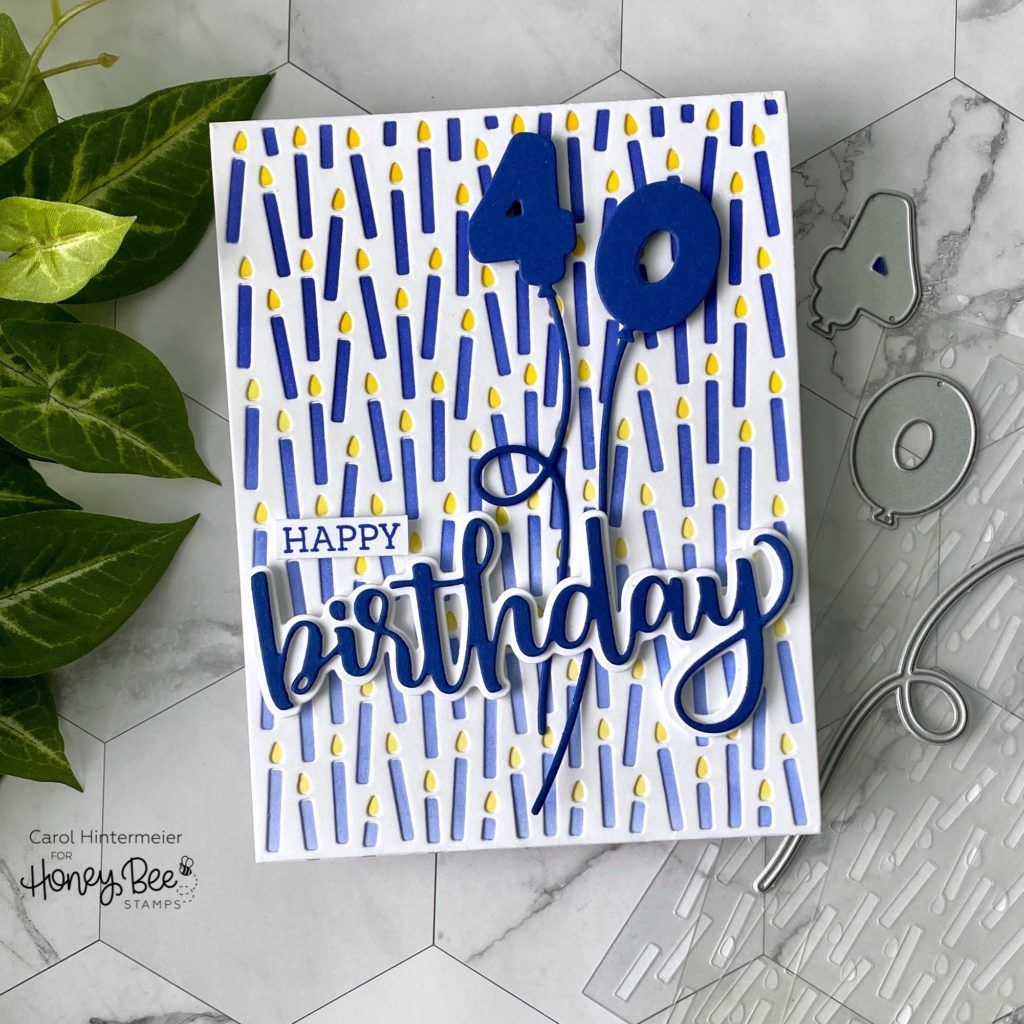
For the 40th birthday card, I die cut some white card stock with the Candle Cover Plate die. I used Bee Creative glue to adhere it over the stenciled panel. Then I adhered that layer to a top-folding A2 card base.
I die cut the top layer of the Birthday Honey Cuts from blue card stock three times. I adhered those together with Bee Creative glue and set them aside to dry. Next I die cut the middle shadow layer from white card stock and adhered the blue top “birthday” sentiment to it. I added foam tape to the back and adhered it to the card front. The “happy” sentiment is in the coordinating Birthday stamp set and I stamped it in blue ink, trimmed it down, and popped it up on the card.
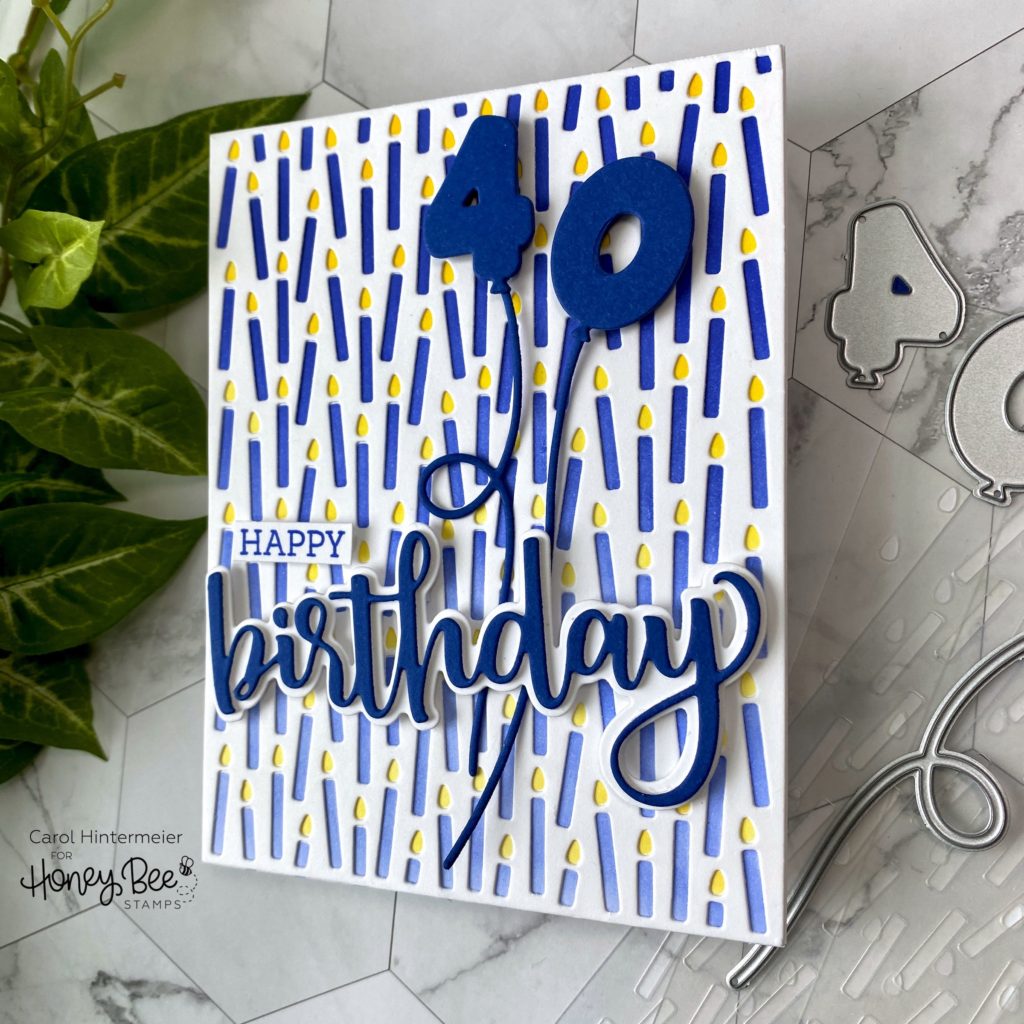
I used the blue card stock to die cut the number 40 three times with the Balloon Numbers Honey Cuts, and die cut the balloon strings once each. Next I adhered the number layers together with Bee Creative glue and set them aside to dry. Once dry, I glued the balloon strings to the balloons and added foam tape to the balloons. I pushed the strings underneath the “birthday” sentiment and adhered the balloons.
My second card is a bit more colorful, but still very masculine, I think!
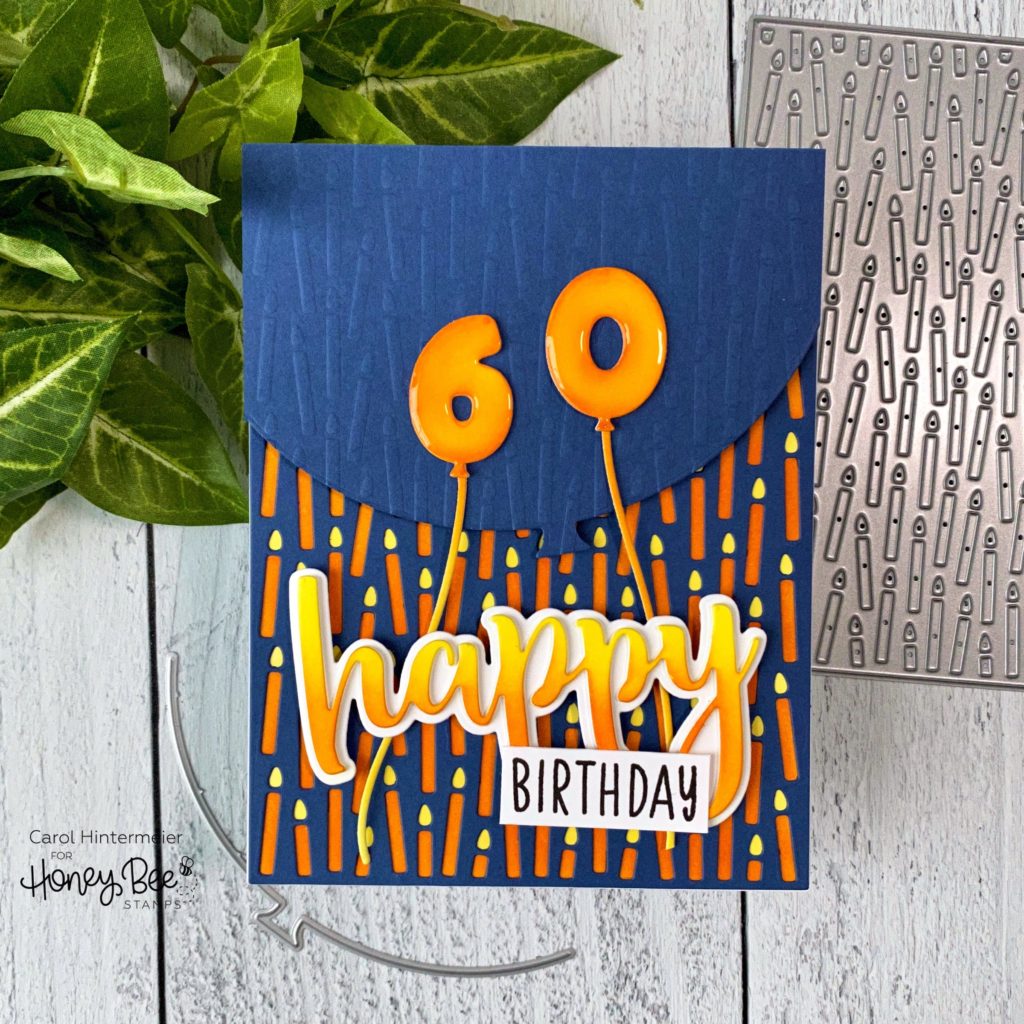
I die cut the Candle Cover Plate from blue card stock and adhered it over the stenciled card with Bee Creative glue and added it to a top-folding A2 card base.
Next I die cut the smallest Balloon Card Borders die from more blue card stock. Then I used the Birthday Candle stencil that has the candle and flame on it and dry embossed it. You can get this effect by using a tan embossing mat and the appropriate embossing sandwich for your die cutting machine. I added foam tape to the back of the balloon and added it to the card.
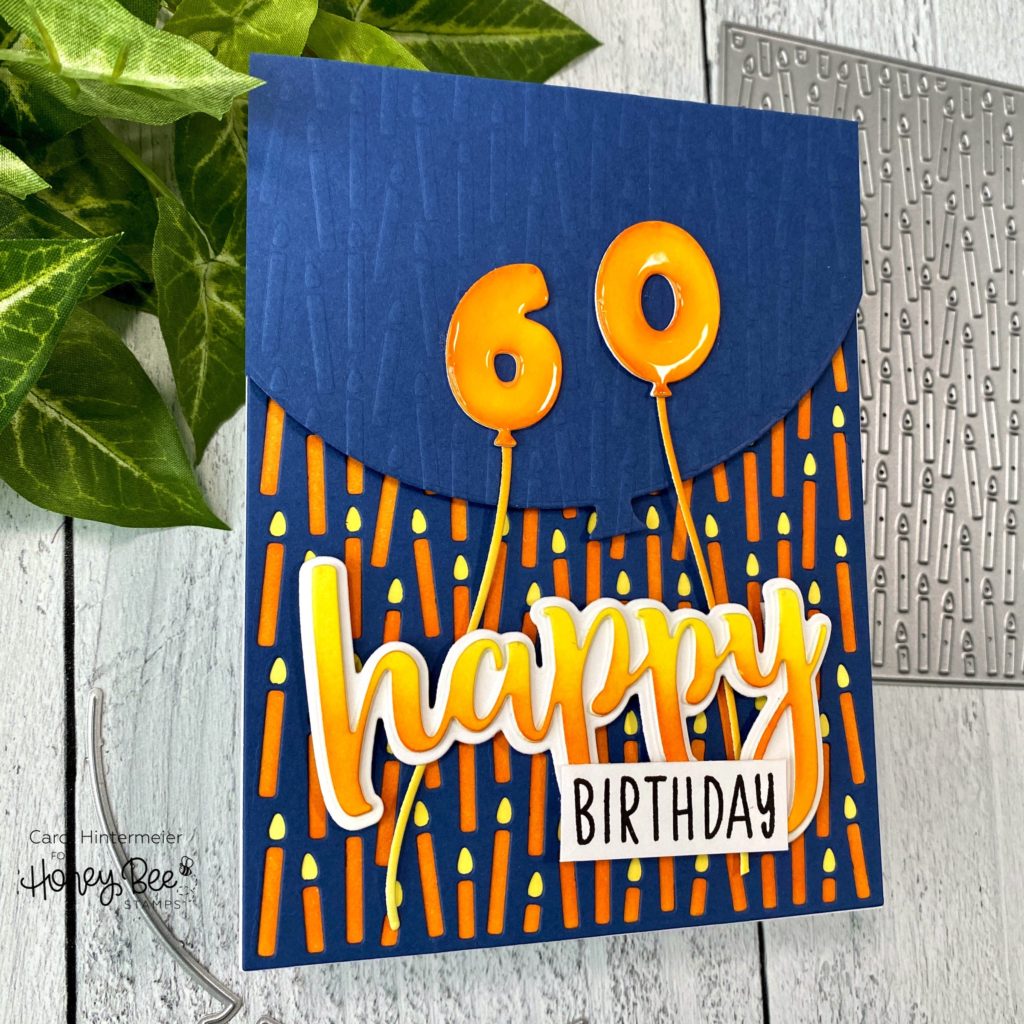
I die cut the number 60 (three times) from the Balloon Numbers and the balloon strings from white card stock. I left the die cuts in the negative space and used my Background Blender brush to color them with Squeezed Lemonade and Spiced Marmalade Distress Inks. I adhered the colored 60 to the white card stock layers with Bee Creative glue and adhered the strings to them. I adhered these to the card.
Next I used the Happy Honey Cuts and die cut the “happy” three times from white card stock. I left one in the negative space and blended on Squeezed Lemonade and Spiced Marmalade with my Blender brushes. I adhered the three layers together and then onto the shadow layer. I added foam tape and popped it onto the card front. I stamped the “birthday” sentiment (from Thanks A Bunch) in black ink, trimmed it, and adhered it to the “happy” sentiment.
To add just a bit of fun shine, I added Glossy Accents to the Balloon Numbers and let it dry.
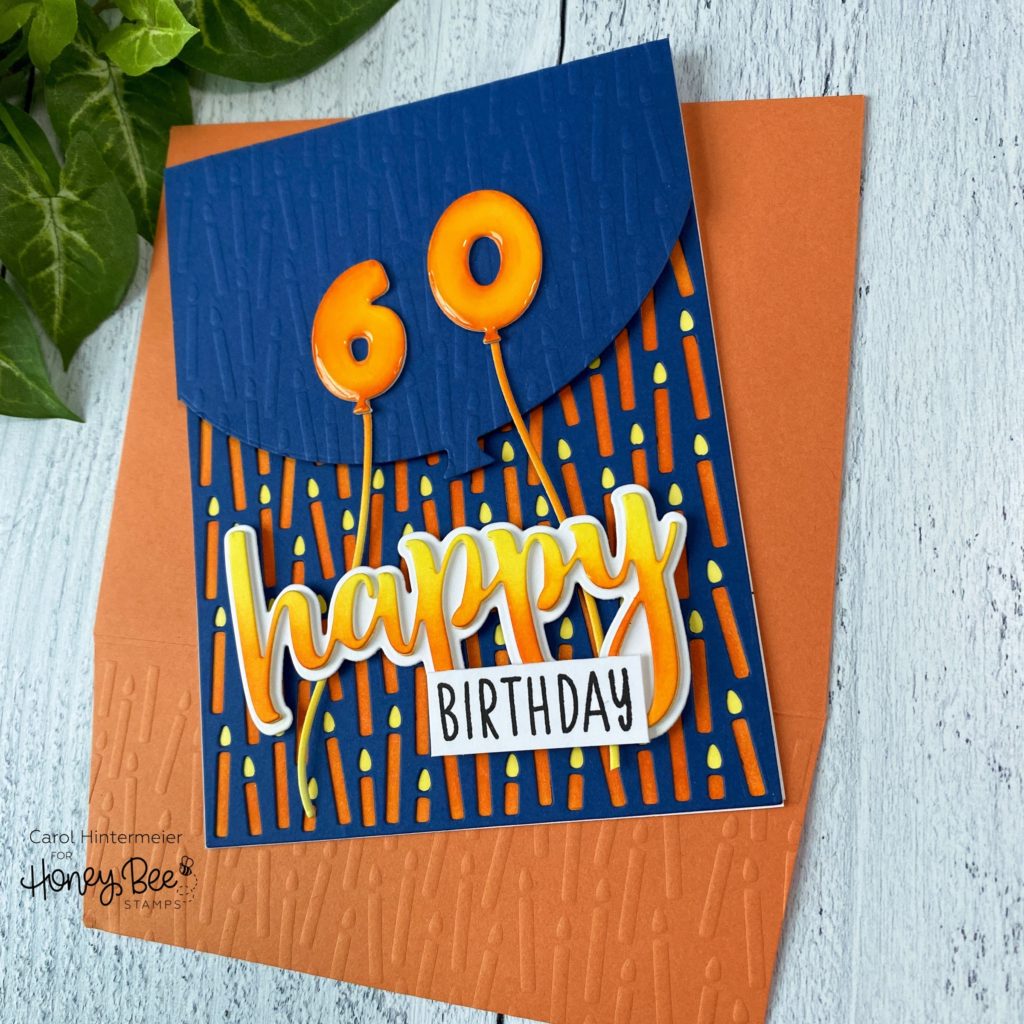
For a fun touch on the envelope, I also dry embossed the flap with the Birthday Candle stencil! I love how these cards turned out, and for me, the Candle Cover Plate Honey Cut will never leave my stash! One of the most versatile dies ever!!! I hope you’ve found some inspiration for your masculine birthday cards here! Thank you so very much for stopping by!
2 responses to “Two Masculine Birthday Cards: One Candle Cover Plate Die”
These cards are perfect for men. It’s always so hard to make cards for them. These ideas are fantastic.
Thank you Esther! I totally agree about the challenge of making cards for our guys! This die sure did make it easier! 🙂