Welcome to the Honey Bee Blog! It’s Bobbi here with a card featuring two new sets that are designed to work together. One includes a variety of seashore images including a beautiful lighthouse and the other includes sentiments to fit the images. I’m using the following Honey Bee Stamps products:
Light the Way stamp set and coordinating Honey Cut dies
Be the Light stamp set and coordinating Honey Cut dies
The featured project below is made from Neenah 80lb Solar White cardstock for the card base and card front panel. All of the black ink stamping was done using Honey Bee’s Bee Creative Intense Black Ink. I use Honey Bee Stamps Bee Creative Precision Glue and for when I want more dimension, Bee Creative Foam Dots With Tab for adhering my elements together. My card is 5″ X 7″ in size.
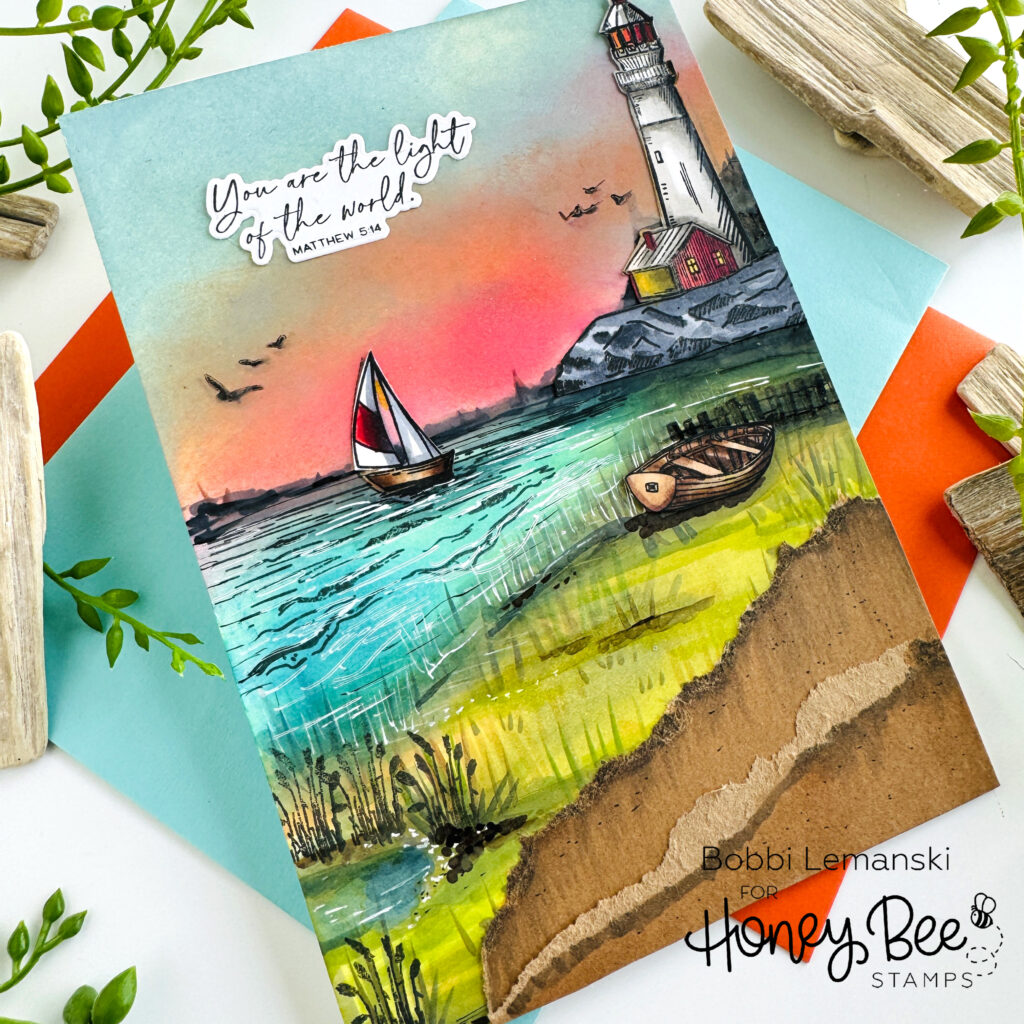
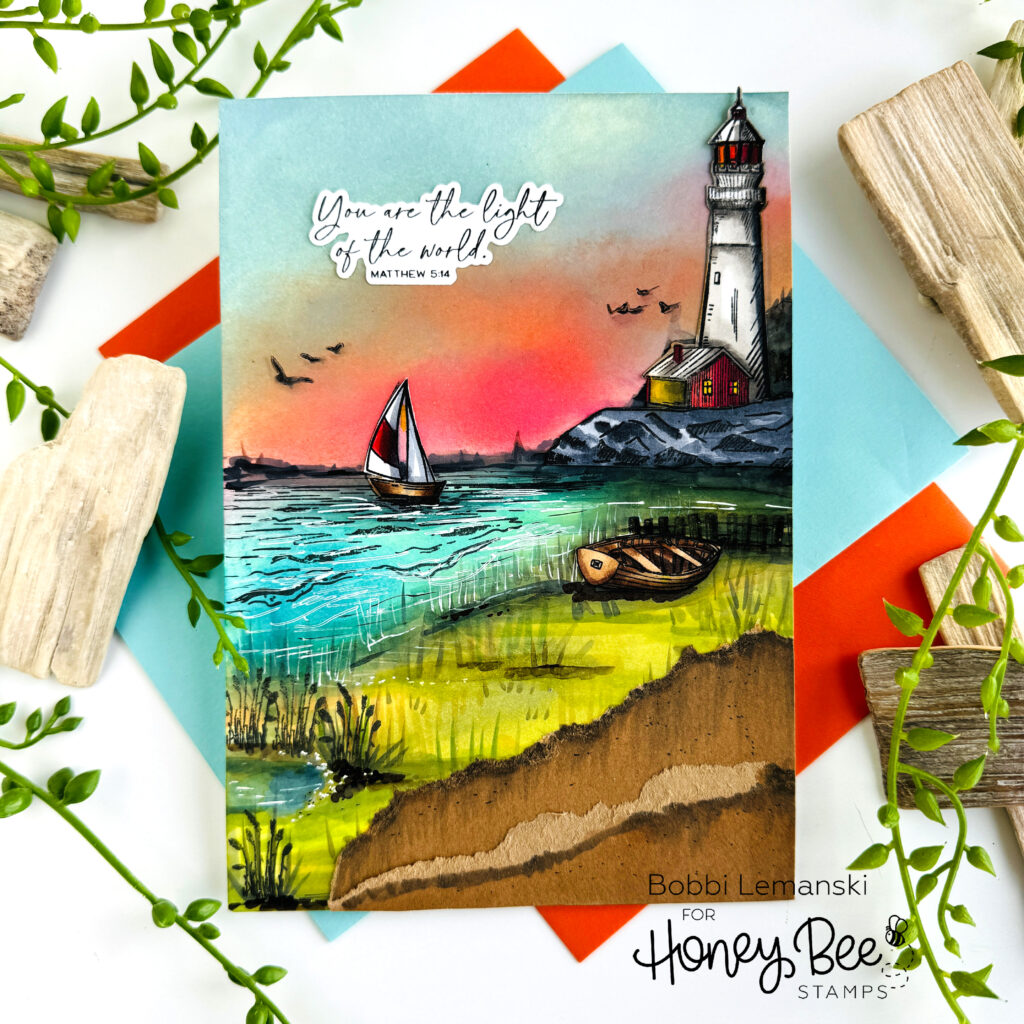
To make the 5″ X 7″ greeting card, I started by laying out my scene. I knew that I wanted to have the lighthouse on a rock cliff, a sailboat out in the water and a row boat abandoned on the shore. I stamped the images in black and die cut them using the coordinating dies. Once I had that done, I colored the lighthouse, sail boat and canoe using Copic Markers in shades of “C” cool grays (C8, C6, C5, C4, C1) on the light house and “E” browns on the canoe (E49, E47, E57, E55) with both colors and some red (R89, R46, R14) on the sail boat. I used yellows and reds for the lights (R89, R46, R14, Y19, Y08). I set them aside to work on the background scene.
To create the colorful evening background, I laid out my images for positioning and made a mental note of where I wanted my sky, sea and land to be on a 5″ X 7″ front panel white cardstock piece. Sometimes I will mark the areas with pencil marks to make sure I start and end in the right places. Setting the images aside, I blended (using my larger blender brushes) the following colors of Distress Oxide Inks from the top to bottom: Speckled Egg, Carved Pumpkin, Kitsch Flamingo, (for the evening sky), Mermaid Lagoon (water) and Crushed Olive for the land. I tore pieces of kraft cardstock to cover the corner area with a sandy/dirt patch. This could have been done in all green, too. I liked the deeper color in the foreground.
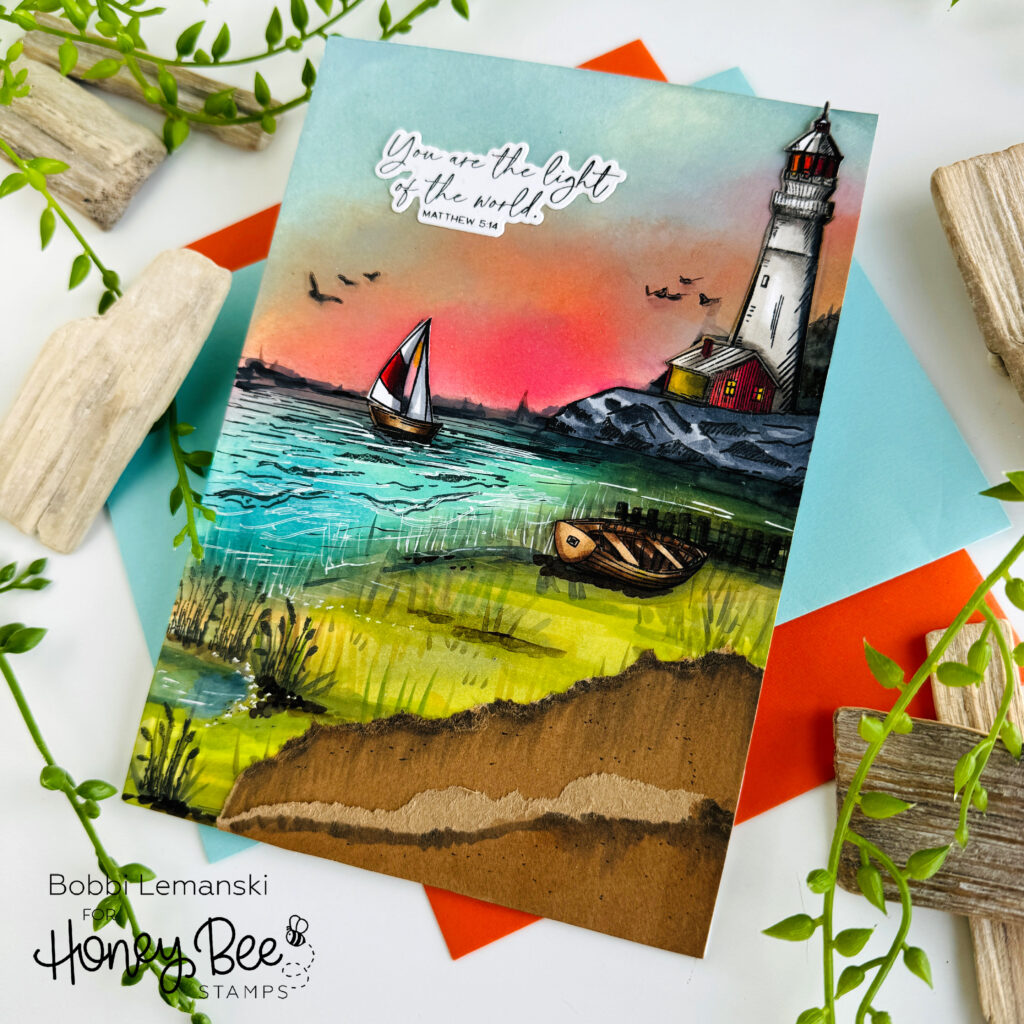
Next, I added my stamped/colored images from the Light the Way stamp set. I stamped the grassy image on the grassy area for tall weeds and the birds in the sky. I also stamped the rocky cliff image under the lighthouse and the water waves in the blue waters for more landscape definition. Using Copics, I added more definition to the sections of the landscape including adding the very important horizon using a black 100 Copic marker. I also added deeper tones to shade the waters (BG75, BG72), the rocky stones (C shades), and the grass areas around the boat and the tall weeds W4, YG63, BG93, BG91). In addition, I envisioned a bit of gleam on the waters from the sun at sunset so I added white highlights using my white gel pen to the waters for more contrast.
Using Be the Light stamp set and coordinating Honey Cut dies, I stamped and die cut a sentiment from the set. There are many sentiments in this set that could fit this scene beautifully so read them all and pick your favorite! I attached this 5″ X 7″ panel to an 80lb white card base to complete it. This card is perfectly flat and will mail with no additional postage for bulk.
You can shop the entire Honey Bee Stamps , Sunkissed Summer release here. If you decide to place an order, please use the links in this post so that Honey Bee knows which ideas inspired you!
Thanks for stopping by today. If you want to see more ideas and inspiration from me, subscribe to my blog, BobbiHartDesign.com. I’ll send you updates on new posts! You can also find me on Instagram as @BobbiHartDesign and on Facebook as BobbiHartDesign.
One response to “The Light of the World – Lighthouse Card”
Freaking outstanding!