Hello crafters! It’s Keiko from Happy Tree Studio here today. I don’t know about you, but I feel like I have made enough winter card and am ready for some spring scene. So today I’m sharing this spring scene friendship card with you!
I started with stamping the images on to Kraft card stock with brown ink. I then colored them with my Polychromos pencils and cut them out. The deer is from Silent Night stamp set, and all the other supporting elements are from Bill the Bear set.
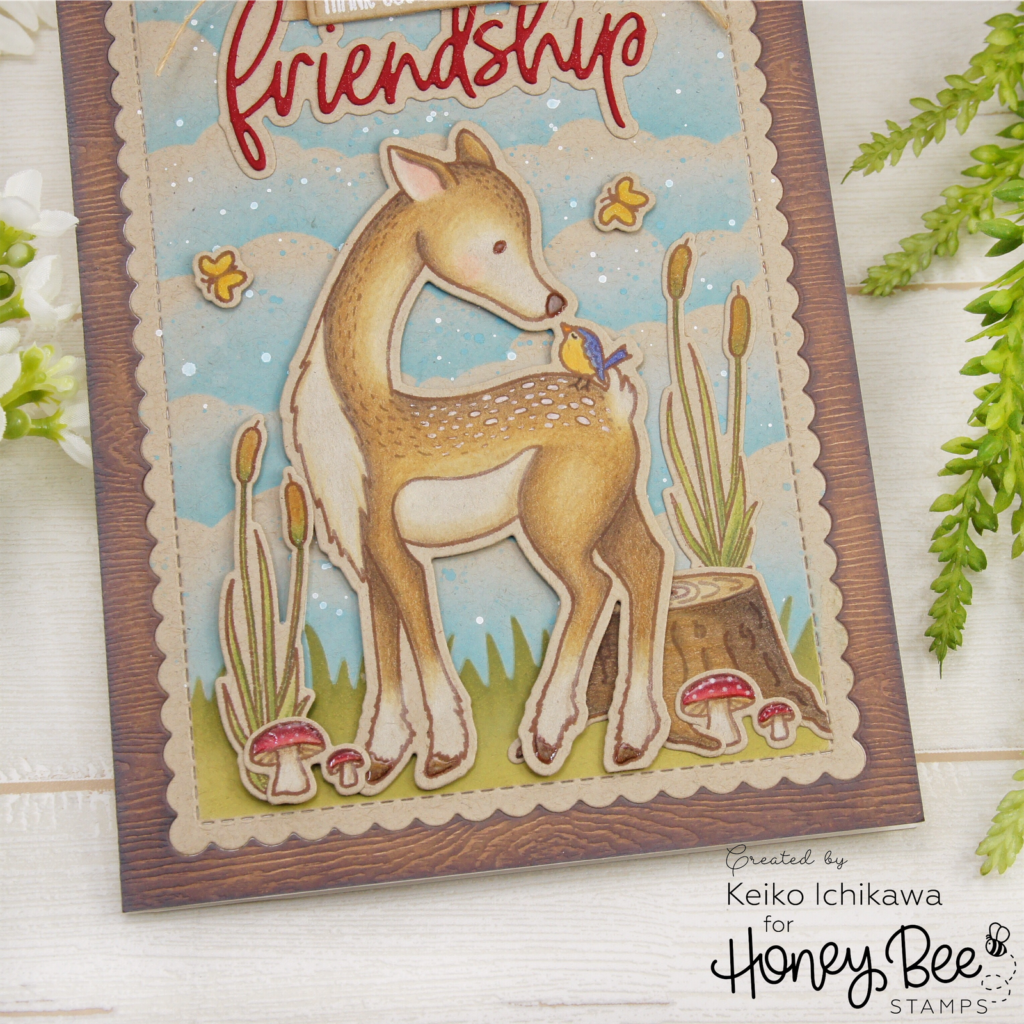
For the background, I used Scallop A7 die (2nd largest in the set) to cut out the panel from Kraft card stock. I masked off the scallop with some low tack tape and blended Distress inks over stencils. For the grass, I made my own stencil by die cutting a piece of acetate sheet with grass boarder die. For the clouds, I used Outdoor Scene Builder stencils.
<Ink Colors>
Grass: Peeled paint distress oxide ink & Peeled paint distress ink
Sky: Tumbled glass distress oxide ink & Broken china distress oxide ink
To add more texture to the background, I splattered some white ink (watered down Copic opaque white) and Broken china distress oxide ink (also watered down).
The first part of the sentiment (“THANK YOU FOR YOUR”) is from Forest Friends stamp set. I heat embossed it on Kraft card stock with white embossing powder and used the banner die from the coordinating die set to cut them out. To add a bit of dimension to the banner, I added some Walnut stain distress oxide ink around the edges. For the word Friendship, I used Friendship die set and cut out the word (red card stock) and the shadow (Kraft card stock) and layered them.
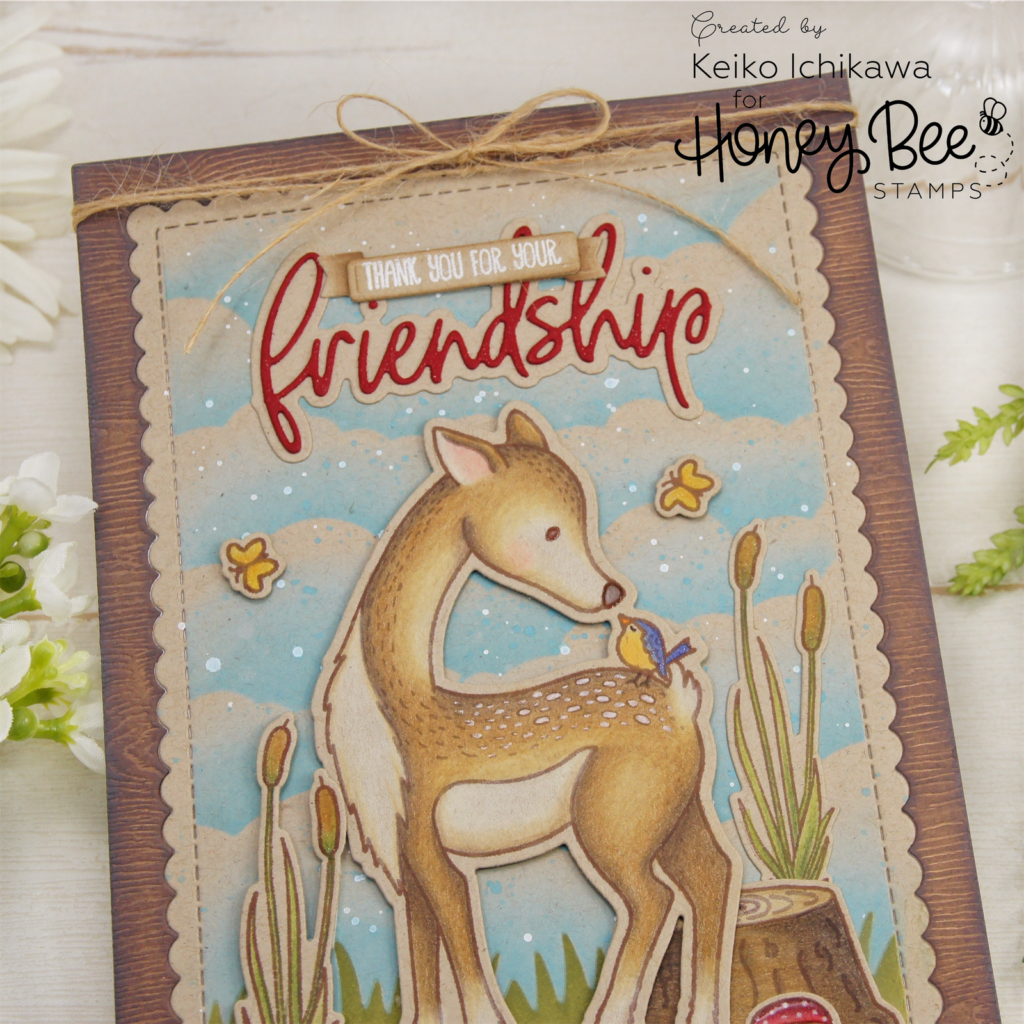
Then the fun part! Arrange all the images and sentiment on the front panel. By selectively using foam adhesives on some of the images, you can achieve a hint of dimension.
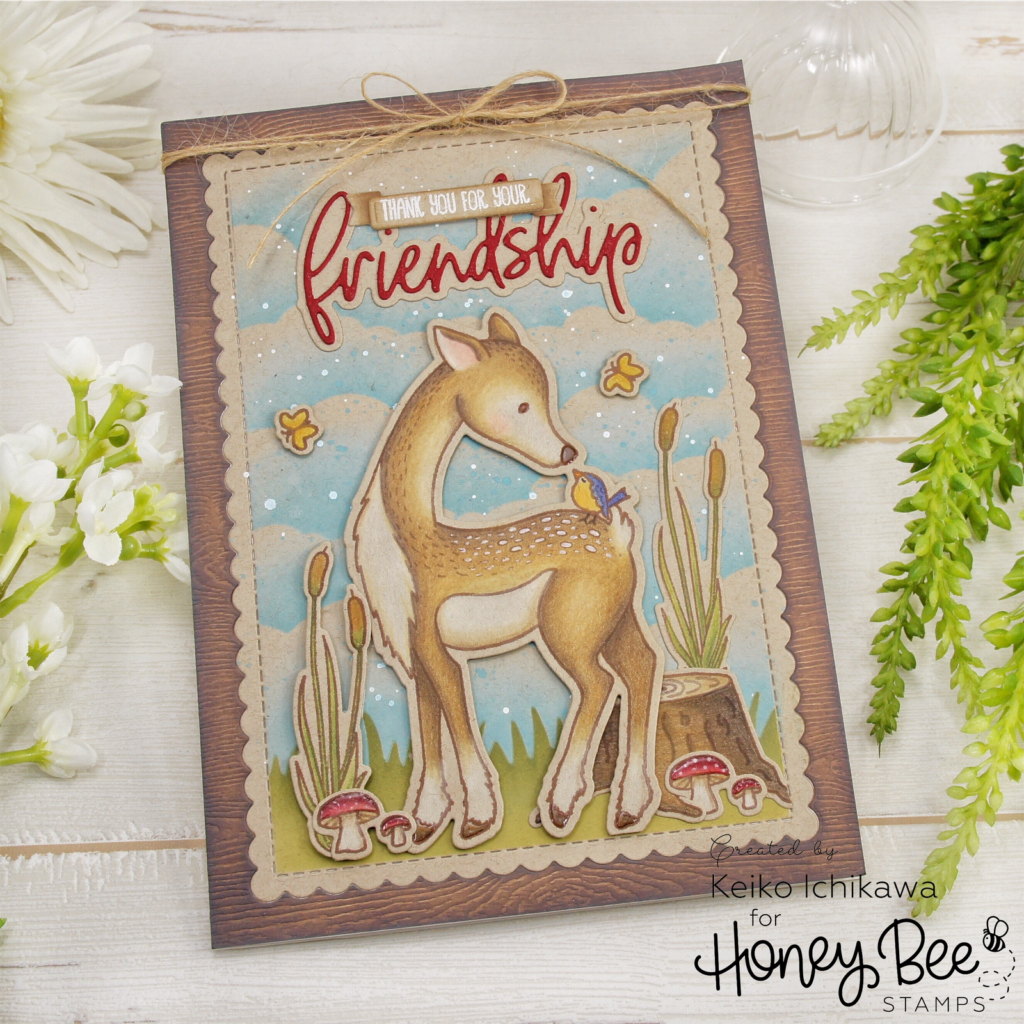
I then decided to add a woodgrain frame around the main panel. Using the same scallop die, I die cut a piece of A7 sized woodgrain card stock. The key here is to align the die in the middle of the paper to get a nice even frame. To add color, I sponged on Walnut stain distress oxide ink.
For the finishing touches, I added glossy accents to the eye, nose, and hooves of the deer and top of the mushrooms, and then tied some natural twine. I adhere the frame on to the A7 card base, and then glued the main panel in the middle.
Thank you so much for stopping by.
Have a wonderful week!!
KEIKO
One response to “Thank You For Your Friendship: Spring scene card”
Pretty scene!