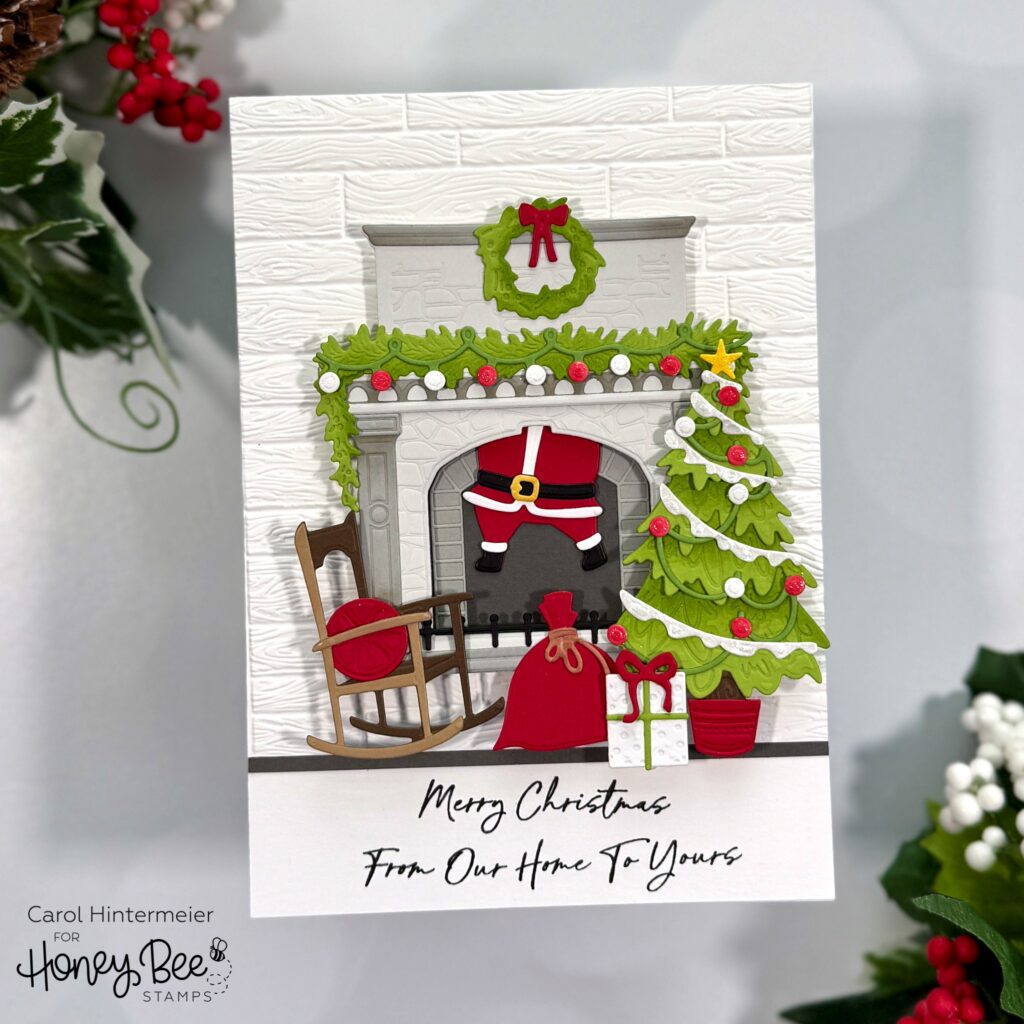
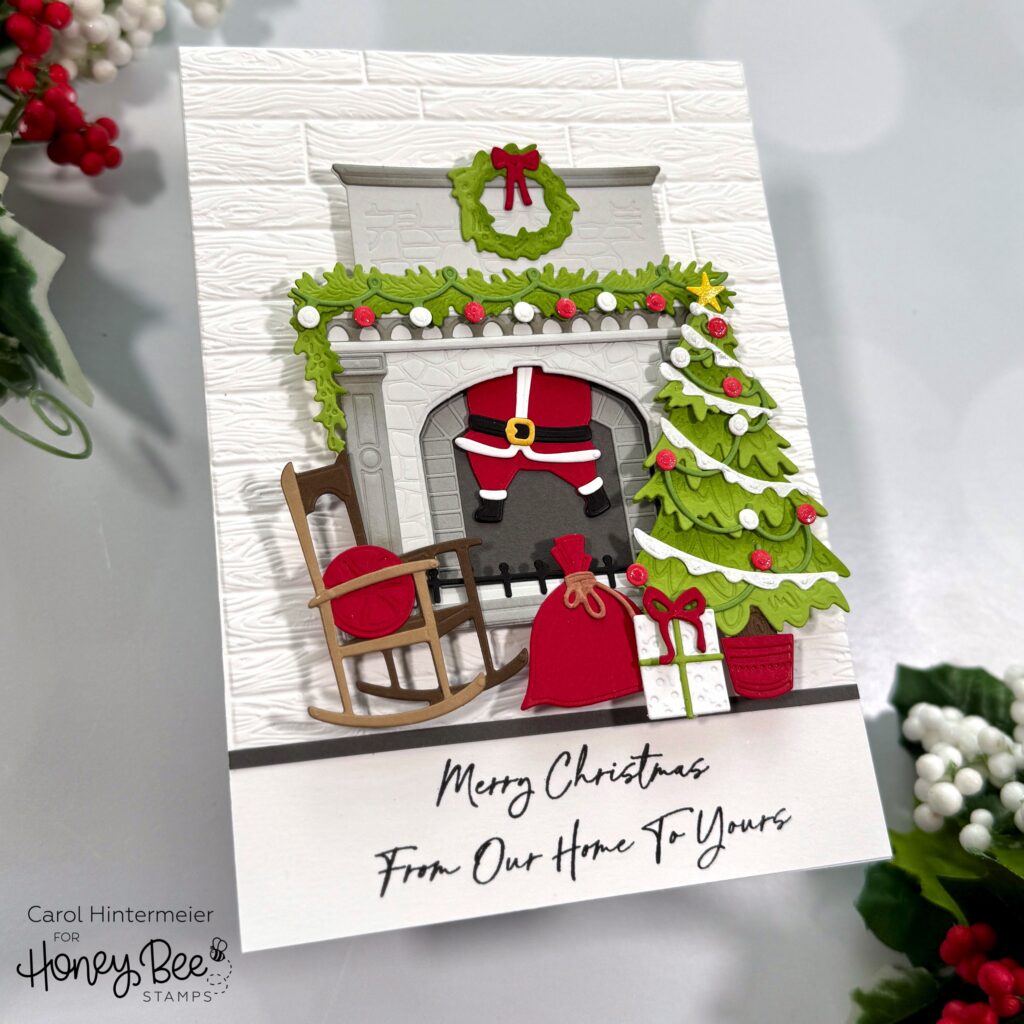
Hello Honey Bee friends! Today I’m sharing my interactive card featuring the Lovely Layers: Fireplace with the Lovely Layers: Fireplace Add-On Honey Cuts. Santa is swinging on down the fireplace in this cute scene! I love these sets because I can create any color of theme and also use the “fire” dies for the fireplace too!

I first created my 5″ x 7″ card base and added a white cardstock layer that I embossed with the Wood Planks 3D embossing folder. I trimmed 1-¼” off of the bottom before adhering it to the card with glue. I stamped the sentiment from the Sending Christmas Joy stamp set onto a 1-¼” x 5″ strip of white cardstock in black pigment ink. I adhered this to the bottom of the card and glued on a strip of dark gray cardstock just above it.
Next I die cut the Lovely Layers: Fireplace dies from three shades of gray cardstock. I used the Layering Guide to help me in assembling the fireplace layers with glue. I did not adhere the inner fireplace brick piece at this time.
Then I die cut the desired pieces from the Lovely Layers: Fireplace Holiday Add-On from green, red, white, brown, and black cardstock. I, again, referred to the Layering Guide as I glued the pieces together. I added some sparkle to the lights with a clear glitter pen.

Next I worked on the interactive portion of the card. I will do my best to explain it here, but I will have a reel posted over on my Instagram soon where you will get a visual of how I made this. Here are the steps for the interactive portion:
- Using the completed fireplace as a guide, I used a pencil to trace the opening onto the card.
- Then I adhered a piece of dark gray cardstock that is larger than the tracing.
- Still using the fireplace as a guide, I added glue to the back of the brick insert and glued it to the dark gray piece.
- Next you will need a circular, dimension piece for the swinging portion. You can use a coin, or die cut/punch several small circles (no larger than ¼” and adhere them together. It just needs to have a bit of height for the Santa to swing.
- First cut a strip of cardstock that is a bit wider than your chosen circular piece and is about 1″ to 1-½” long.
- Adhere your dimensional circle to the card with a small piece of strong double-sided tape. Then I used my anti-static tool on the adhesive that is around my dimensional circle so that the Santa piece will not stick to it.
- Now you will need to trim a piece of cardstock that is a bit wider than your dimensional circle and about an inch or so long. Punch a hole that’s a bit wider than your dimensional circle near the top of the strip.
- Glue this strip to the back of the Santa.
- I placed a piece of removable tape onto the front of the Santa and fireplace to hold him in place.
- Then I added thick foam dots to the back of the fireplace to adhere to the card and removed the temporary tape.
I finished up the card by placing the other elements of the scene around the fireplace. I used glue and more thick foam dots to adhere them.

If I decide to mail this card I will used a padded envelope. It will be a bit more postage but I think this card is worth it!! If you have any questions about how to make this fun swinging Santa card, please leave me a comment below, and I will be happy to help.
Thank you so much for stopping by today! Have a wonderful day!

2 responses to “Swinging Santa Fireplace Card”
Oh Carol, this is SO clever and so darn adorable! I love every little detail of your design. Beautifully done!
Thank you so much Danita! This was SO fun to make!!