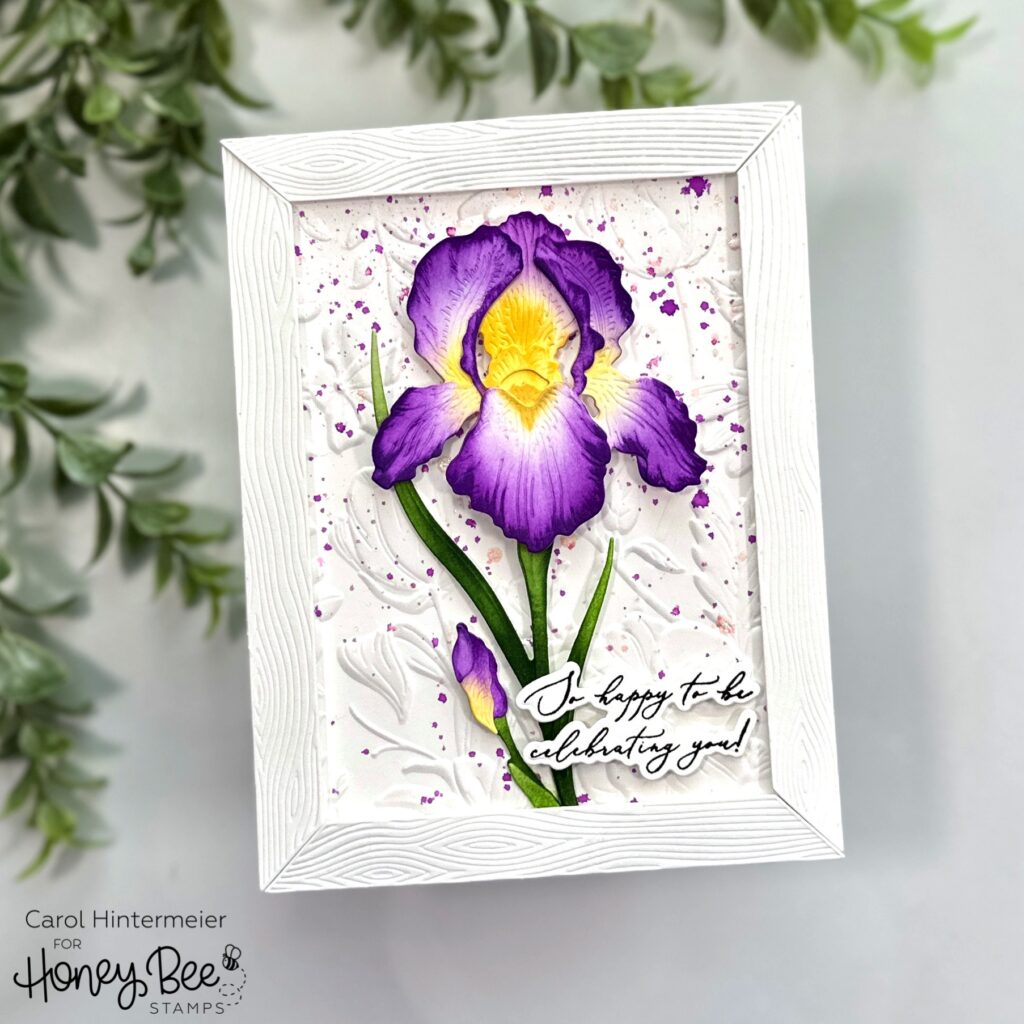
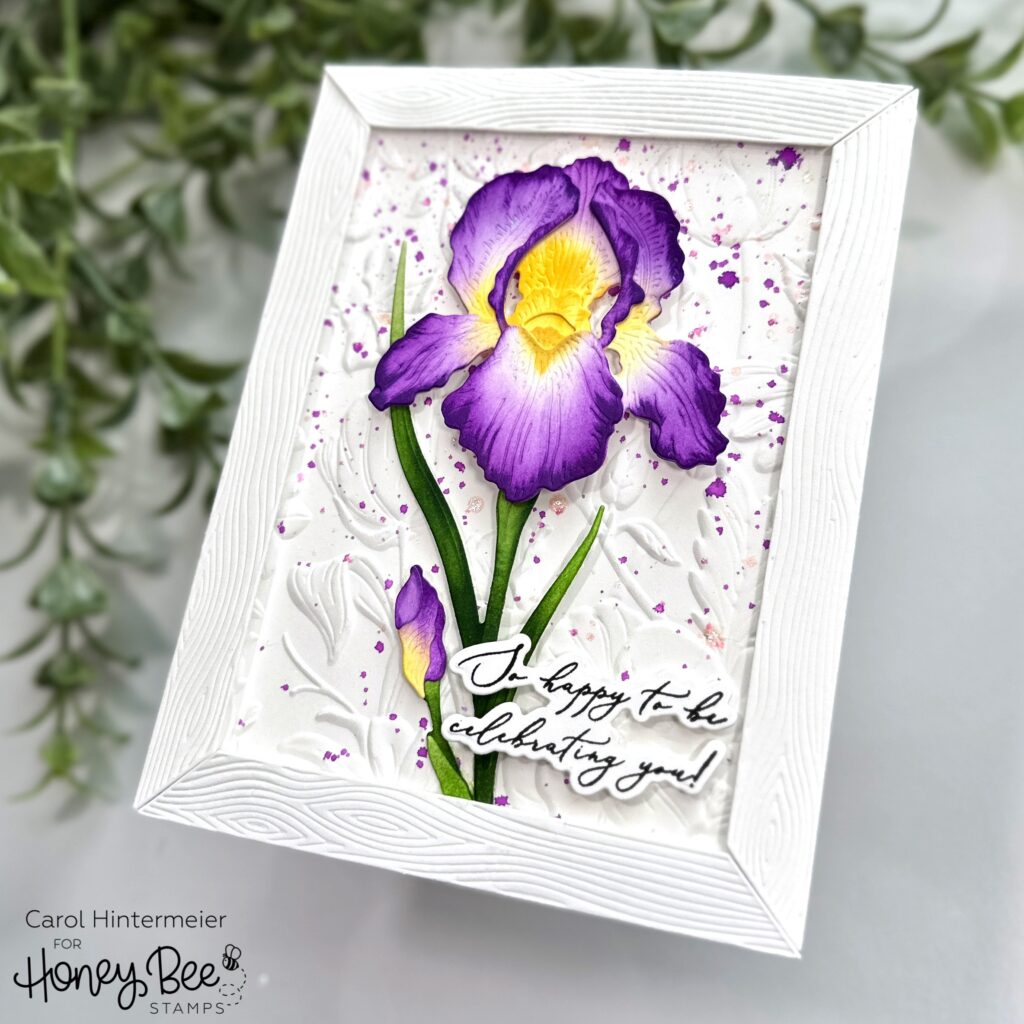
Hello Honey Bee friends! Happy first day of May! One of my most favorite flowers to bloom in spring is the bearded iris and my goodness, the Lovely Layers: Iris is just as gorgeous as real irises!!

First I die cut all of the pieces of the Lovely Layers: Iris from 80# white cardstock. Then I used the new BeeLuxe Detail Blending Brushes to add yellow and purple inks to the layers. Let me say this, I was so very pleased with how these brushes swiped on the color! I wanted to imitate real irises I’ve seen that have that dark edge of color fading to white. These brushes made it way easier than I imagined!
When I’m coloring any of the Lovely Layers sets, I always begin with the bottom layer, placing the next layer over it to check it, and adjusting the coloring and shading as needed. To smooth out the purple edges just a bit, I used a Detail Blending Brush to add a bit more purple ink. I used the Layering Guide to assist in the assembly as this is my first time to use these. All of the layers are adhered with glue.

Next I embossed 80# white cardstock with the beautiful Sandie’s Garden 3D embossing folder. I added splatters of purple ink and diluted with water. When the droplets dried I added splatters of Bee Shimmery Liquid Shimmer Watercolor. When that was dry, I adhered the panel to my A2 card base.
Then I pulled out one of my older favorites, the Wood Frame Builder Honey Cuts, and adhered the die cut frame with foam tape. I trimmed the stem of the iris just a bit so it would fit under the frame. Next I added foam dots to the back of the flower and glue to the bottom of the stem to adhere it to the card.
I stamped the sentiment from the Celebrating You stamp set in black ink. Then I cut it out with the coordinating die and popped it up with foam strips.

I will have my reel posted over on Instagram soon and you’ll be able to see the amazing coloring I did with the BeeLuxe brushes. I hope you will check it out! Thanks so very much for stopping by today. Have a wonderful day!
