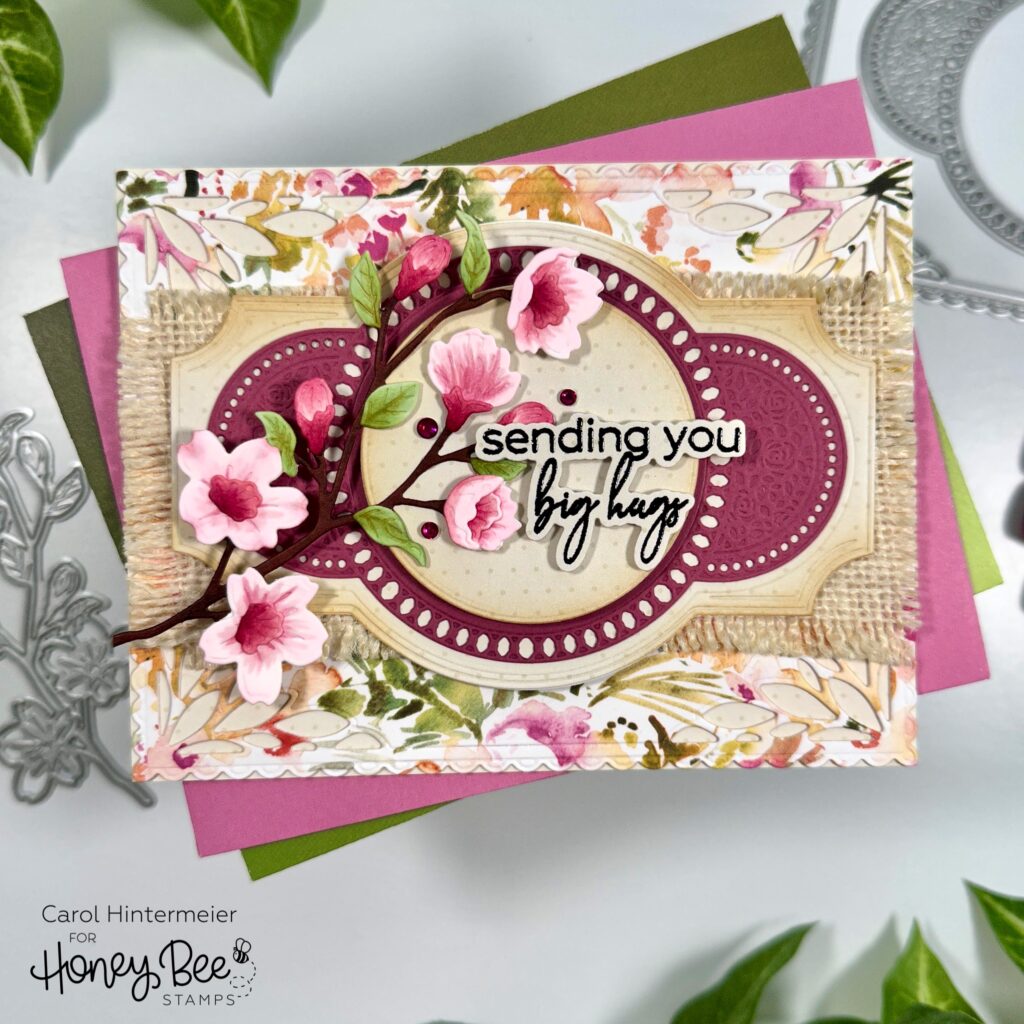
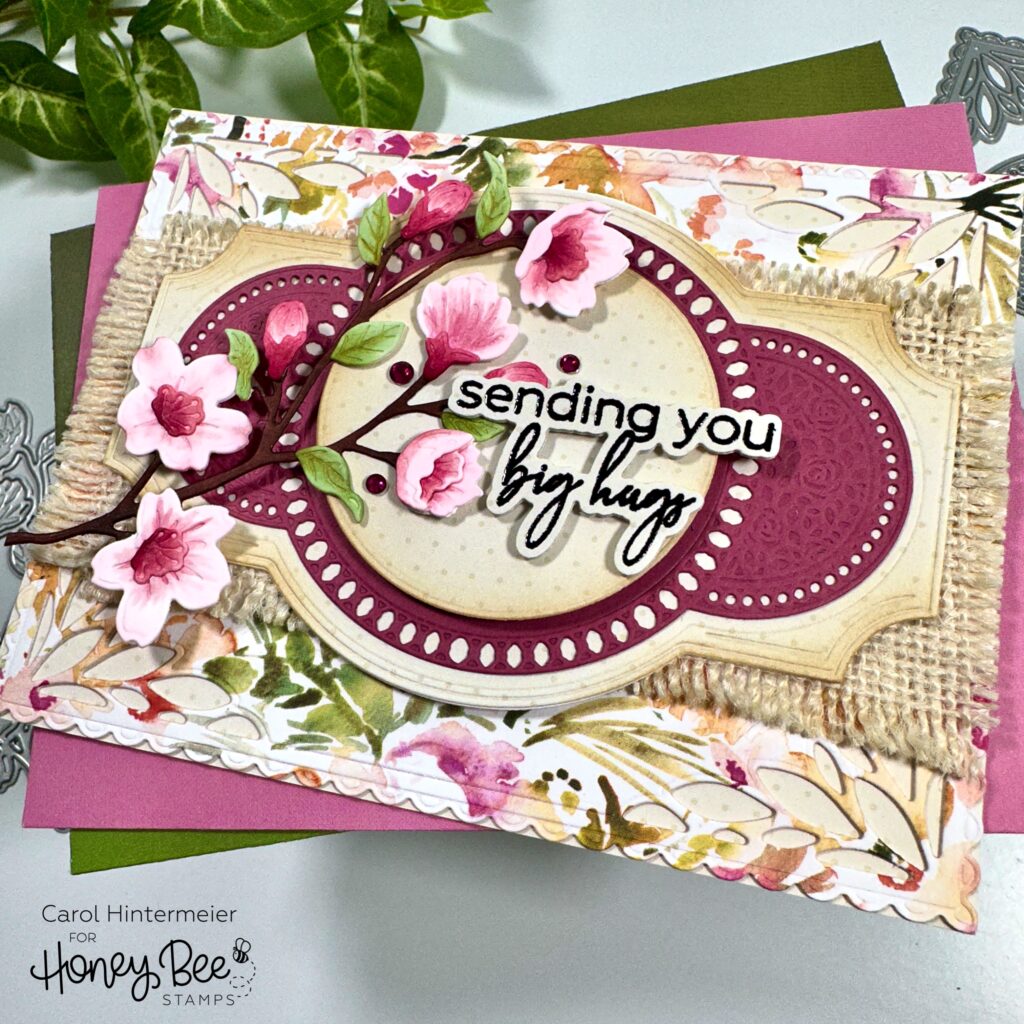
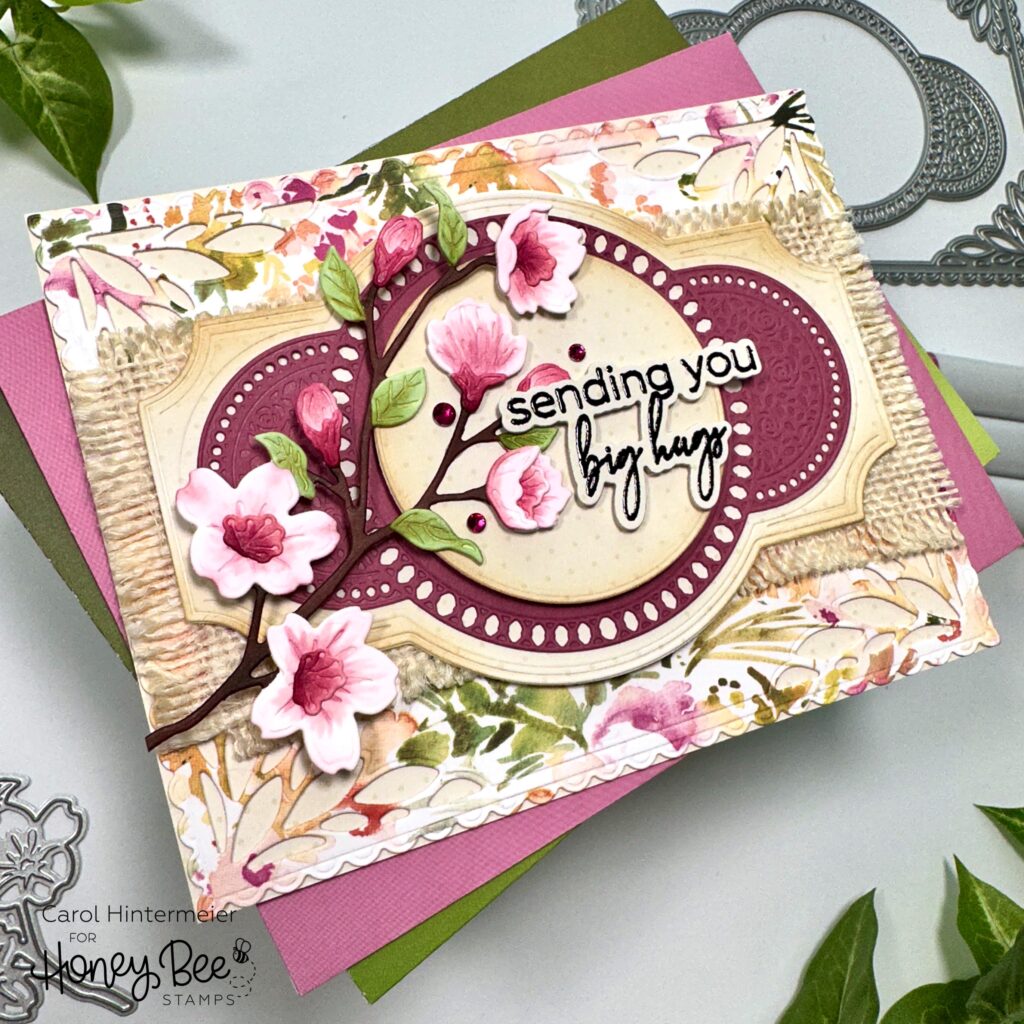
Hello Honey Bee friends! I hope it’s feeling like spring where you’re at! Today I’m sharing my card featuring the beautiful new Lovely Layers: Cherry Blossom Honey Cuts. I’ve made this with a vintage chic style featuring patterned paper and lots of fun layers!

Let’s start with the card base and layers:
- Trim a piece of dotted paper from the Pinstripes & Polka Dots: Spring paper pad to A2 size. Adhere to an A2 card base.
- Die cut the rectangle piece in the Spring Vine Layering Frames Honey Cuts twice. Once from floral paper from the Simply Spring paper pad and one more from 80# Neenah.
- Adhere those layers together and glue to the card.
- Next I trimmed a piece of burlap (I’ve had in my stash forever!) to 2-5/8″ x 5-½”. I used Super Sticky Red tape to adhere the burlap to the card.
- Next I die cut the next largest piece in the Spring Vine Layering Frames with more polka dot paper. After I lightly inked the edges with Antique Linen Distress Ink, I adhered it to the card with more Red Tape.
- I die cut the next layer from the Spring Vine Layering Frames from coordinating plum colored cardstock and glued it to the card.
- I die cut the circle from the same die set from more polka dot paper and some 80# Neenah. After I inked the edges with Antique Linen Distress Ink, I glued those together I popped it up on the card.

Next I die cut all the pieces of the Lovely Layers: Cherry Blossom from 80# Neenah.
I used these Copic Markers to color the pieces:
- Flowers and buds: RV19, RV34, RV32, RV000, R85, R56, R83
- Branch: E29
- Leaves: YG95, YG63, G43, YG61
I used the very helpful Layering Guide and Bee Creative glue to assemble the cherry blossom branch. I added a couple of foam dots to the back of the flowers near the bottom of the branch before adding dots of glue to the branch to adhere it to the card. I used thin foam squares behind a couple more buds for more dimension.
The sentiment from the Garden Bouquet stamp set was stamped in clear embossing ink (after treating with my anti-static tool) onto a scrap of dotted paper and heat set after adding black embossing powder. I cut the sentiment out with the coordinating Honey Cut. I die cut 80# cardstock twice more from the sentiment die and adhered the layers together. I used small pieces of thin foam tape to adhere the sentiment to my card.
I always want a bit of sparkle and a few gem stickers from the Simply Spring Gem Stickers accomplished that!

I hope you’ve enjoy my take on a sweet vintage chic card! Thank you so much for stopping by!

2 responses to “Sending You Big Hugs”
Really beautiful ,tfs.
Thank you so much Linda!!