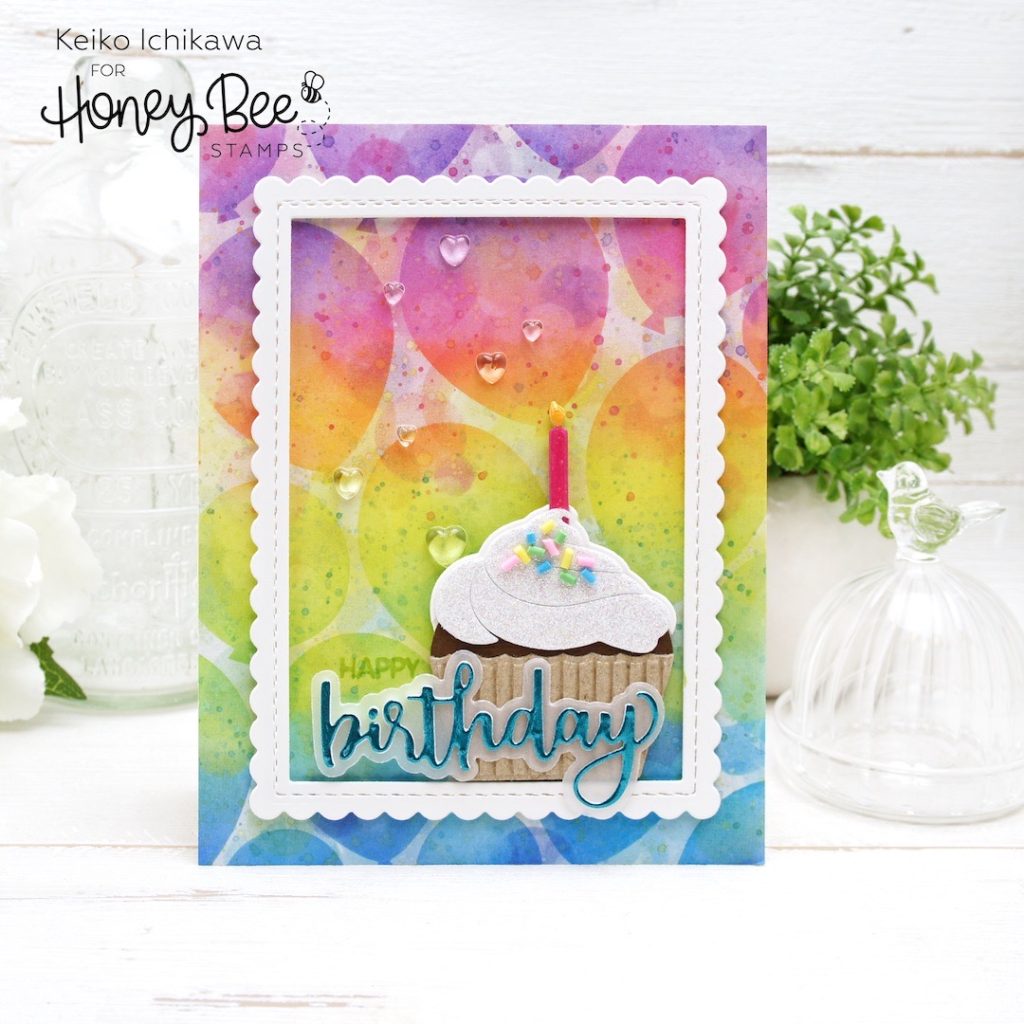
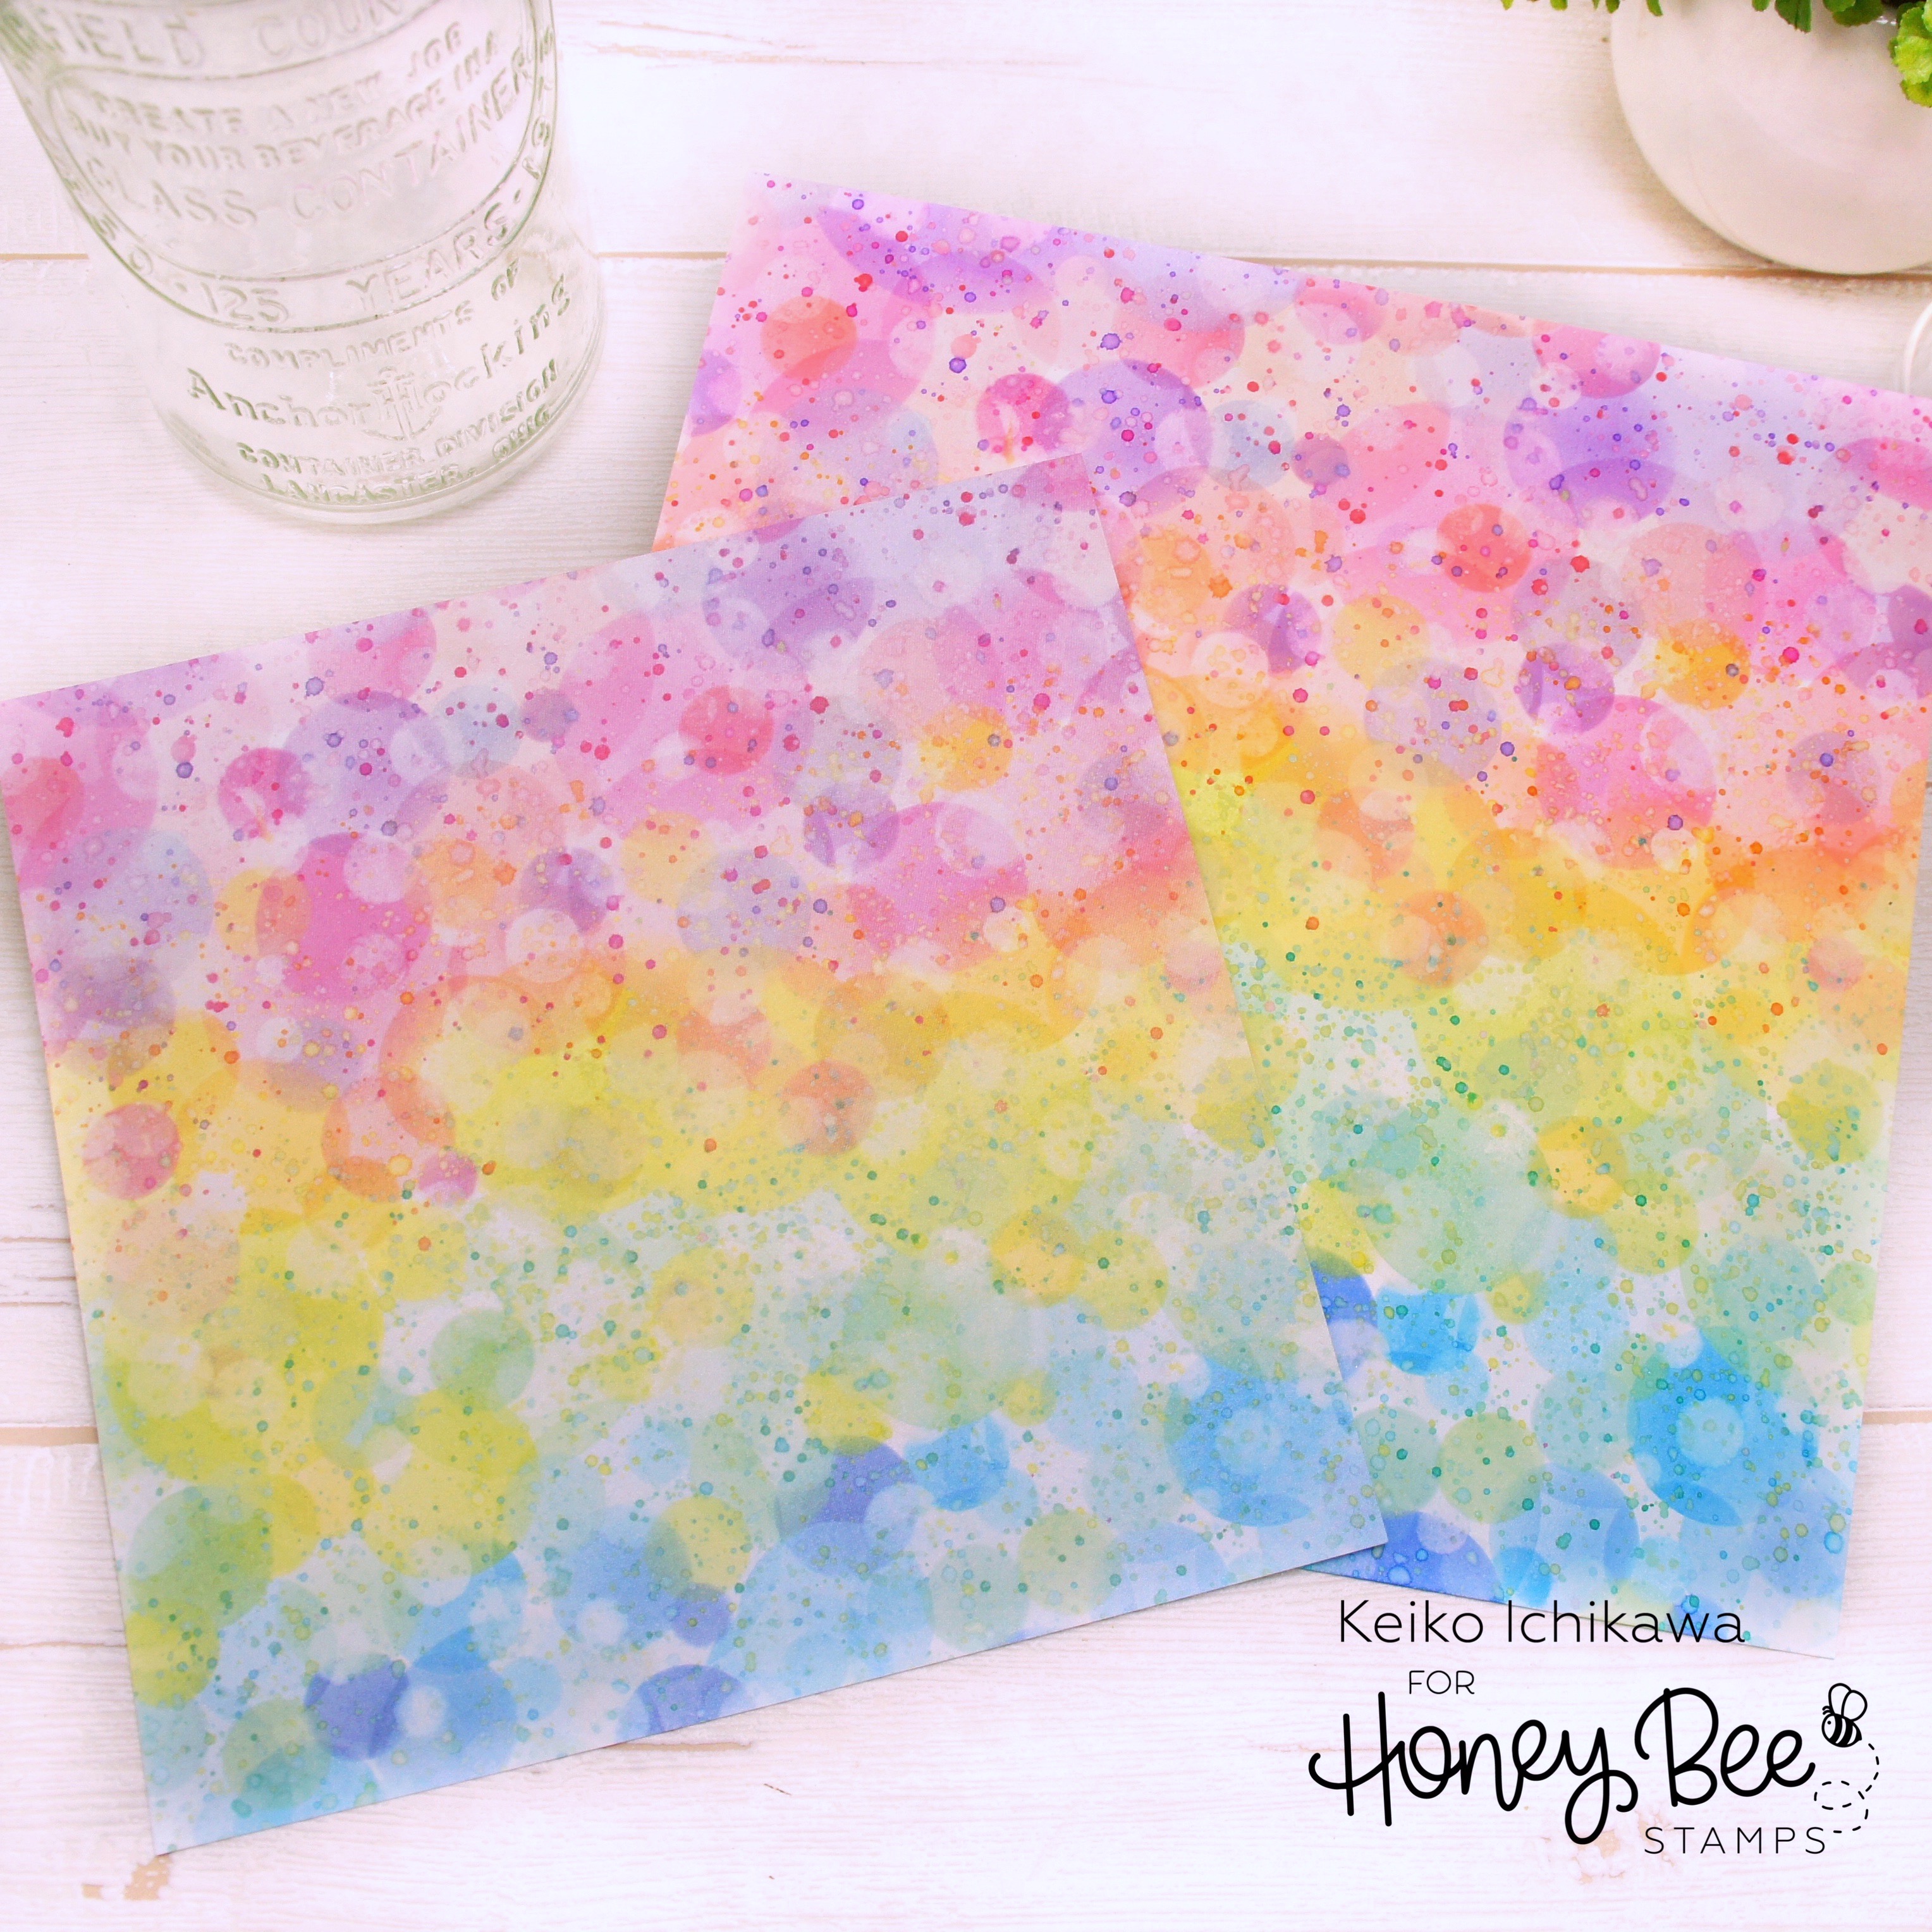
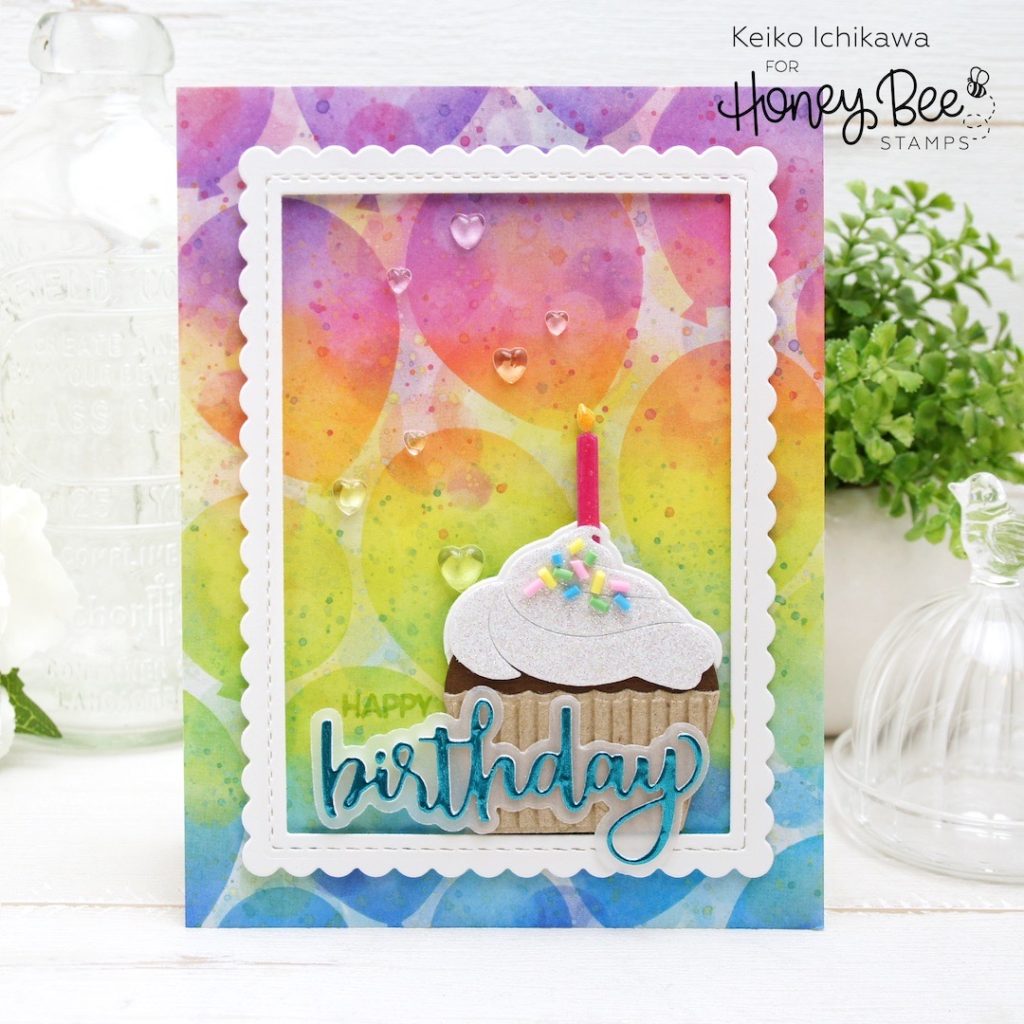
Hello friends! Happy new week! It’s Keiko from Happy Tree Studio and I have this very cheerful rainbow balloon birthday card for you! I went with pretty simple design for this card because I wanted to showcase the rainbow pattern paper I designed. Yes, the new paper pad Team Tie-Dye was design by the Honey Bee Stamps design team members! So exciting! Mine is this pastel rainbow bokeh design (photographed here with the inked original) and I thought it was perfect for a fun birthday card!
To make the background, I cut down the pattern paper to 4.25” x 5.5” and place the new Layering Balloons stencil on top. TIP: Since this stencil has large open space with pretty thin designs, I lightly sprayed the back of the stencil with the Pixie Spray before placing it. This will hold the stencil down while ink blending on top. I then lightly blended the coordinating colors of Distress Inks over the stencil with blender brushes.
Here are the colors I used:
Blueprint Sketch
Salty Ocean
Cracked Pistachio
Twisted Citron
Squeezed Lemonade
Dried Marigold
Picked Raspberry
Shaded Lilac
Wilted Violet
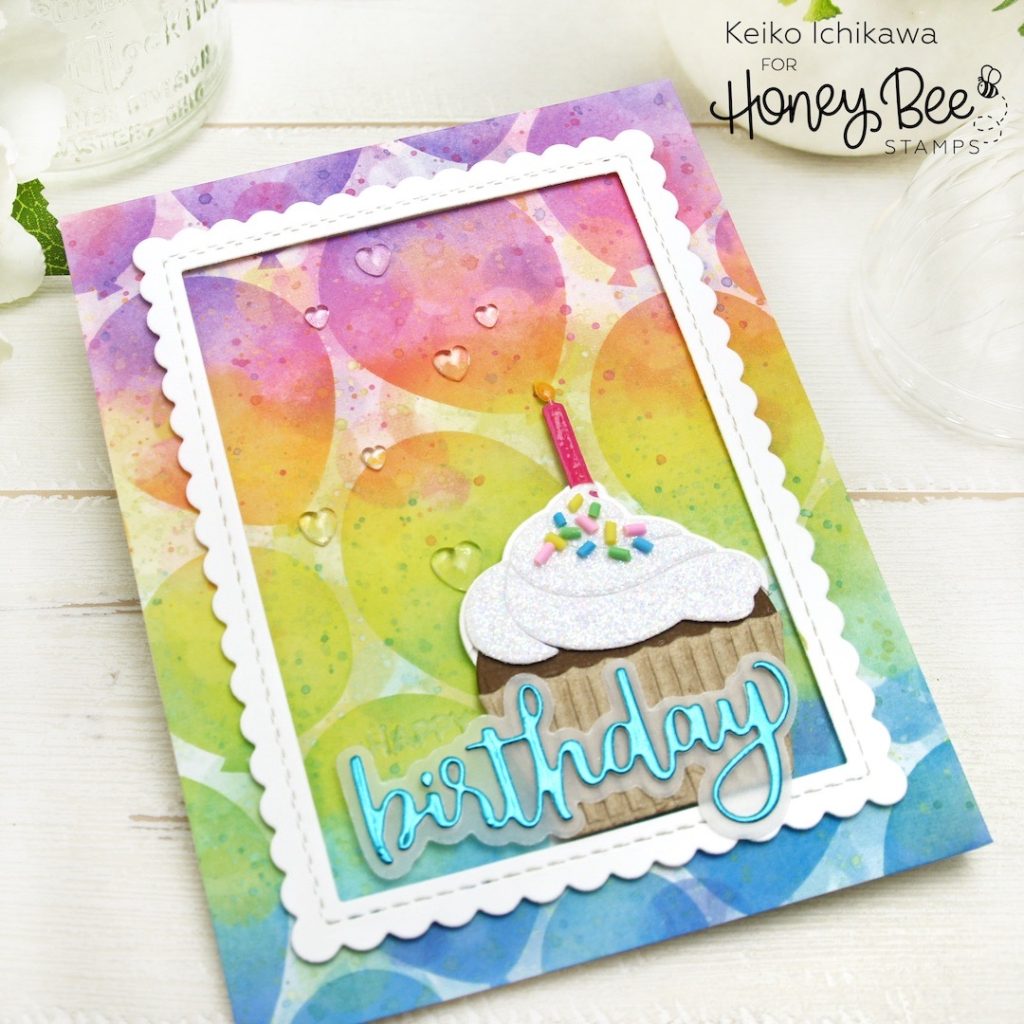
The cupcake was die cut using Cupcake die and I used corrugated paper for the wrapper and glitter card stock for the frosting. The cake itself was cut from chocolate colored card stock and I also die cut a candle and flame. I put all the parts together and added some Candy Sprinkles on top. The white scallop frame was made using both A2 Double Stitched Frames and Scallop A2 Card Frames die. The “birthday” was die cut using the new Bitty Buzzwords set. I cut the word 6 times from white card stock and once from blue foil card stock. I die cut the “shadow” from velum. Here is what I did to make the word “birthday” lay flat on the cupcake. I first layered the blue foil die cut on one of the white die cuts and adhered these on the velum shadow piece. Because the birthday die cut will partly lay on top of the cupcake, I cut apart “birt” portion from the remaining 5 white die cuts and layered them on the back of the velum shadow. Alternatively, you can cut tiny pieces of foam tapes to put behind the word die cut.
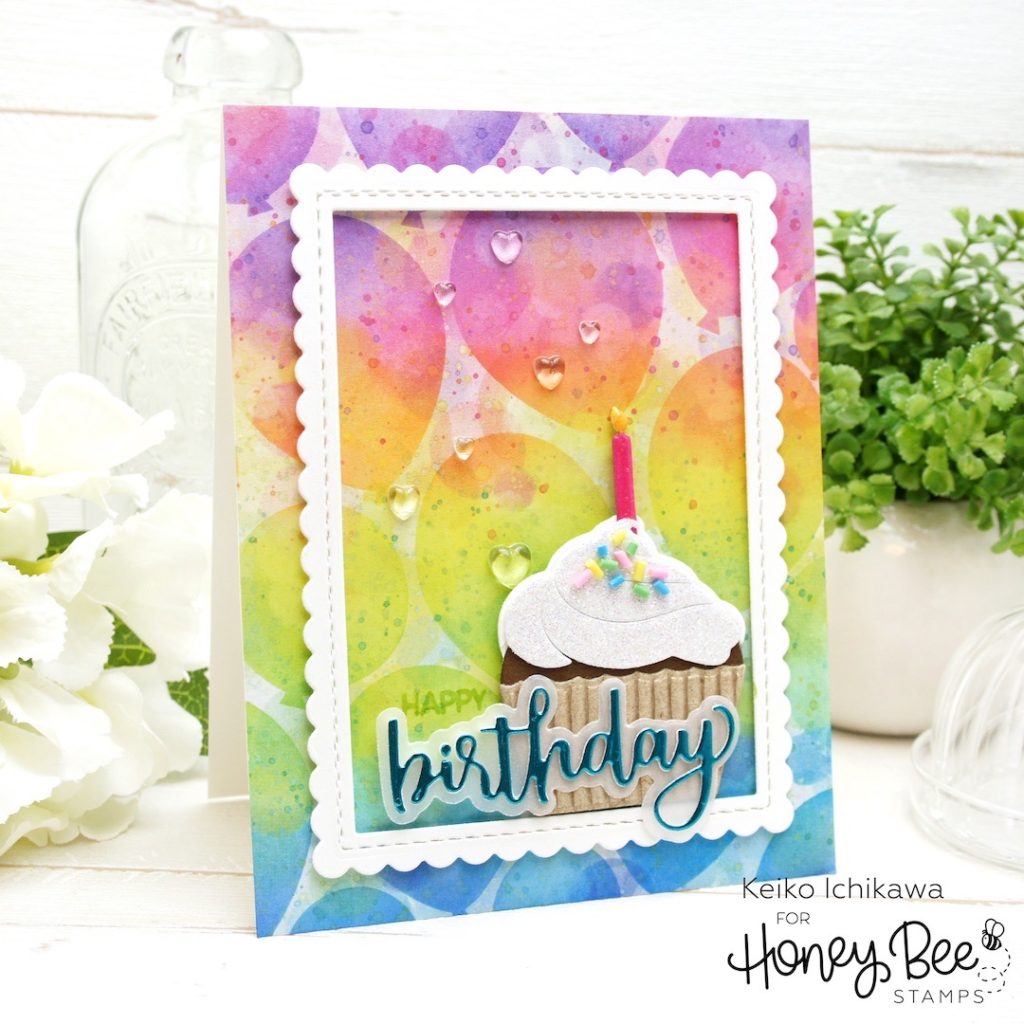
Before adhering everything on the rainbow panel, I stamped “HAPPY” from Bitty Buzzwords stamp set with the coordinating green ink. Then, I adhered the scallop frame and the cupcake with foam tapes. The birthday die cut was placed on top of the cupcake and it lays nicely thanks to the layered die cuts on the back.
To finish off the card, I added some Glossy Accents to the candle and scattered some Crystal Clear Acrylic Hearts.
Thank you so much for stopping by today!
Have a wonderful week!!
One response to “Rainbow Balloon Birthday Card”
Very sweet card.