
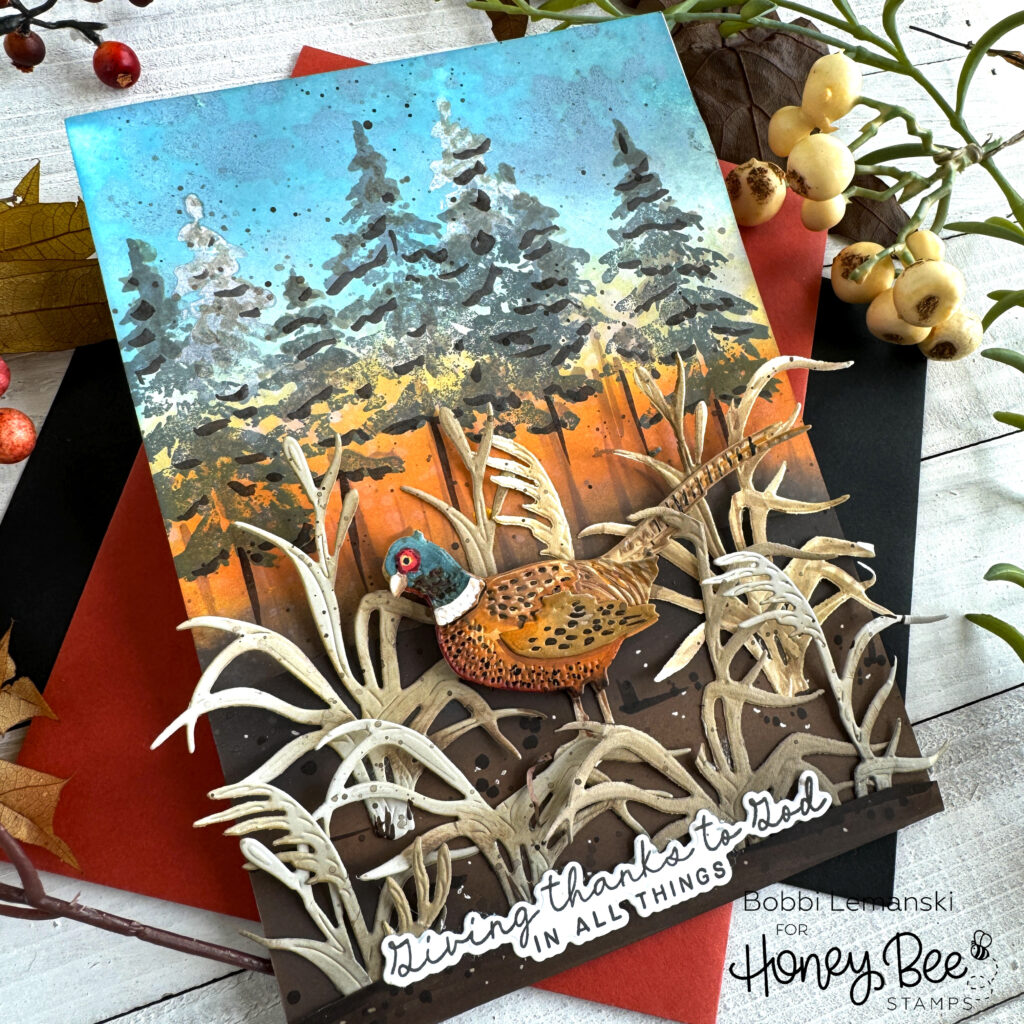
Some days may be pleasant, but how about “pheasant?” I did a little research to understand a pheasant’s habitat. They love tall open grassland areas and can be found in brushy meadows and woodland edges. I created this woodland area behind this brushy/grassland region for this beautiful pheasant. I used the following Honey Bee Stamps products to create this pheasant scene / habitat:
Lovely Layers: Pheasant Honey Cut dies
Lovely Layers: Seashore Honey Cut dies
Blessings of Fall Stamp set and coordinating Honey Cut dies
For the basics… my featured project below is made from Neenah 80lb Solar White cardstock for the card base and card front panel. All of the black ink stamping was done using Honey Bee’s Bee Creative Intense Black Ink. I use Honey Bee Stamps Bee Creative Precision Glue and for when I want more dimension, Bee Creative Foam Dots With Tab for adhering my elements together. My blender brushes (large and small) are a must for ink blending color on the background, too. For white highlights, I use my white Gelly Roll pen. My card is 5″ X 7″ in size.
To make this 5″ X 7″ Card, I started by ink blending several Distress Oxide Ink colors on a 5″ X 7″ card front panel cut from white cardstock. I used my blender brushes (large and small) to apply the following ink colors: Iced Spruce, Speckled Egg, Fossilized Amber, Carved Pumpkin and Ground Espresso.
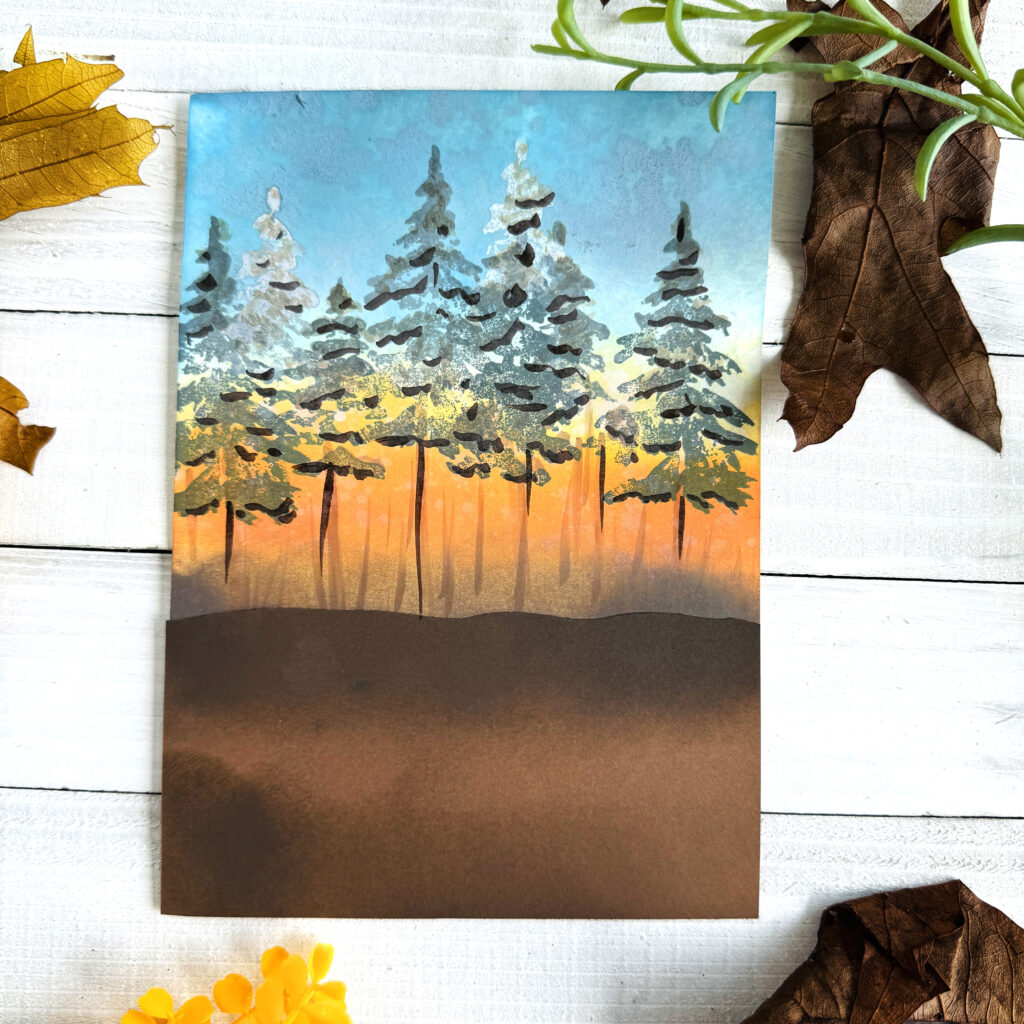
While the ink was still wet, I splattered water over it to pick up some of the ink for a splotchy sky. I also added a piece of brown cardstock for the “ground,” at the bottom of my card front and ink blended more Ground Espresso over it to tie it in to the background. Next, I stamped trees in the background, over the ink using a dark gray, Brilliant White and black inks. The trees get lighter, the further away they are in the background. I drew in tree trunks using a Copic E44 marker. The stamp set also had stamps for the trunks, too!
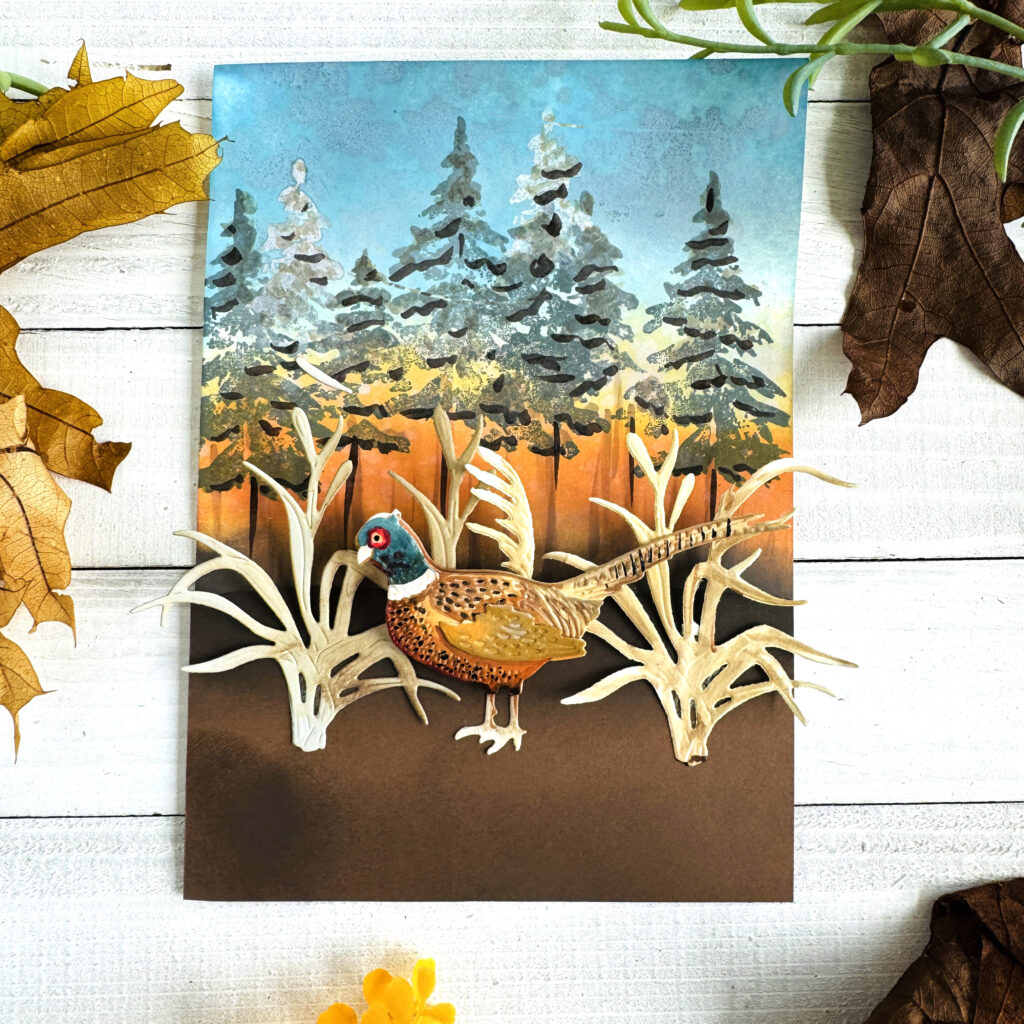
I attached the first foreground layer, which included the pheasant and some “prairie grasses.” The grasses were die cut from tan and warm gray cardstock colors. I also sponged on some extra Frayed Burlap Distress Oxide ink color for interest.
The pheasant was die cut from white cardstock and colored. I used Distress oxide inks in Scattered Straw, Rusty Hinge and a little Ground Espresso for the body of the pheasant. I enhanced it further using Copic Sketch Markers in BG75, R89, R27, 100, YR23 and E41 for the head, neck, beak and eyes. For the body, I enhanced the feathers and legs using Copic markers 100, E49, E44, E42, YR24, YR27 and R89.
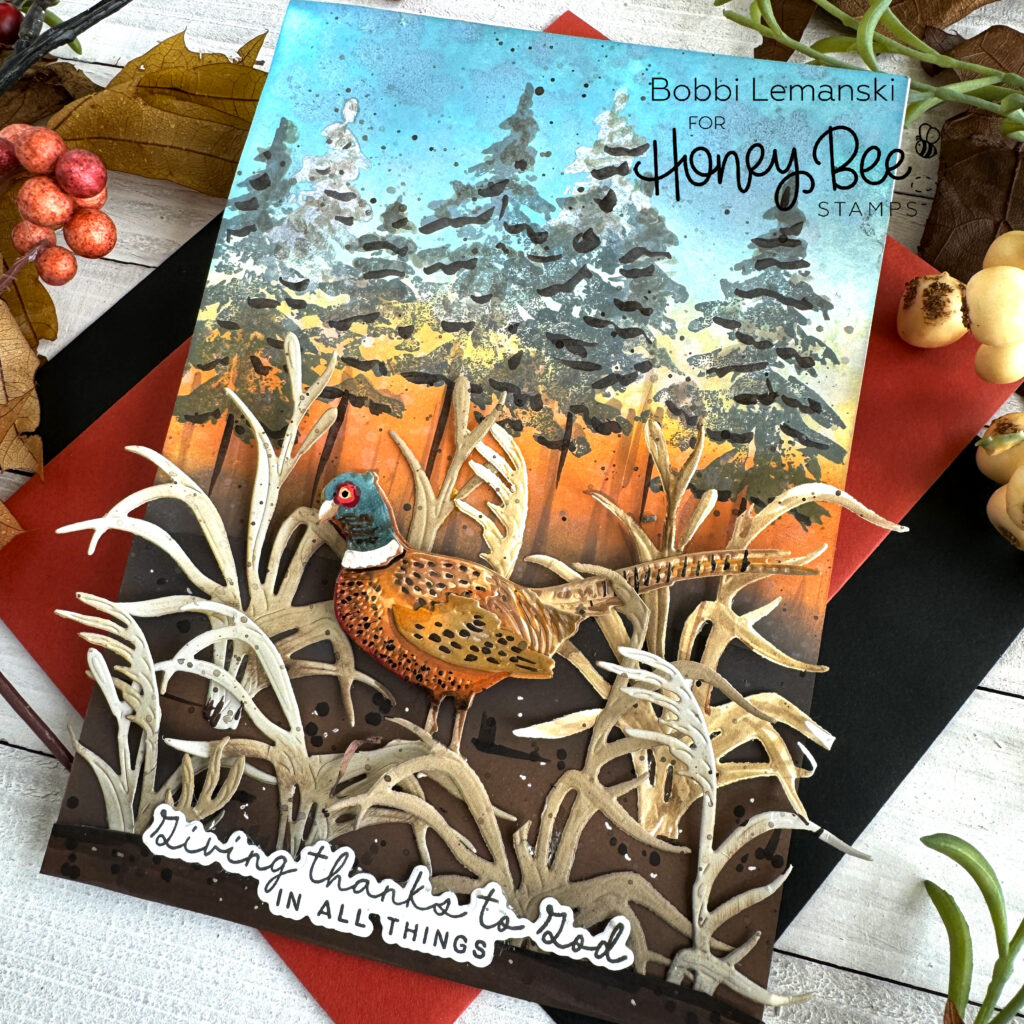
I added another layer of grassy bunches in front of the pheasant. To make the soil less perfect, I added black and white dots over the brown area to look like rocks and dirt clumps using Copic 100 and my Gelly Roll white pen. I also splattered black watercolor ink over the whole card front to make it look less perfect. Lastly, I added a sentiment over the grasses using the Blessings of Fall Stamp set and coordinating Honey Cut dies. I attached the card front to a white card base to complete it.
You can shop the entire Honey Bee Stamps , Falloween release here. If you decide to place an order, please use the links in this post so that Honey Bee knows which ideas inspired you!
Thanks for stopping by today. If you want to see more ideas and inspiration from me, subscribe to my blog, BobbiHartDesign.com. I’ll send you updates on new posts! You can also find me on Instagram as @BobbiHartDesign and on Facebook as BobbiHartDesign.
3 responses to “A Very Pheasant Day”
Fabulous!!
This is an awesome card, amazing work of art! Just beaurtiful
Thank you so much, Tracy! Bobbi