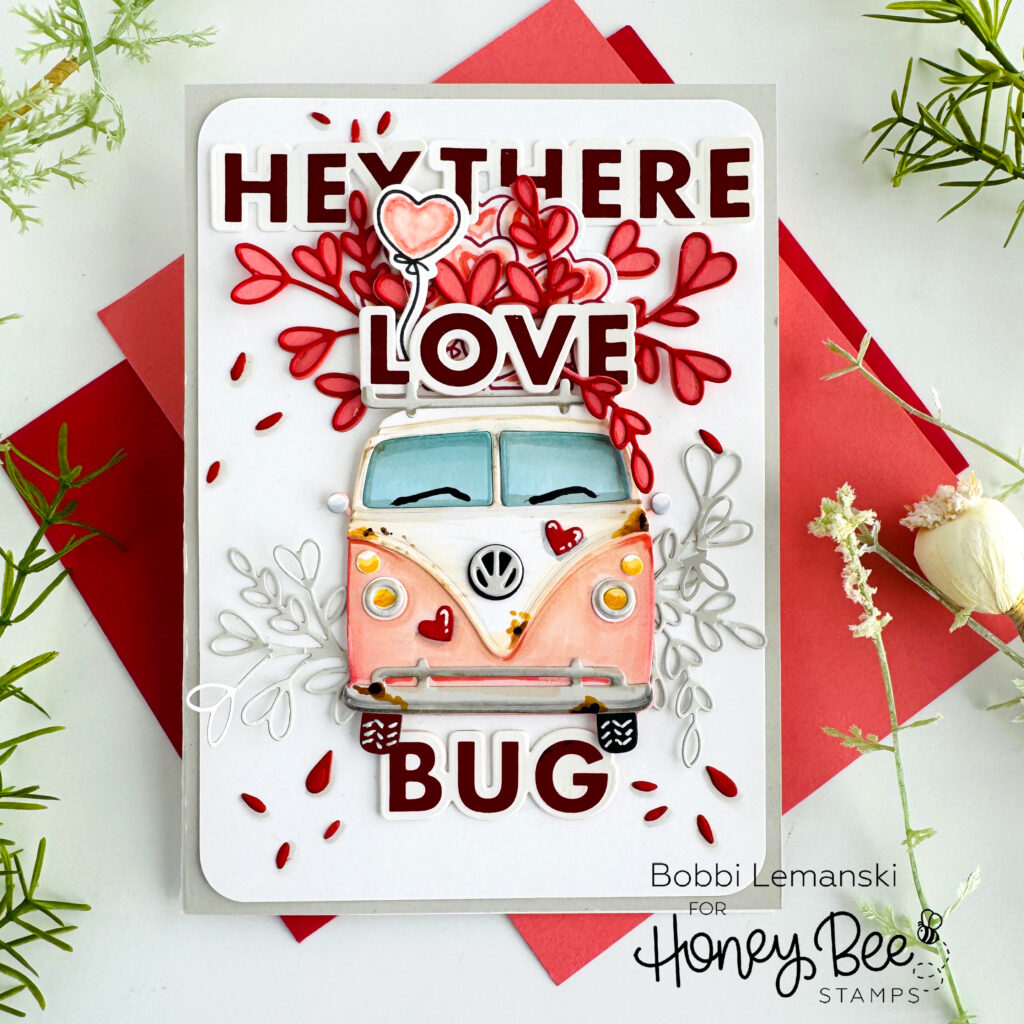
Hello all! It’s Bobbi Lemanski (Bobbi Hart Design) here sharing a whimsical valentine featuring some fun products by Honey Bee Stamps. The best part… one of these products is on clearance so its a good deal and it won’t last long!
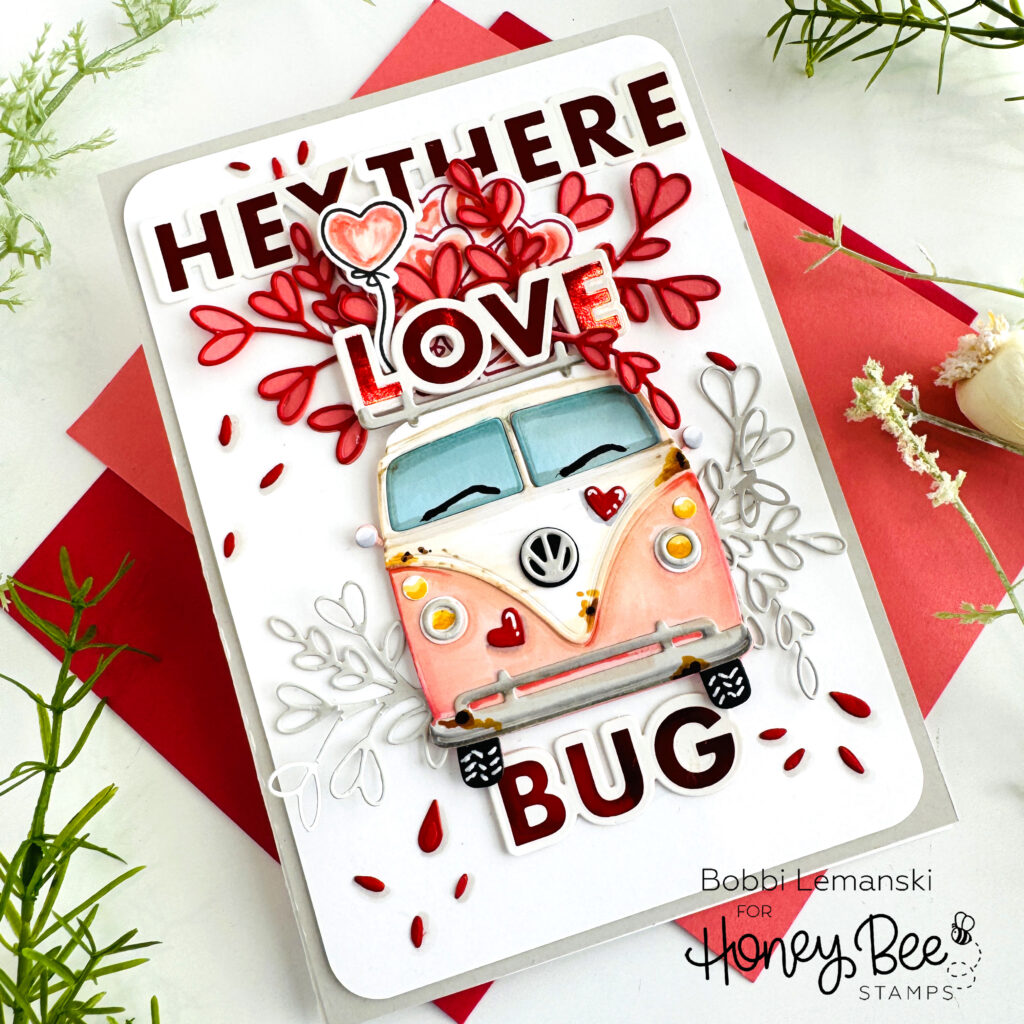
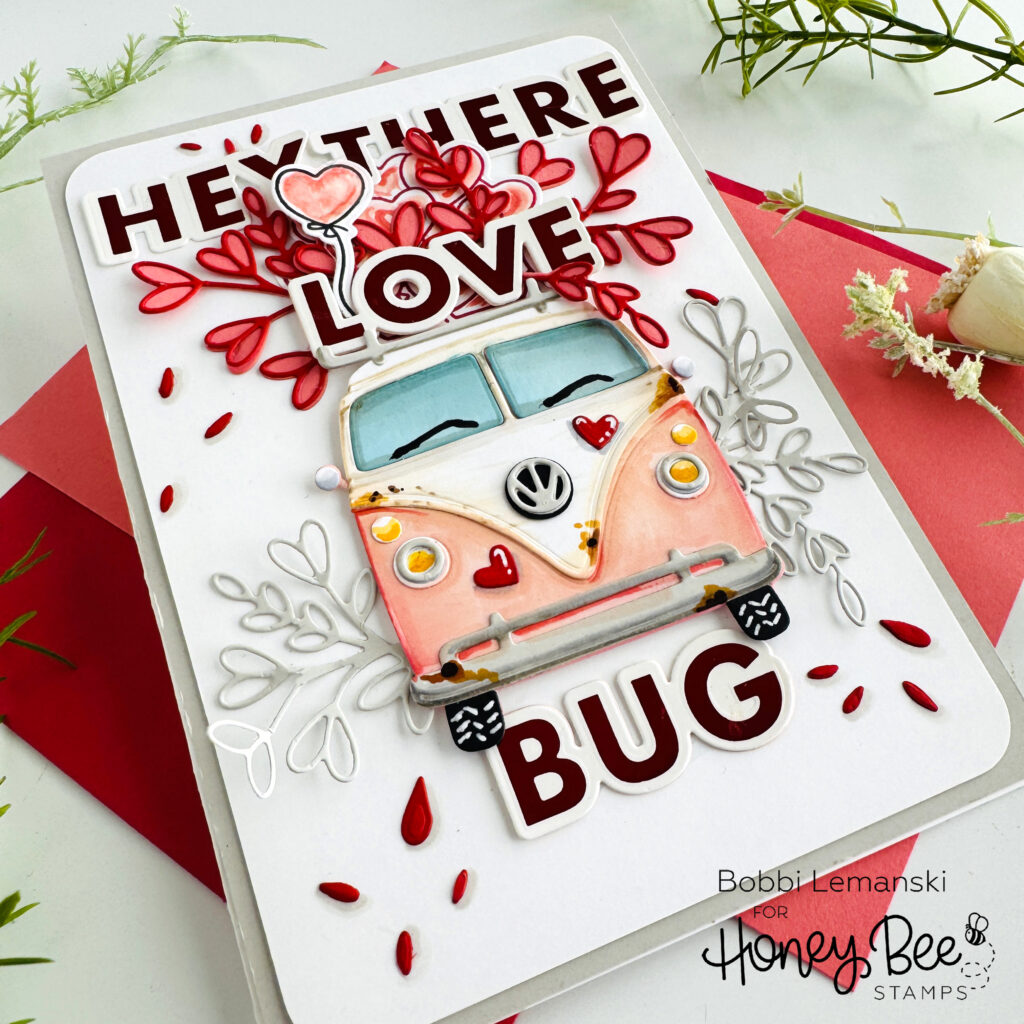
I know the VW Bus is not called a “bug,” but I still thought that this phrase was too cute not to use. I love how the “LOVE” word fits perfectly inside the the metal luggage carrier at the top of the bus. Here’s the list of products I used:
Lovely Layers: Beach Bound Honey Cuts dies
Lovely Layers: Heart Vines Honey Cuts dies
“Hey There Love Bug” Honey Cuts dies (Alert: Clearance item that won’t last long.)
Pickup Lines Stamps and Honey Cuts dies
Loads of Love Stamps and Honey Cuts dies
For the basics… my featured project below is made from Neenah 80lb Solar White cardstock for the card base and card front panel. All of the black ink stamping was done using Honey Bee’s Bee Creative Intense Black Ink. I use Honey Bee Stamps Bee Creative Precision Glue and for when I want more dimension, Bee Creative Foam Dots With Tab for adhering my elements together. My blender brushes (large and small) are a must for ink blending color on the background, too. For white highlights, I use my white Gelly Roll pen. My card is 5″ X 7″ in size.

To create this 5″ X 7″ card, I die cut the Lovely Layers: Beach Bound Honey Cuts bus elements from a light peachy pink, white, black and a warm gray cardstock and assembled the featured image. I also die cut the heart vines using the Lovely Layers: Heart Vines Honey Cuts dies and red, coral and a warm gray cardstock.
Behind the “LOVE” word, I stamped, die cut and colored the mound of hearts and the individual balloon from the Loads of Love Stamps and Honey Cuts dies. I probably didn’t need the heart mound and it could be removed, but I wanted to mention it since it is on my card in the photos.
I heat foiled the “Hey There Love Bug” sentiment using the hot foil plate and a red Glimmer Foil. I die cut the words using the coordinating dies. TIP: For perfect foiling results, use a glossy cardstock. It is amazing how well it works! I had no issues foiling on the glossy finish. My first try came out perfectly.

I assembled the card using a 5″ x 7″ warm gray layer on the front of a white card base and then a white card piece, cut to 4-3/4″ wide X 6-3/4″ tall with rounded corners. For the elements. I used foam tabs to make the van and the LOVE word stand out. I added little red petals (waste pieces from the heart vine die cut) around the vines for extra interest. Extras like the hearts on the bus front were also added. Oh and some rust… we must have some rusting on a vintage bus like this one! I use Copics E59, YR27 and YR24 for the rust.

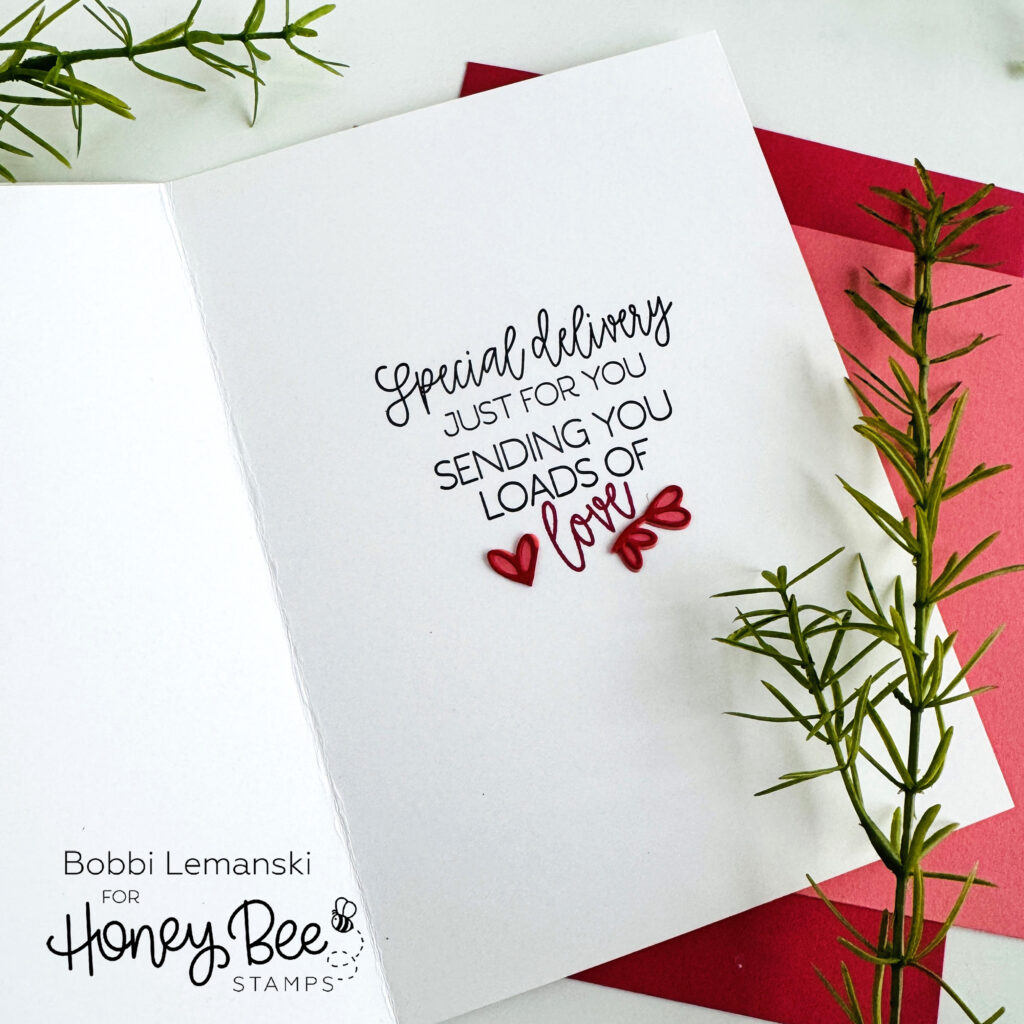
Inside the card, I stamped a couple of sentiments from the Pickup Lines Stamps set. I also added a section of the heart vine inside to match the outside card front.
You can shop the entire Honey Bee Stamps store here. If you decide to place an order, please use the links in this post so that Honey Bee knows which ideas inspired you!
Thanks for stopping by today. If you want to see more ideas and inspiration from me, subscribe to my blog, BobbiHartDesign.com. I’ll send you updates on new posts! You can also find me on Instagram as @BobbiHartDesign and on Facebook as BobbiHartDesign.
