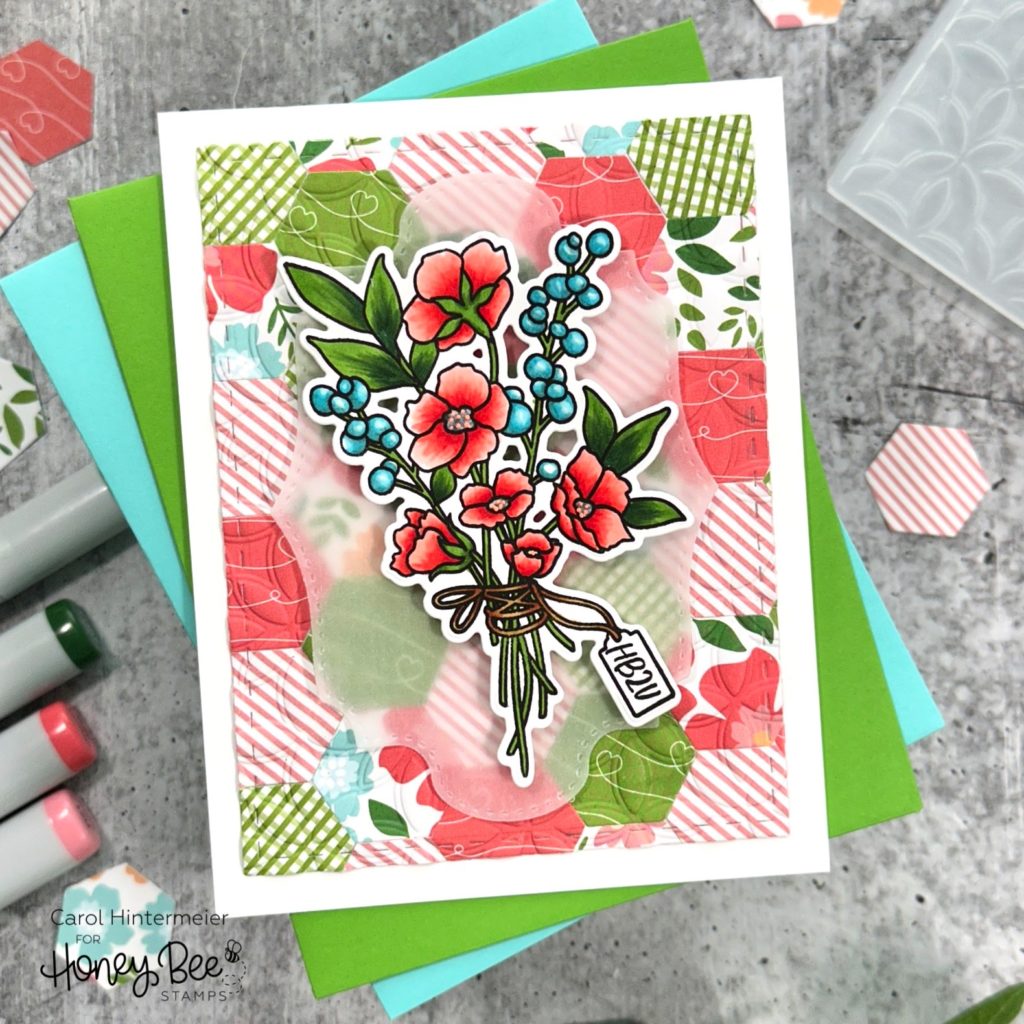
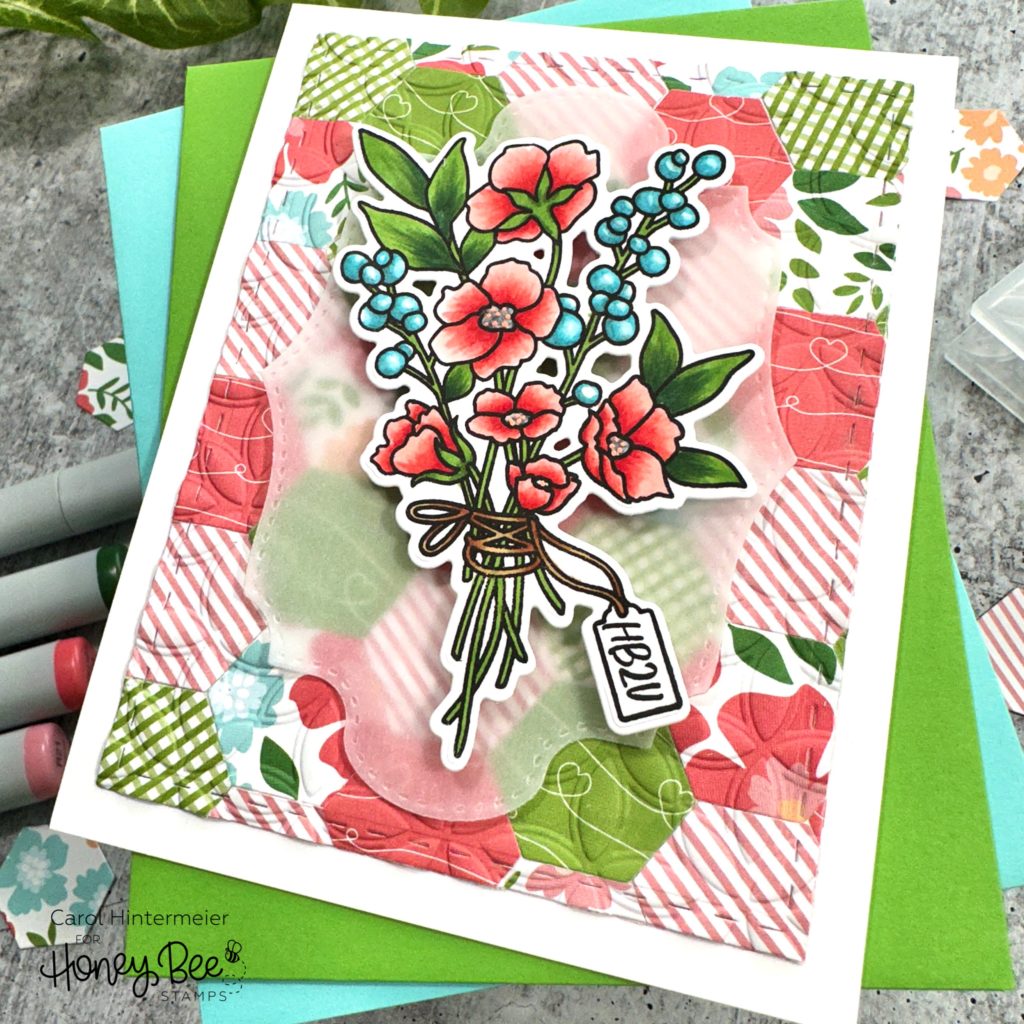
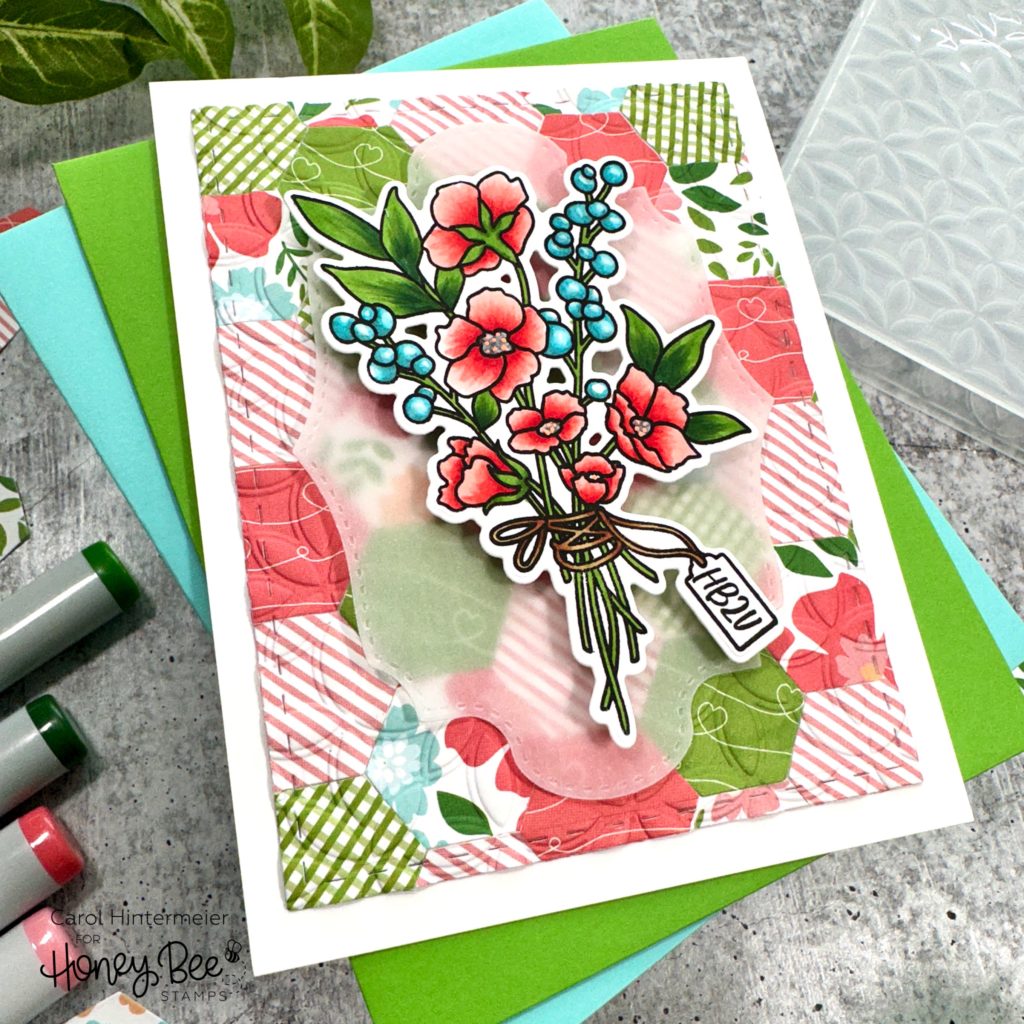
Hello Honey Bee friends! Today I’m sharing a birthday card with a custom quilted background layer made with patterned paper from the Happy Hearts paper pad! I thought this made such a pretty layer for the bouquet in the Simply Stated stamp set!

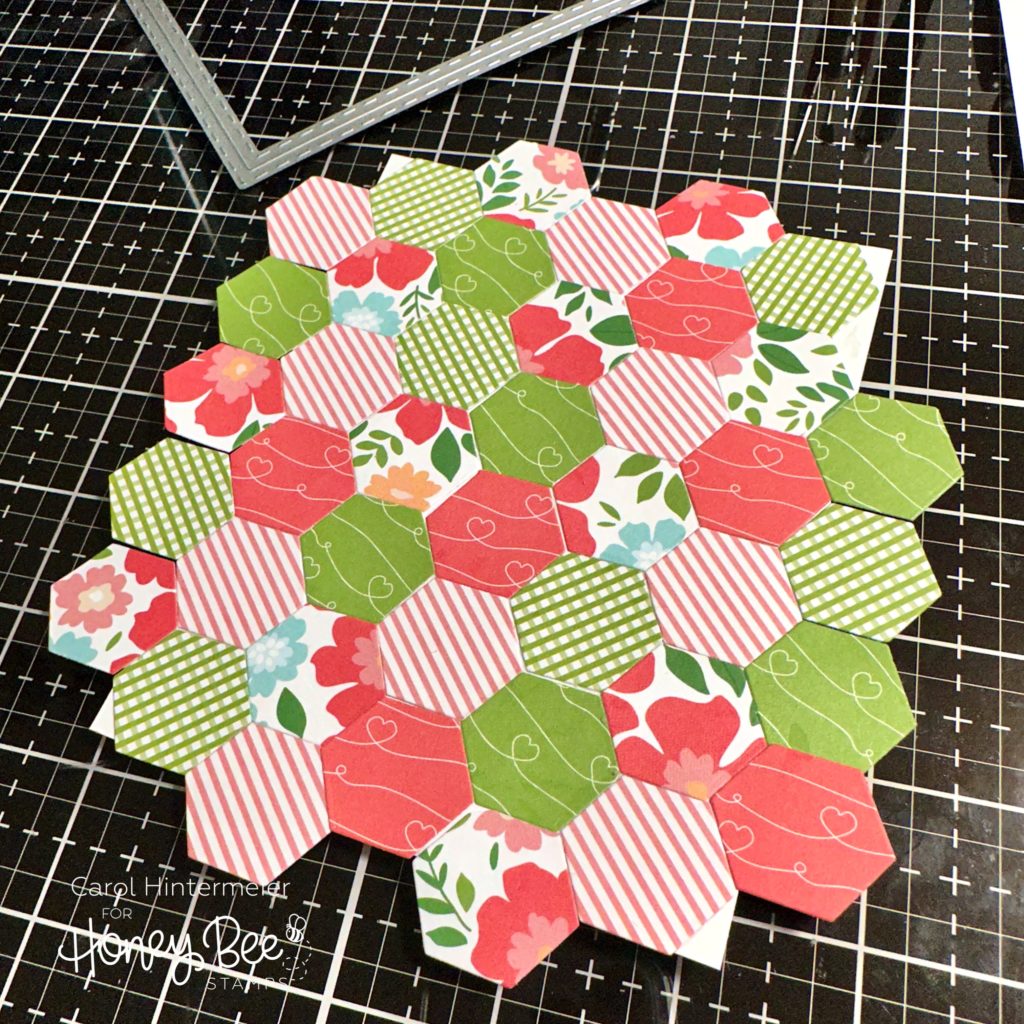
I chose five different coordinating patterned papers from the Happy Hearts paper pad. Then I had lots of die cutting fun by cutting a bunch of little hexagons with the smallest die in the Hexagon Solid Stack Honey Cuts. I was so happy that I have the Bitty Buzz Cutter to die cut these! It’s small, easy to use, and will sit right in front of you, wherever you are! I die cut a fairly equal number of hexagons for each pattern. Next I used Bee Creative glue to adhere the hexagons to an A2 sized piece of white cardstock. I adhered them all the way to the edge and beyond. Here’s a photo to show you:

After I had the entire card covered with hexagons, I used the largest A2 Double Stitched Frames die to cut it out. Then, I put the piece into the Kaleidoscope 3D embossing folder and ran it through my die cutting machine. I adhered the panel to an A2 card base. This looks so pretty and adds that “quilted” look!!

Next I die cut a vellum layer with a die from the Layering Vintage Labels Honey Cuts and adhered it with just a few drops of glue in the center of the piece. (The flower bouquet will hide the dots of glue.)
Next I stamped the flower bouquet from the Simply Stated stamp set in Intense Black ink. I colored it with Copic markers in colors that coordinate with the patterned papers. Then I cut it out with the coordinating Honey Cut. I added foam dots to the back of the bouquet to pop it up on my card.
I really wanted to add some gem stickers for sparkle, but after giving it a bit of thought, I decided that this card had enough going on! Haha!

Have you ever made a “quilted card”? You could use squares, diamond shapes, and triangles too! I sure hope I’ve inspired you with something a bit different today. Thank you so very much for stopping by! Have a wonderful and crafty day!
