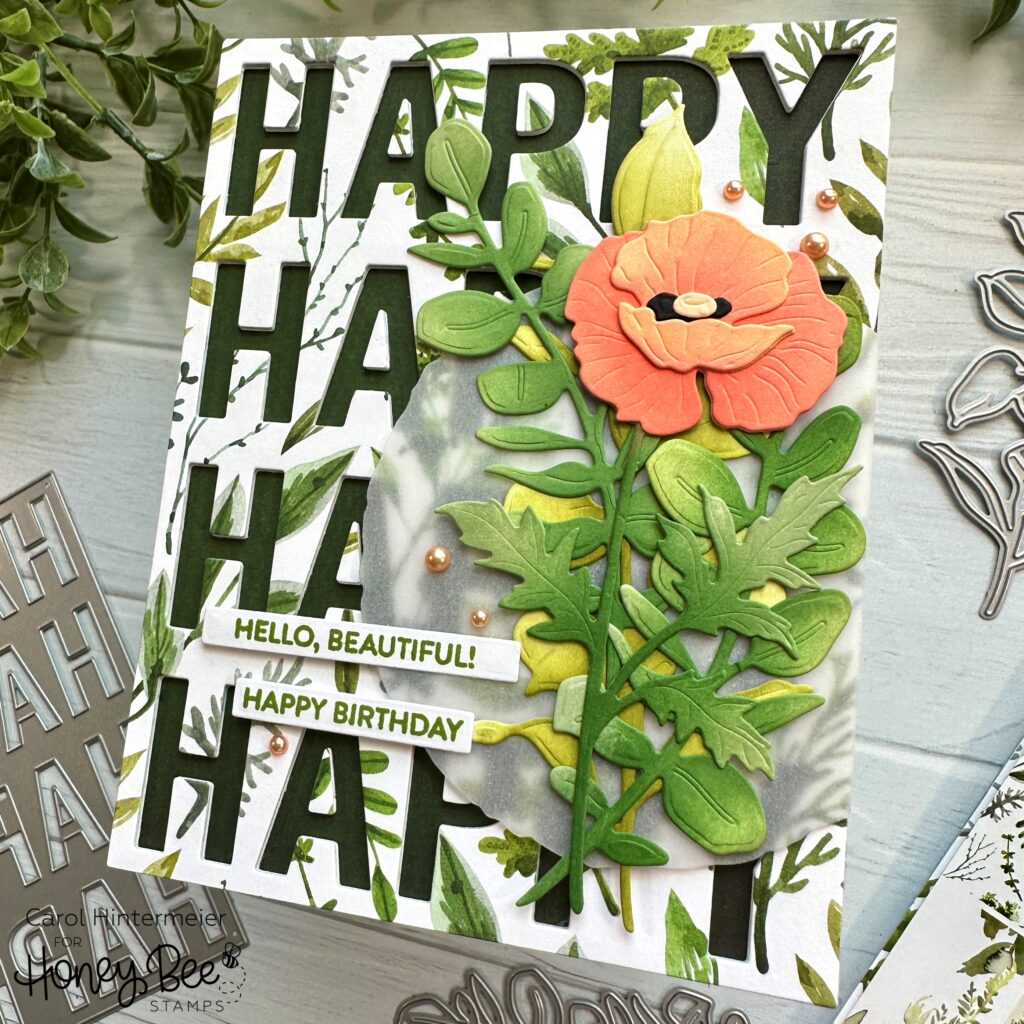
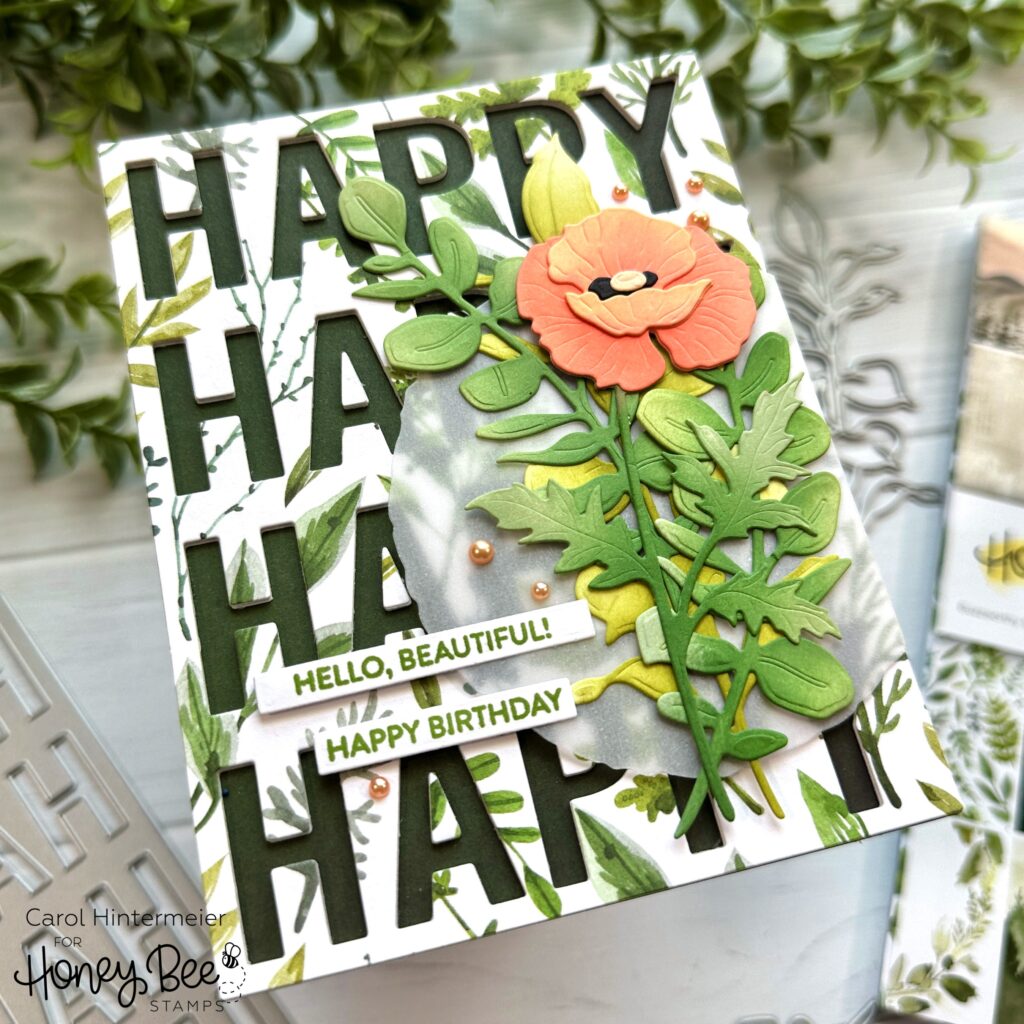
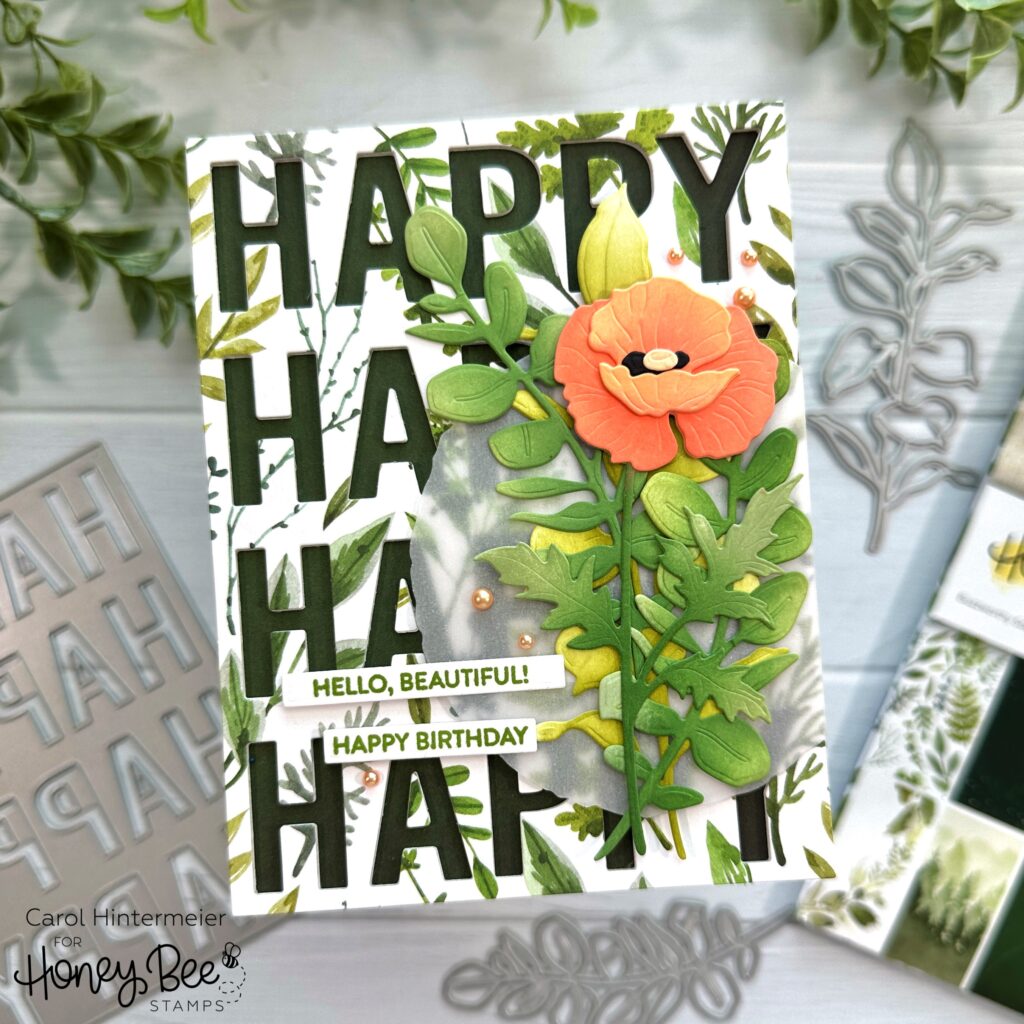
Hello Honey Bee friends! Today I’m sharing this card I made using the newest Adventure Awaits paper pad along with several other previously released products. I’m still building up my low birthday card stash, and this will be perfect for a fall birthday!

First I created the layers for the card base by die cutting the Happy Happy Happy A2 cover plate die four times. Once was from patterned paper in the Adventure Awaits paper pad and three times from white cardstock. Be sure to save those middle pieces from the “A’s” and “P’s”!!
Tip: Do what I totally forgot to do and put sheets of double-sided adhesive to the papers before die cutting to make adhering the layers so much easier! Otherwise, use Bee Creative glue to adhere the the layers and the fallout pieces for the A’s and P’s, like I did.
Once you have the layers adhered, add a piece of dark green paper (Adventure Awaits paper pad) to an A2 card base. Then adhere the Happy Happy Happy die cut to the card. Next adhere the center pieces of the A’s and P’s.

Next I chose two of the dies from the Lovely Layers: Greenery set. I die cut one greenery once, and the other two times from 80# Neenah. I used some ink blending brushes and Distress inks to color the greenery. I used Shabby Shutters, Peeled Paint, Bundled Sage, and Rustic Wilderness.
Next I die cut the poppy layers from the Lovely Layers: Wildflower set. I used a few of the same green Distress Inks as before, plus a couple of coral-orange inks in my stash to color the layers.
To defuse the busyness of the patterned paper, I die cut some vellum with the fourth largest Deckle Circle die. As you can see in the photo, I trimmed off the edge just a bit. Then I used dots of glue to adhere the greenery and poppy to the vellum. When the glue was dry I turned the piece over and added pieces of foam dots to the back of the vellum making sure they wouldn’t show through to the front. (I just cut the foam dots in halves or quarters to make them fit where needed!)

One more step before I removed the backing from the foam dot pieces! I stamped the sentiments from the Mini Messages: Everyday in green ink and die cut them with the two coordinating dies. I used tape runner to glue the sentiments to the vellum, as shown. Then I added a narrow foam strip to the back of the sentiments. This will hold up that side of the vellum! Remove the foam tape backing and adhere the piece to the card.
I added a few pretty pearls that coordinated from the Spring Pearls pearl stickers set.

In spite of the details of this card, I had this made in a surprisingly short amount of time! I hope I’ve inspired you with a different way to use beautiful patterned paper with the Happy Happy Happy cover plate! Thank you so much for stopping by!

2 responses to “Hello Beautiful! Happy Birthday!”
I truly enjoyed how you made this lovely card! I am a novice at card design, so at first I couldnt have guessed what to do after the HAPPY top layer was placed, but then you adhered the pretty flower and foliage and, voila! It worked out so perfectly lol!! After I have more experience under my belt, I may look back on this post and shake my head ! Thank you so much for sharing your creative process!
Oh, Laura, thank you so much for your sweet comment! And welcome to the awesome world of card making!!! If you are on Facebook, I hope you’ll join the group called Honey Bee Stamps Buzzworthy challenges. You will see lots of wonderful inspiration there too!