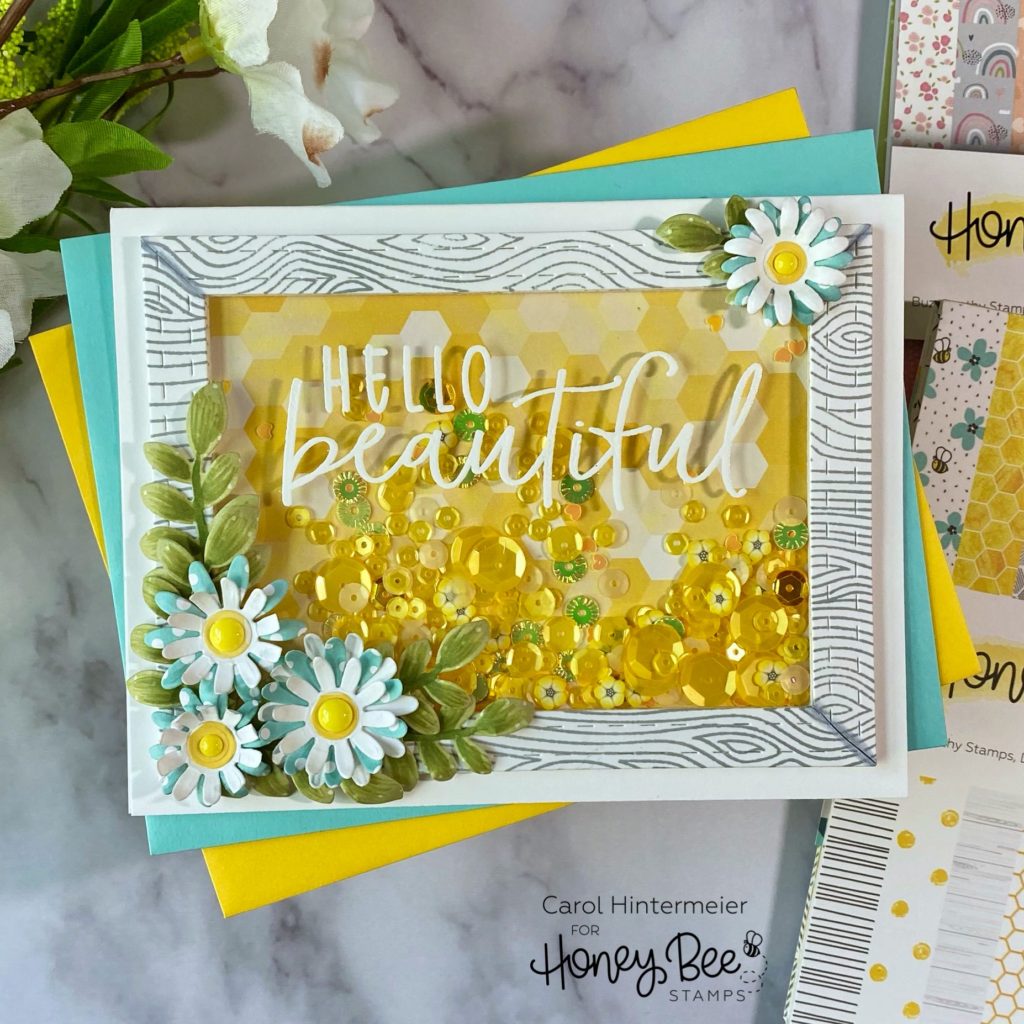
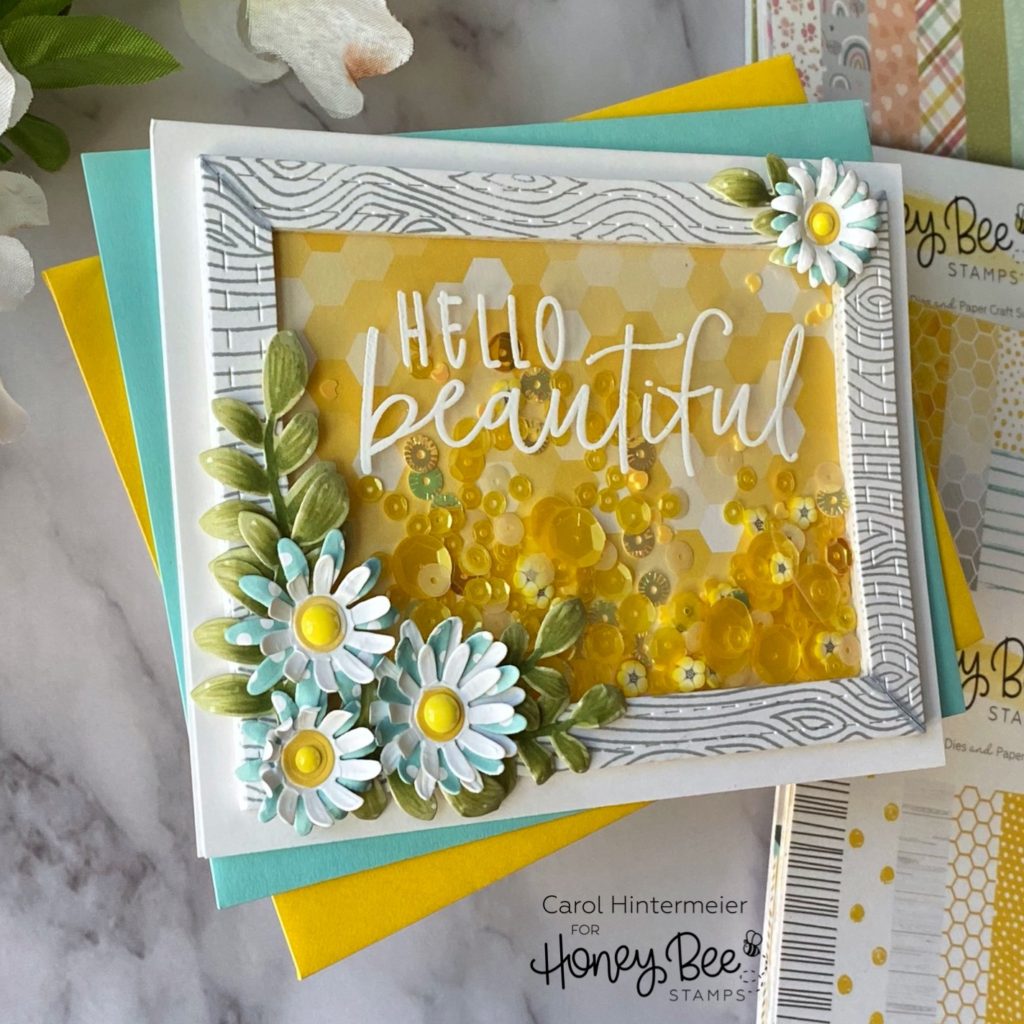
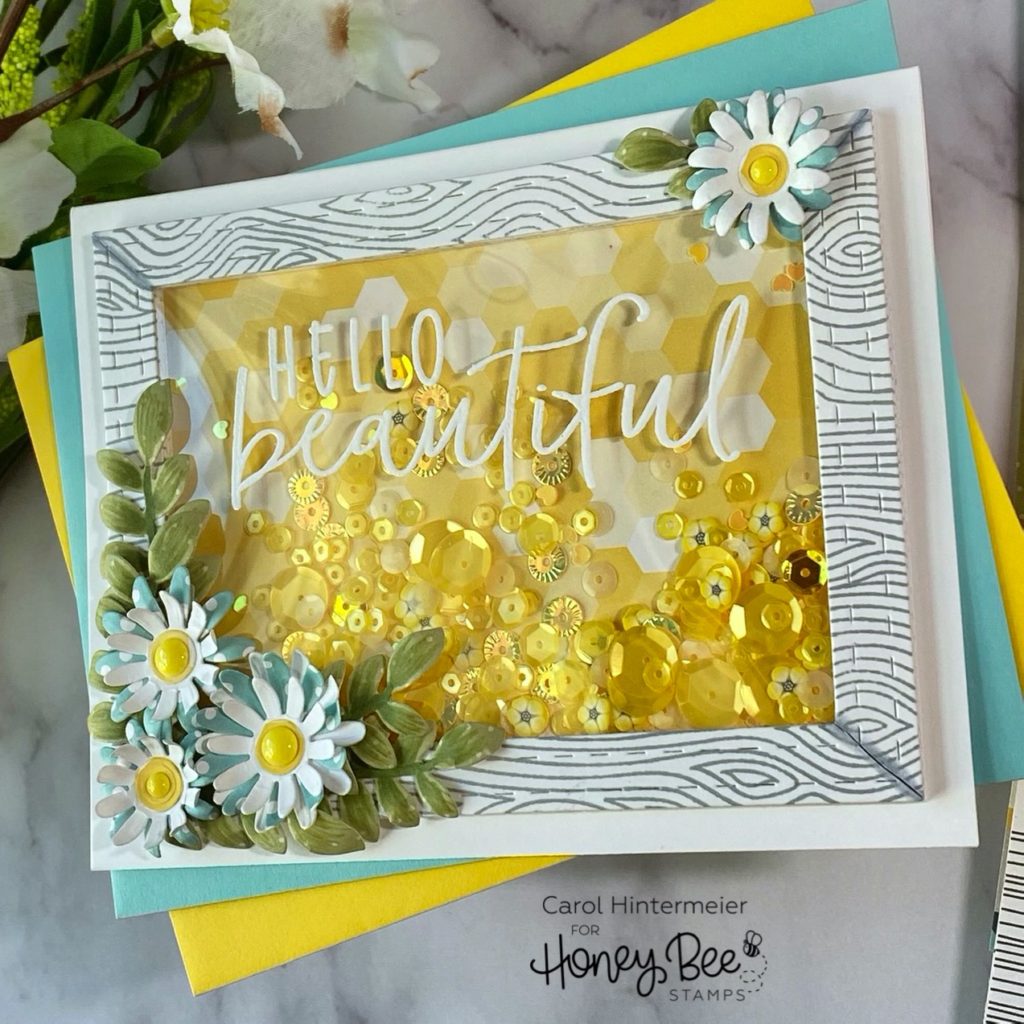
Hello beautiful Honey Bee Friends! Today I have a sweet shaker card using the beautiful Spring Bouquets Honey Cuts along with some other awesome Honey Bee sets! I think that when someone says “hello beautiful” to me, I just feel so special and that’s what inspired my card that can also be a beautiful display on a shelf. This also lets me use some the the many sequin mixes I’ve been hoarding, um, I mean accumulating! Haha!

I began by creating the frame for the shaker portion. I aligned the two largest A2 Double Stitched Frames Honey Cuts together, centering the smaller one inside the larger one. I taped them together with some Purple Tape. I believe I die cut about six of these from white card stock. The number you need will depend upon the thickness of your shaker bits. I glued five of the frames together and put a large stamp block on them to keep the frame flat while the glue dried. Next I inked up the Woodgrain Background stamp with light gray ink and stamped the remaining frame. (Don’t adhere this one to the stack just yet!)
For the window, I used some heat-resistant acetate and stamped the sentiment with Versamark clear embossing ink. This sentiment is part of the awesome Thanks A Bunch set. I added white embossing powder and heat set it. A tip for heat embossing on acetate: Be sure to let your heat gun warm up for at least 30 seconds and melt the embossing powder by applying the heat just a few seconds at a time. I trimmed the acetate to fit the frame and adhered it to the frame with some double-sided tape. I added more double-sided tape and adhered the woodgrain stamped frame. Turn the frame over and add the yellow sequin mix from the Rainbow Deluxe Sequin set. To close the shaker, I adhered a piece of patterned paper from The Bee’s Knees 6×6 paper pad onto the back of the frame. It’s now very easy to add the shaker to your A2 card base!

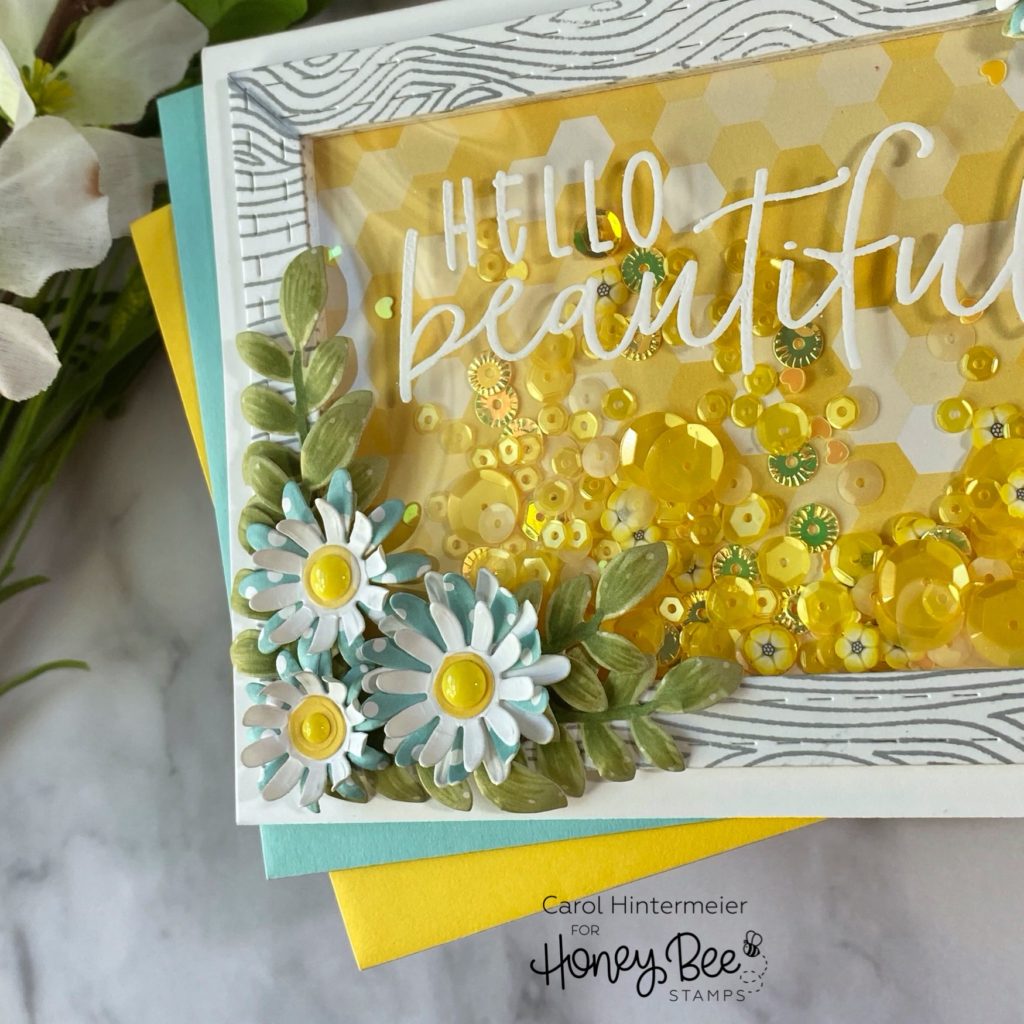
Next I die cut the flowers and leaf branches with patterned paper from the Spring Lullaby 6×6 paper pad. The Spring Bouquets Honey Cuts set has several different flower dies, but I decided to use just this one style. The flower centers are from a scrap of patterned paper from The Bee’s Knees paper pad. I also die cut a few flowers from white card stock. I used the Flower Shaping Kit tools to add dimension to the florals. Adhere the flower layers together with liquid glue.

To finish up the flowers (and use more “saved” bling) I added some yellow enamel dots from the Spring Fling Enamel Dot Stickers set. I just love how Honey Bee’s patterned papers and embellishments from different sets can be mixed and matched! Now all that’s left to do is arrange the flowers and branches using liquid glue to adhere them.

So, remember, if we use our bling, we can justify buying more bling! LOL! Thank you so much for stopping by today! I hope your days have been, and will be, safe, happy and crafty!
