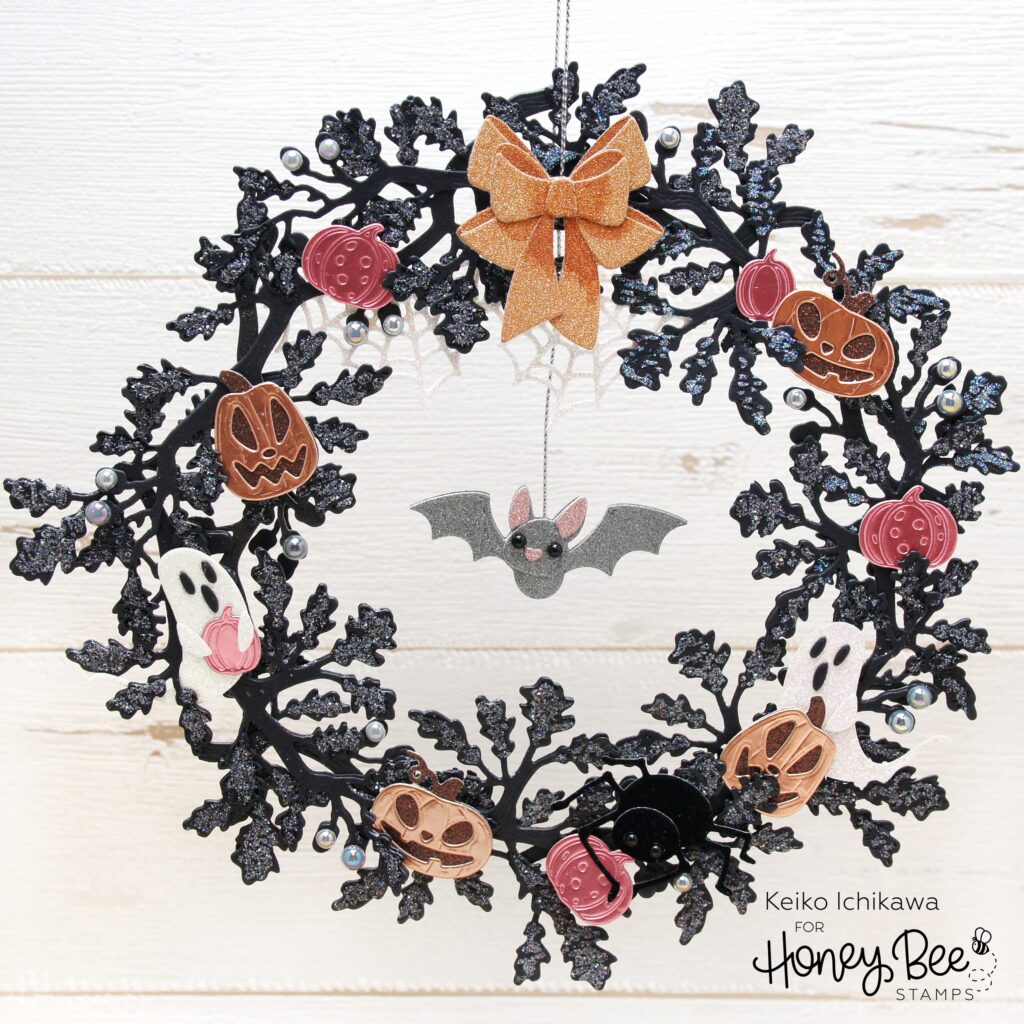
Hello friends! Happy new week! It’s Keiko from Happy Tree Studio and today, I have something different to share with you. I made this fun Halloween themed die cut wreath using a bunch of die sets and variety of glitter and foil card stock. As with most of my projects, it is rather simple to make. You just need to die cut the elements and glue them together.
For the base of the wreath, I used Lovely Layers: Oak Branch die set. I die cut seven branch pieces with leaves to form the wreath (the finished wreath is approximately 7″ in diameter). In order to make the wreath a bit more stable, I die cut another set of these branches and glued it to the back (so I die cut the branches 14 times in total). I was planning to die cut everything from specialty card stocks such as glitter, foil, or felt (for the spider) to make this wreath extra special, but I did not have any black glitter card stock I can use for the branches. So, I die cut them from regular black card stock, coat the leaves with Glossy Accents, and added clear glitter. It is extra work but I think it is worth it in the end! After the Glossy Accents has dried, I laid out the branches to form a wreath and glued them together. You can cut off any bits sticking out.
Now for the fun part, decorating your wreath! I went through the new die sets (there are so many great options!) and picked out the ones that I thought would work well.
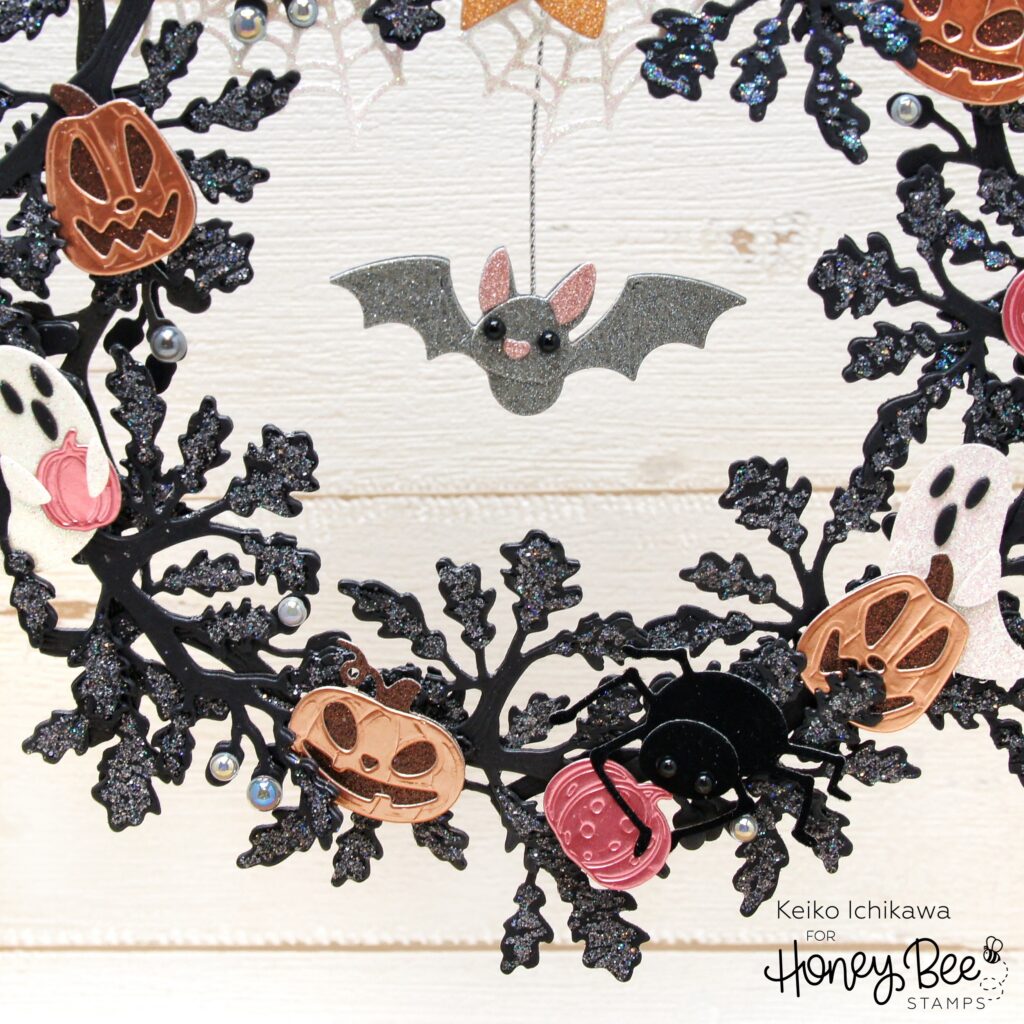
Lovely Layers: Front Porch Falloween (ghost, Jack O’ lanterns, spider web)
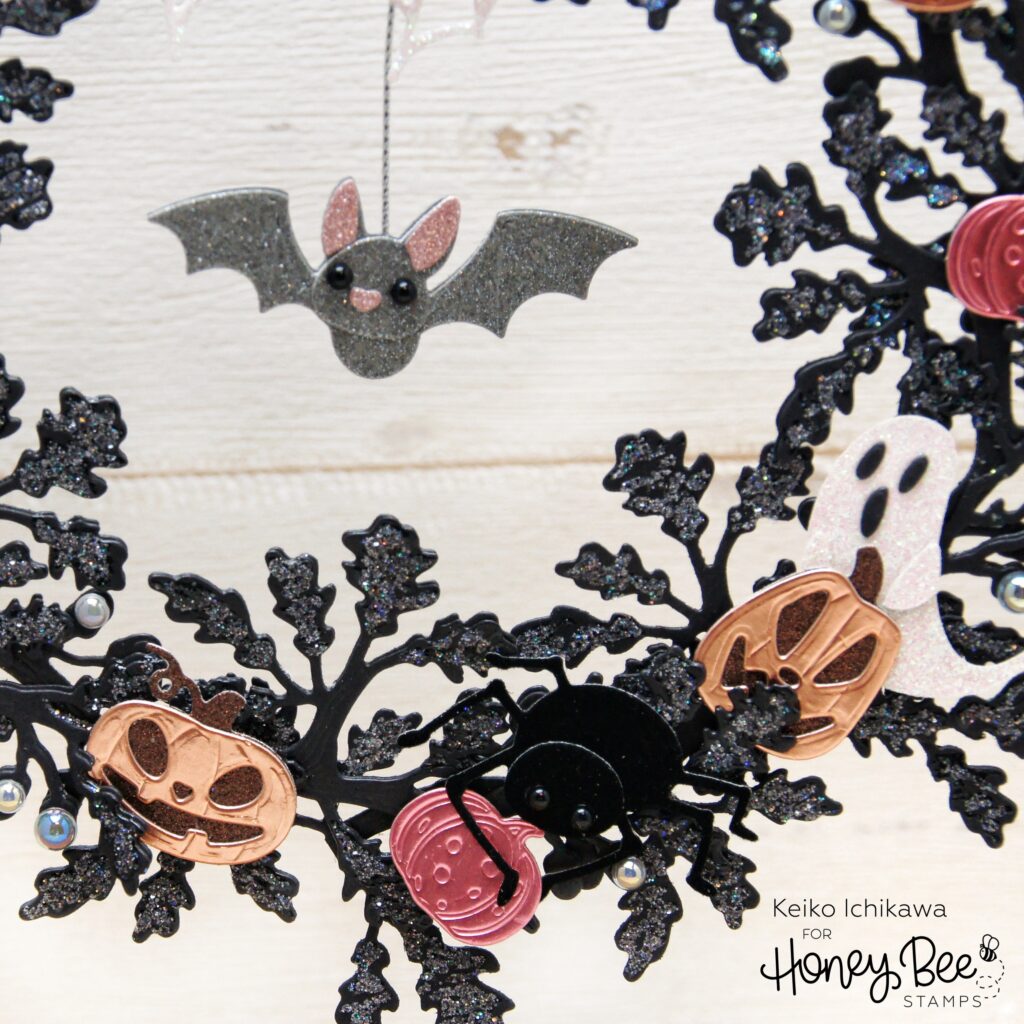
Lovely Layers: Scaredy Cat (bat and spider)
Lovely Layers: Seasonal Signs (bow)
Lovely Layers: Fireplace Falloween Add-On (small pumpkins)
I simply die cut them all and adhere them to the wreath using some foam adhesives and liquid glue. For the adorable bat, I hang him from the top with some silver cord (I added an extra die cut layer so I could sandwiched the cord in between).
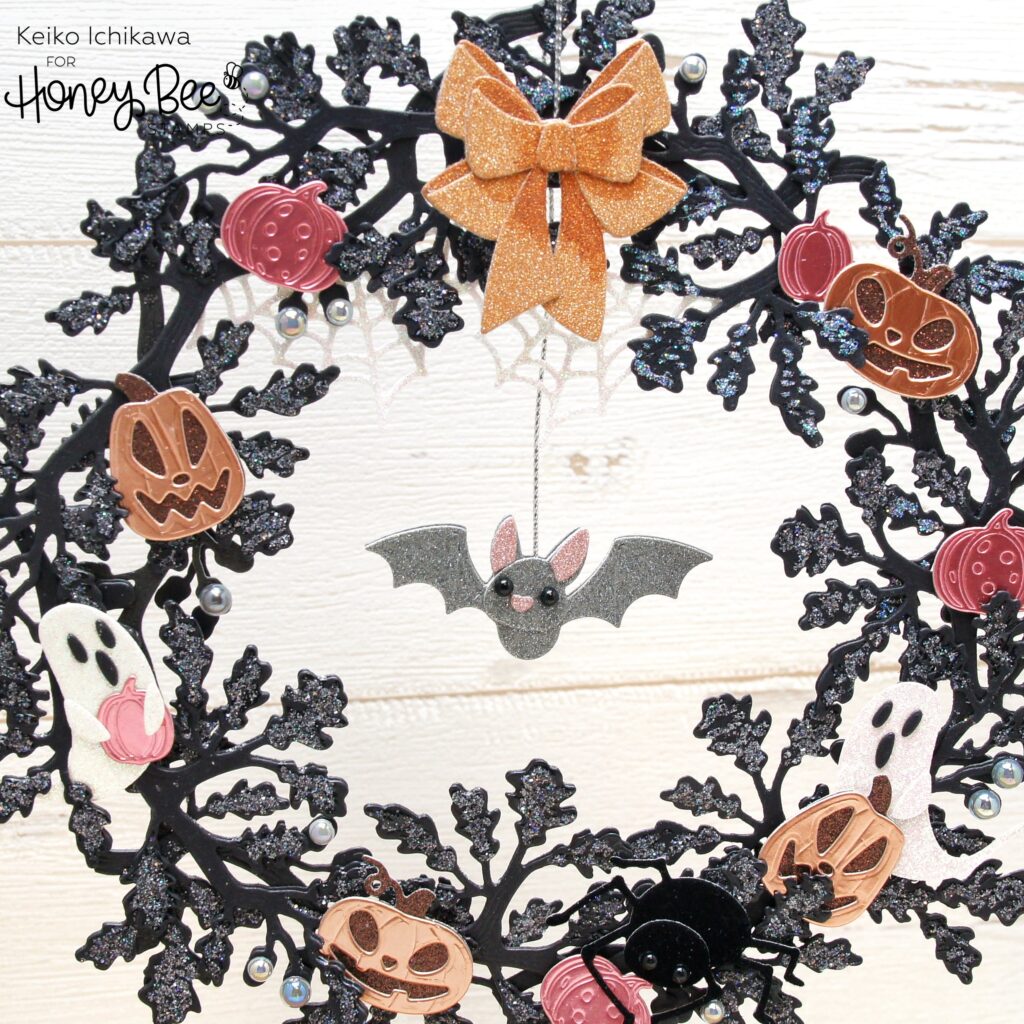
To finish off the project, I added some pearl stickers to the acorns and the same silver cord as a hunger. Thank you so much for stopping by today. I hope you will give this idea a try. Have a wonderful week!!

2 responses to “Halloween Wreath”
It’s adorable, Keiko! I’m definitely going to make one for myself! Do you think I could make it a little larger if I made the die cuts sturdier by layering them 2 or 3 times to make them thicker? Thank you so much for the inspiration!
Thank you Danita! Yes, I think that would work! When I made a larger one in the past, I adhered a thin (maybe 3/4” or so) ring I made out of chipboard (preferably the same color as the branches) using two sizes of circle dies and it worked well too. You just need to hide it behind the leaves and decorations. Have fun!!!