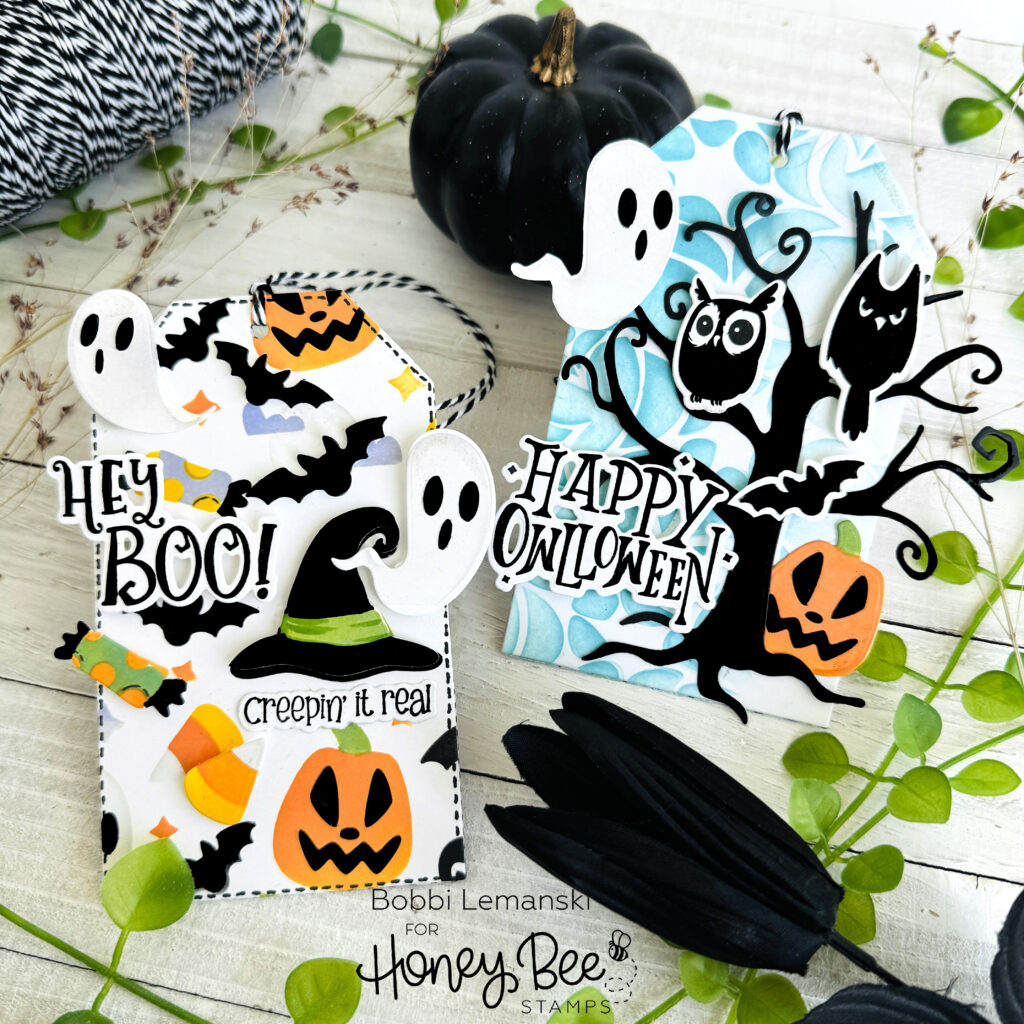
Hi there! Halloween is just a month away and I’m already planning the treats for my kids’ college roomies. Each year, I create candy bags for the roommates to enjoy. I fill the bags with various candies and then attach a cute Halloween tag to each bag. I like to make each treat bag different and unique for each individual. I’m sharing two tags today and will share more next week. Stay tuned!
I’m using the following Honey Bee Stamps products:
Happy Haunting – Set of 6 Background Stencils
Happy Haunting Honey Cuts dies
Owlloween – 6×8 Stamp Set and coordinating dies
Sweet Halloween stamp set and coordinating dies
Sweet and Spooky Paper Pad – 6 X 8.5 Double Sided Paper
For the basics… my featured projects below are made from Neenah 80lb Solar White cardstock for the tag base front and a fun print on the back side from the Sweet and Spooky Paper Pad. All of the black ink stamping was done using Honey Bee’s Bee Creative Intense Black Ink. I use Honey Bee Stamps Bee Creative Precision Glue and for when I want more dimension, Bee Creative Foam Dots With Tab for adhering my elements together. My blender brushes (large and small) are a must for ink blending color on the background, too.
Happy Haunting Tag
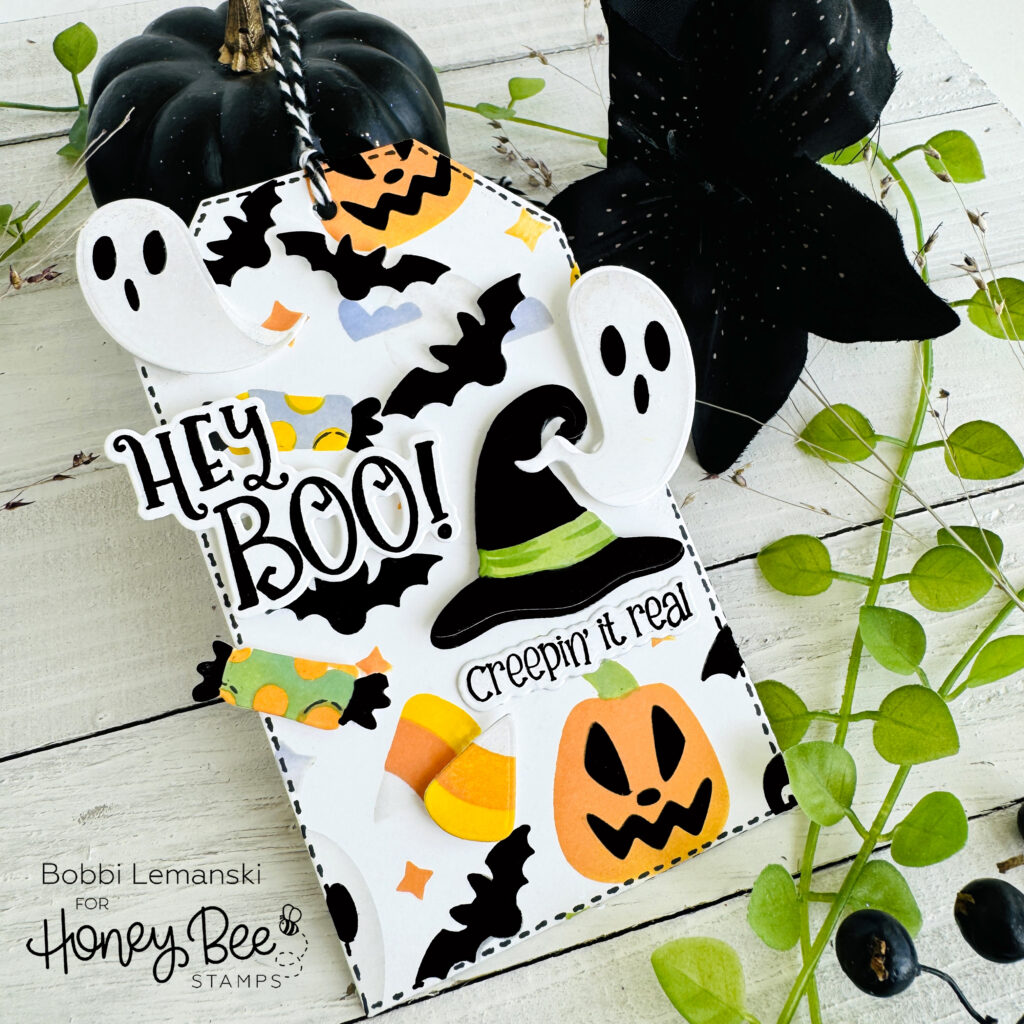
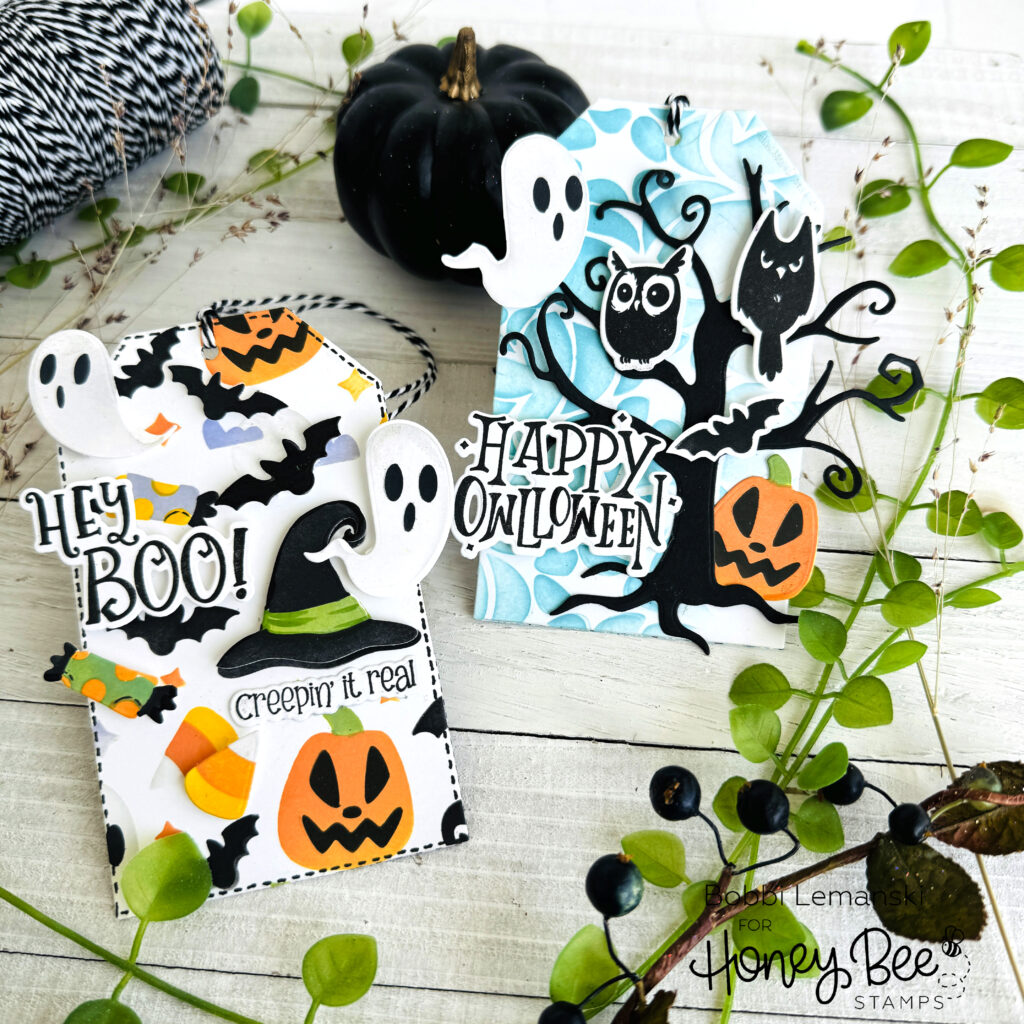
To make the Happy Haunting tag, I stenciled the Halloween images onto two 6″ X 6″ pieces of white cardstock using my blender brushes (large and small). I used Distress Oxide Ink in the following colors: Black Soot, Carved Pumpkin, Twisted Citron, Mustard Seed, Lost Shadow, and Shaded Lilac.
From one of the pieces, I die cut elements from the stenciled design using the coordinating Happy Haunting Honey Cuts dies. From the other piece, I die cut a tag from it to use as the tag’s base. I attached the Happy Haunting images to the tag base using foam tabs to make them stand out, off of the tag.
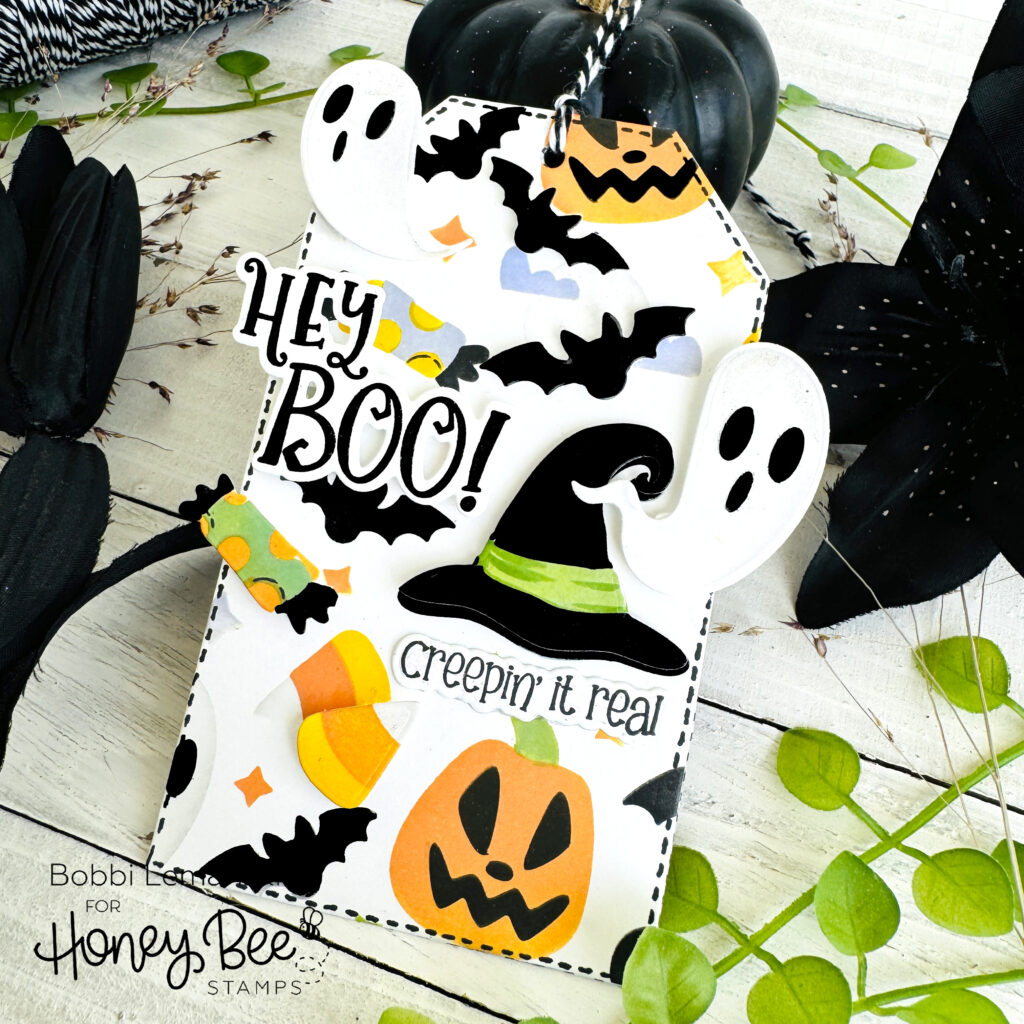
I stamped, die cut and attached the “Hey Boo!” sentiment (from the Owlloween stamp set) using foam tabs. I left some of the sentiment “hang off” the side of the tag, like the ghosts and candy piece. I also stamped, die cut and attached the “creepin’ it real” sentiment using the Sweet Halloween stamp set and coordinating dies. I hand drew black stitches around the tag’s perimeter to complete the front side.
Owlloween Tag
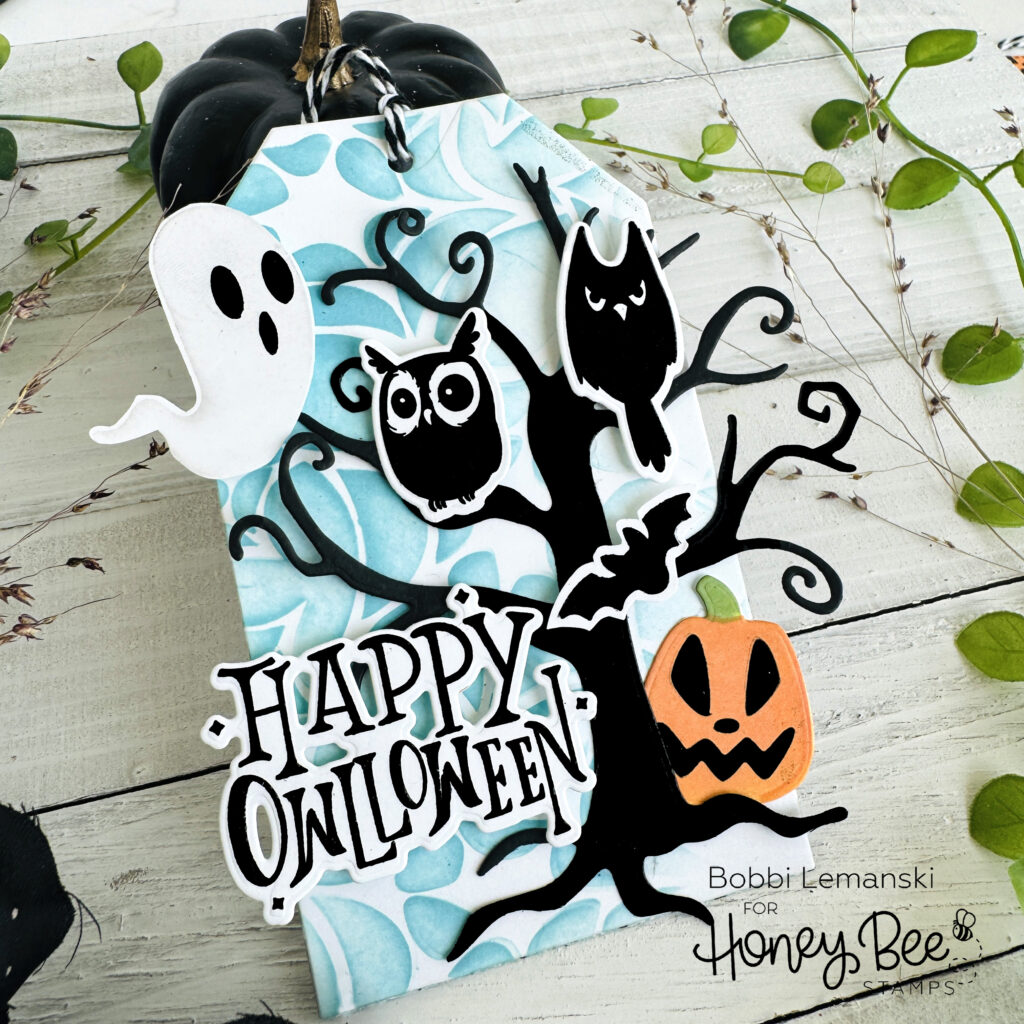
For this fun tag, I used the Owlloween – 6×8 Stamp Set and coordinating dies for the haunted tree, owls, bats and sentiment. The pumpkin is from the Happy Haunting stencil and die sets. I started by stenciling the tag background using one of the stencils from the Happy Haunting – Set of 6 Background Stencils, my blender brushes and Ranger Tumbled Glass Distress Oxide Ink. All of the elements were attached to the tag, allowing some items to extend beyond the tag edges. The owls and the sentiment were attached using foam tabs to make them stand out.
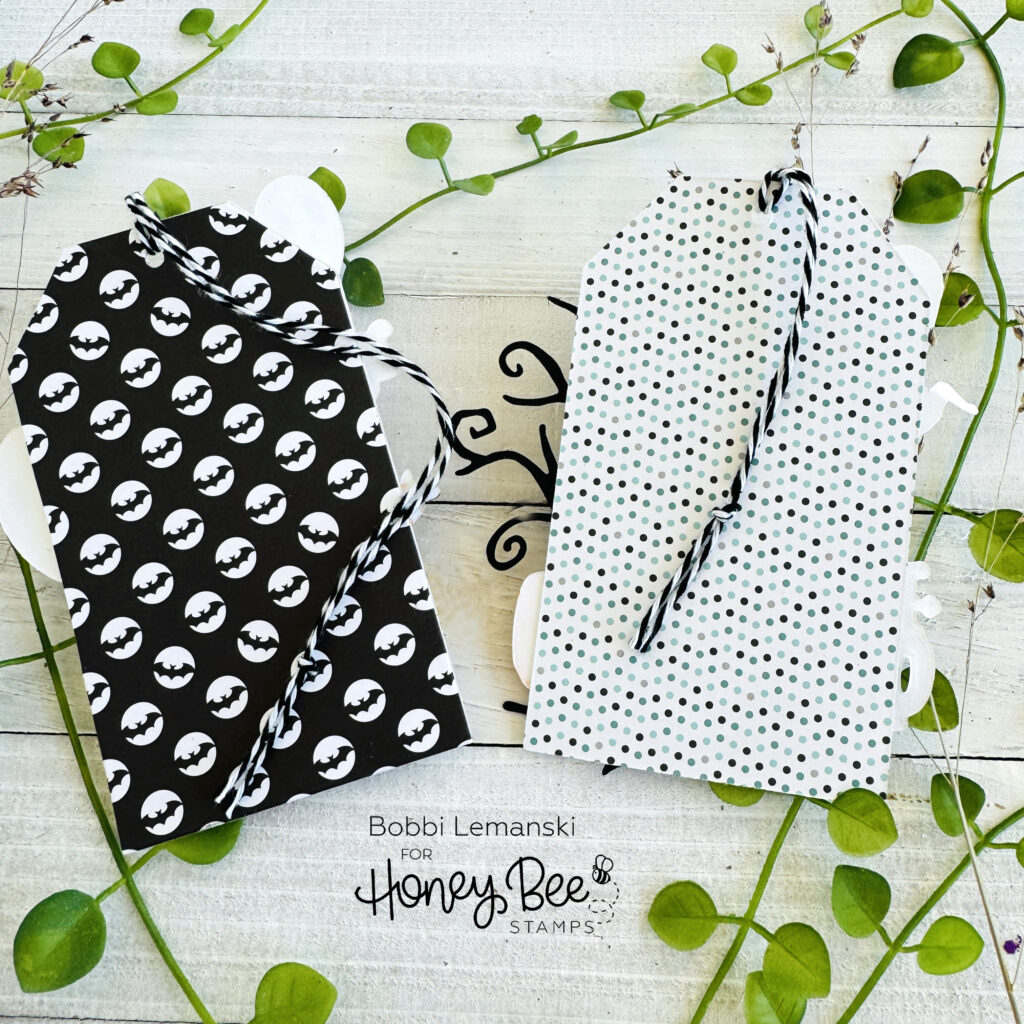
I die cut pattern paper from the Sweet and Spooky Paper Pad – 6 X 8.5 Double Sided Paper to cover the backside of each of the tags. Finally, baker’s twine string in black and white was added to each tag.
You can shop the entire Honey Bee Stamps , Falloween release here. If you decide to place an order, please use the links in this post so that Honey Bee knows which ideas inspired you!
Thanks for stopping by today. If you want to see more ideas and inspiration from me, subscribe to my blog, BobbiHartDesign.com. I’ll send you updates on new posts! You can also find me on Instagram as @BobbiHartDesign and on Facebook as BobbiHartDesign.
