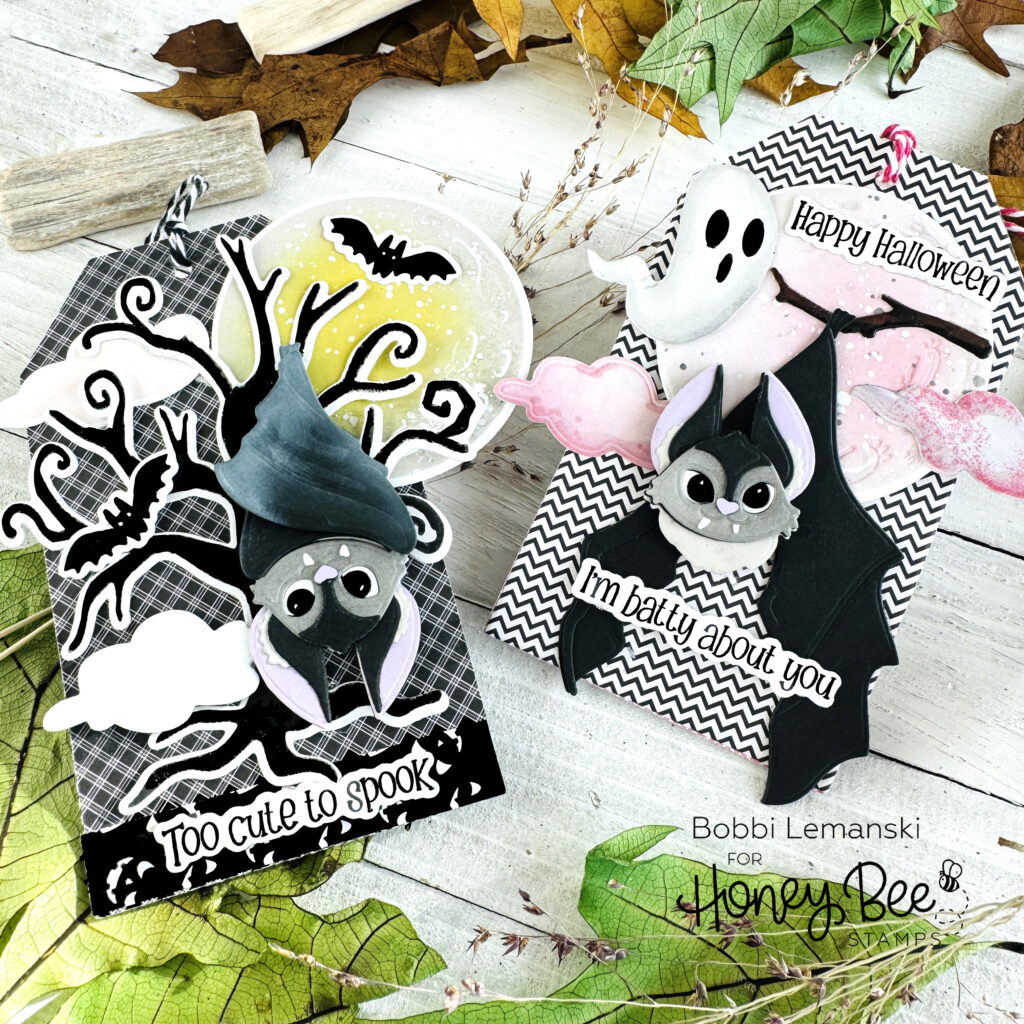
Hey there. It’s Bobbi again with more treat bag tags for Halloween. Last week, I shared two tags featuring some frightening characters. Today, I have two more tags featuring some very spooky bats from the Lovely Layers: Bats Honey Cuts dies. There are two bat designs in this die set. These tags will be attached to Halloween candy bags for my kids’ college roommates.
I’m using the following Honey Bee Stamps products:
Lovely Layers: Bats Honey Cuts dies
Owlloween stamp set and coordinating Honey Cut dies
Sweet Halloween stamp set and coordinating Honey Cut dies
Happy Haunting Stencil Set and coordinating Honey Cut dies
For the basics… All of the black ink stamping was done using Honey Bee’s Bee Creative Intense Black Ink. I use Honey Bee Stamps Bee Creative Precision Glue and for when I want more dimension, Bee Creative Foam Dots With Tab for adhering my elements together. My blender brushes (large and small) are a must for ink blending color. For white highlights, I use my white Gelly Roll pen. These tags measure 2.83″ x 4.86″ in size.
Batty About You Tag
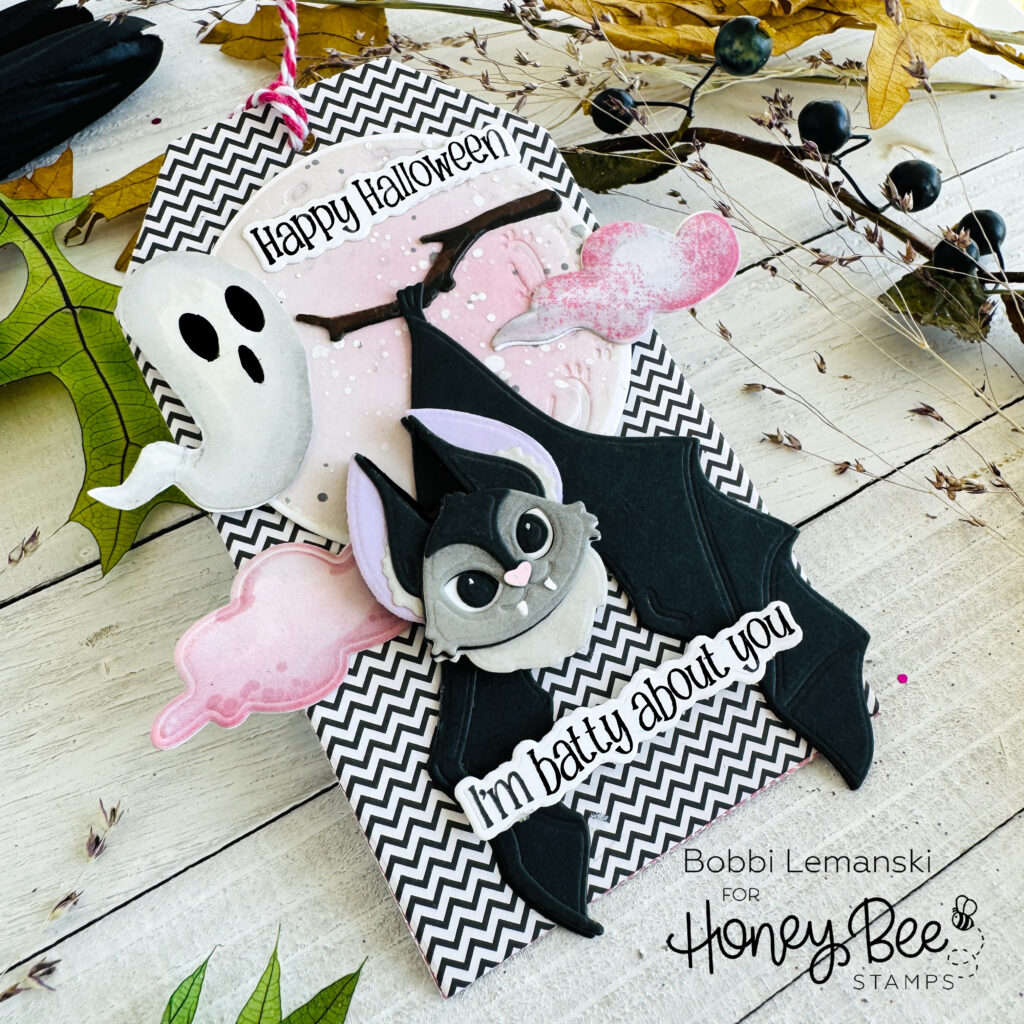
The bat design with its wings hanging down is a fun bat to add a little sentiment between his wings. It looks like he is holding the sentiment. To make this one, I die cut all of the pieces of the bat from black cardstock except for the nose, eyes, furry area of the ears and the interior of the ears. Those were cut from white, warm gray and lavender cardstock. I assembled the entire bat, adding a black foam tab between the head and wings to make the bat dimensional.
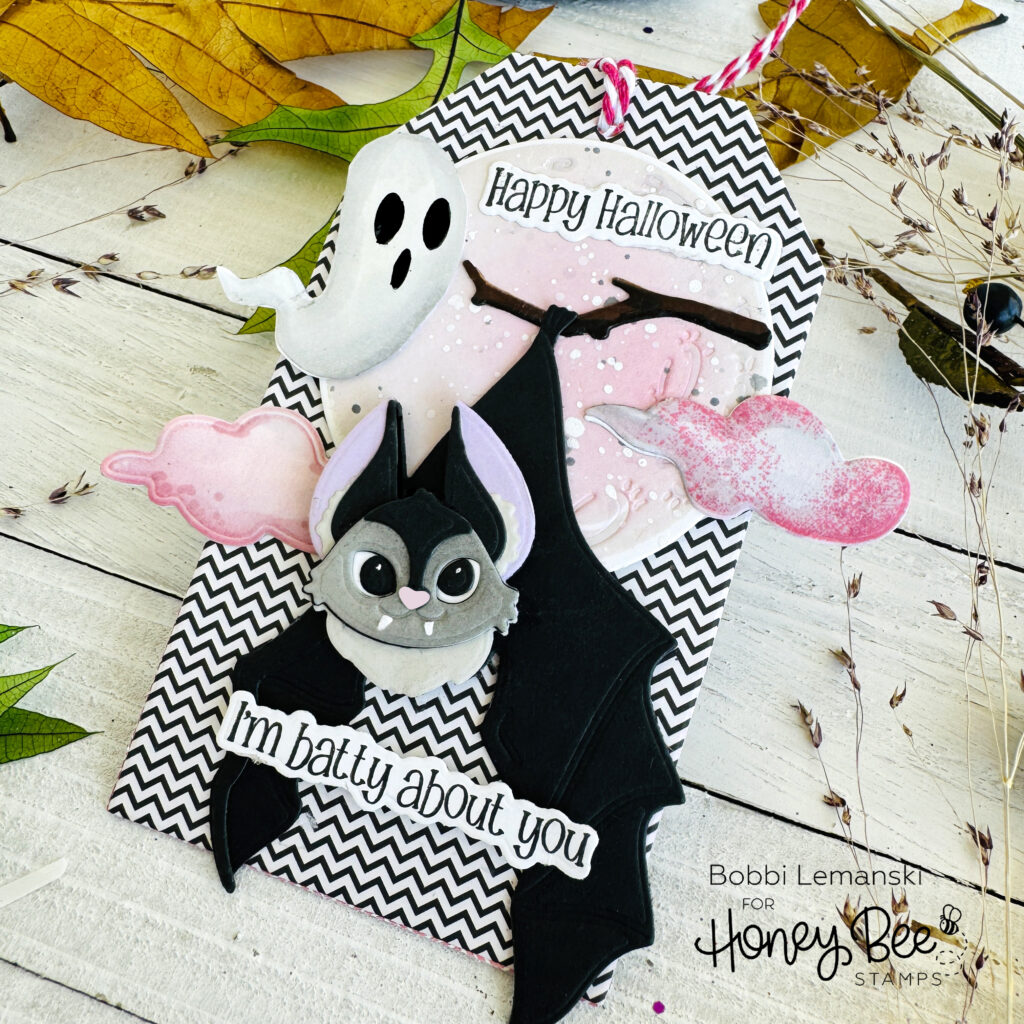
I also stamped and die cut the moon and clouds using the Owlloween stamp set and coordinating Honey Cut dies. The moon was stamped in a warm gray dye ink and then I blended on some pink ink in the middle. I splattered on some white and black watercolor paint over the inks. The clouds were also stamped in a gray ink and then I ink blended some pink tones around the edges. The Lovely Layers: Bats Honey Cuts branch die was cut from black cardstock. The ghost was made using the Happy Haunting Stencil Set and coordinating Honey Cut dies, a blender brush and Lost Shadow Distress Oxide Ink.
The 2.83″ x 4.86″ background base tag was cut from Sweet & Spooky Paper pattern paper. I added all of the elements to the tag front, including the sentiments from the Sweet Halloween stamp set and coordinating Honey Cut dies. See below for the tag completion.
Too Cute To Spook Tag
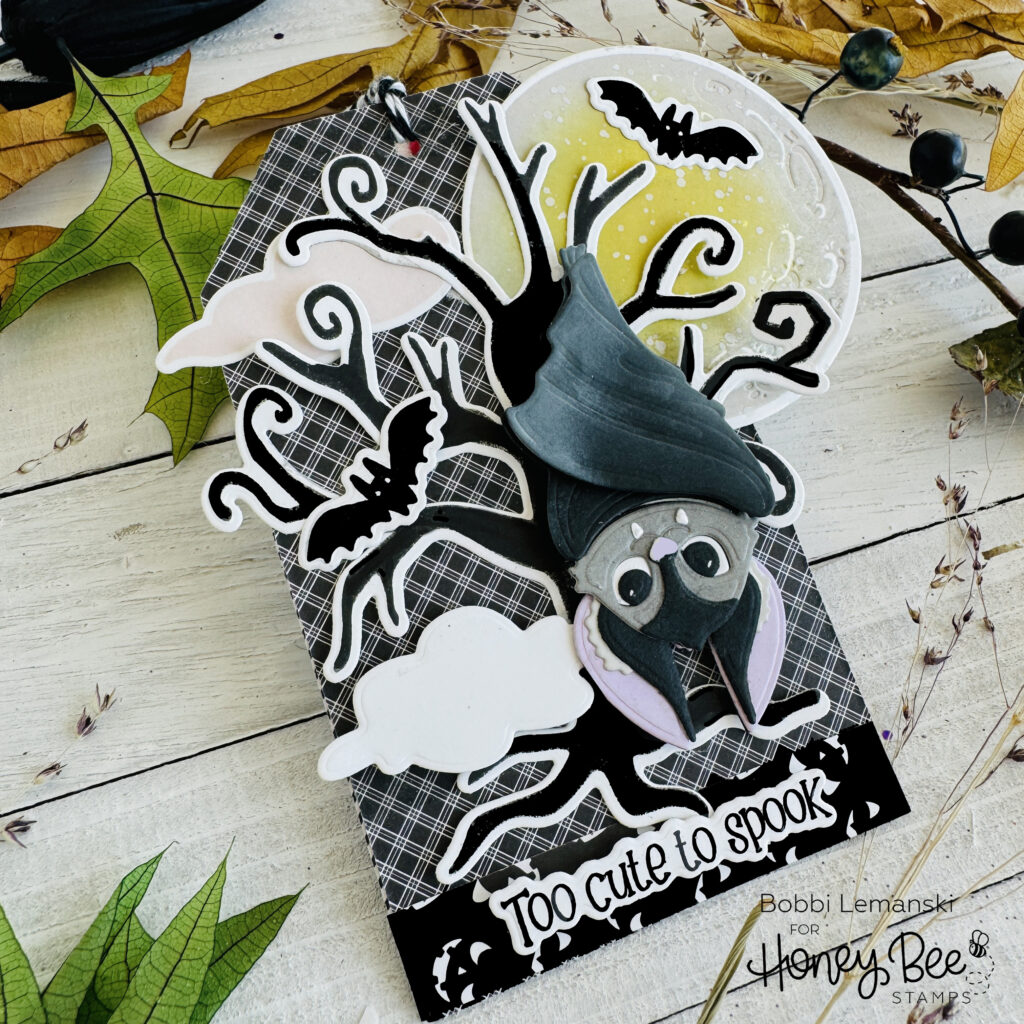
For my next tag, I die cut the bat’s layers from black, warm gray and lavender cardstock and assembled the bat. The head just tucks right inside the body. I did blend on some Brilliant White ink on the top layer of the bat’s body for contrast. I also stamped the tree, smaller flying bats, moon, clouds, and sentiments and die cut them. For the moon, I used a warm gray ink and then blended on some Mustard Seed ink in the middle of it. I splattered white ink over the top of it.
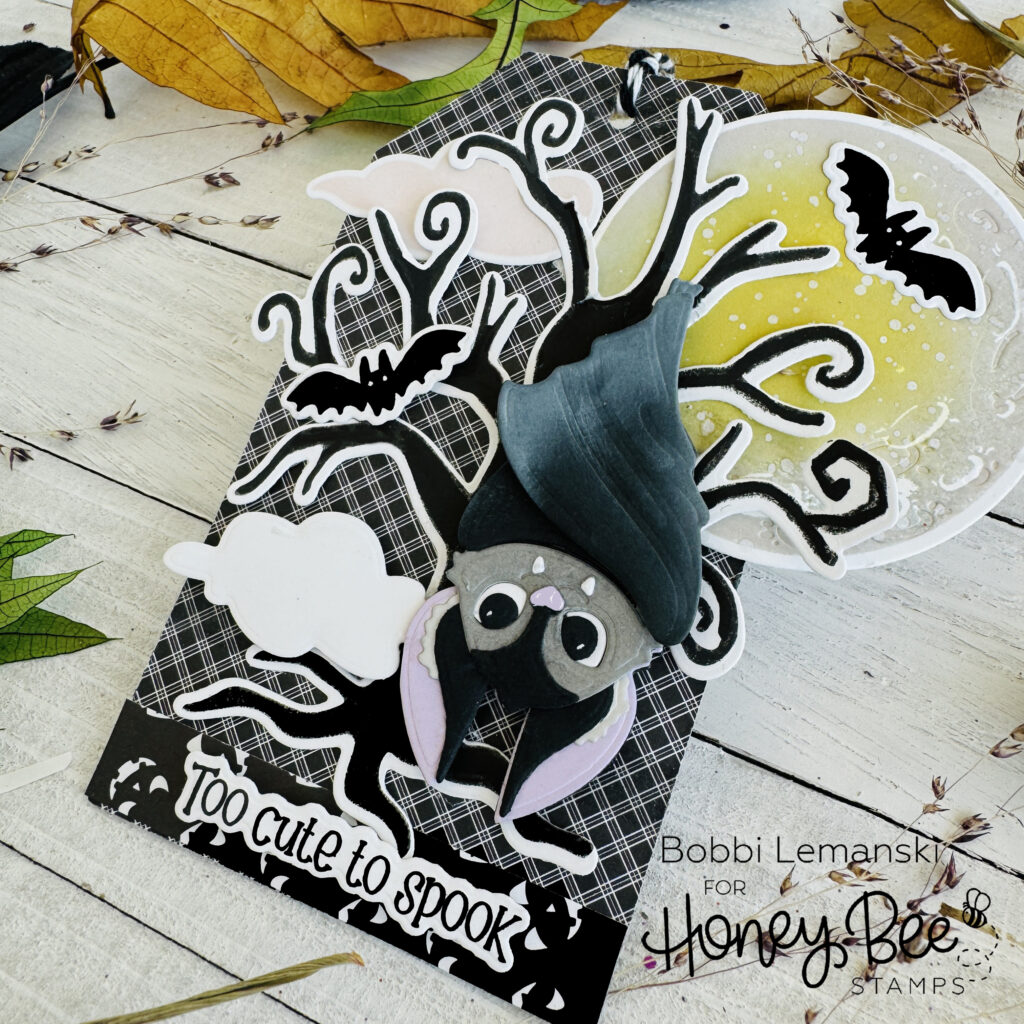
I attached the elements on the tag base front, adding a coordinating paper strip at the bottom to highlight the sentiment. I added a foam tab behind the bat to make him standout from the black tree since both are black.
Finishing the Tags
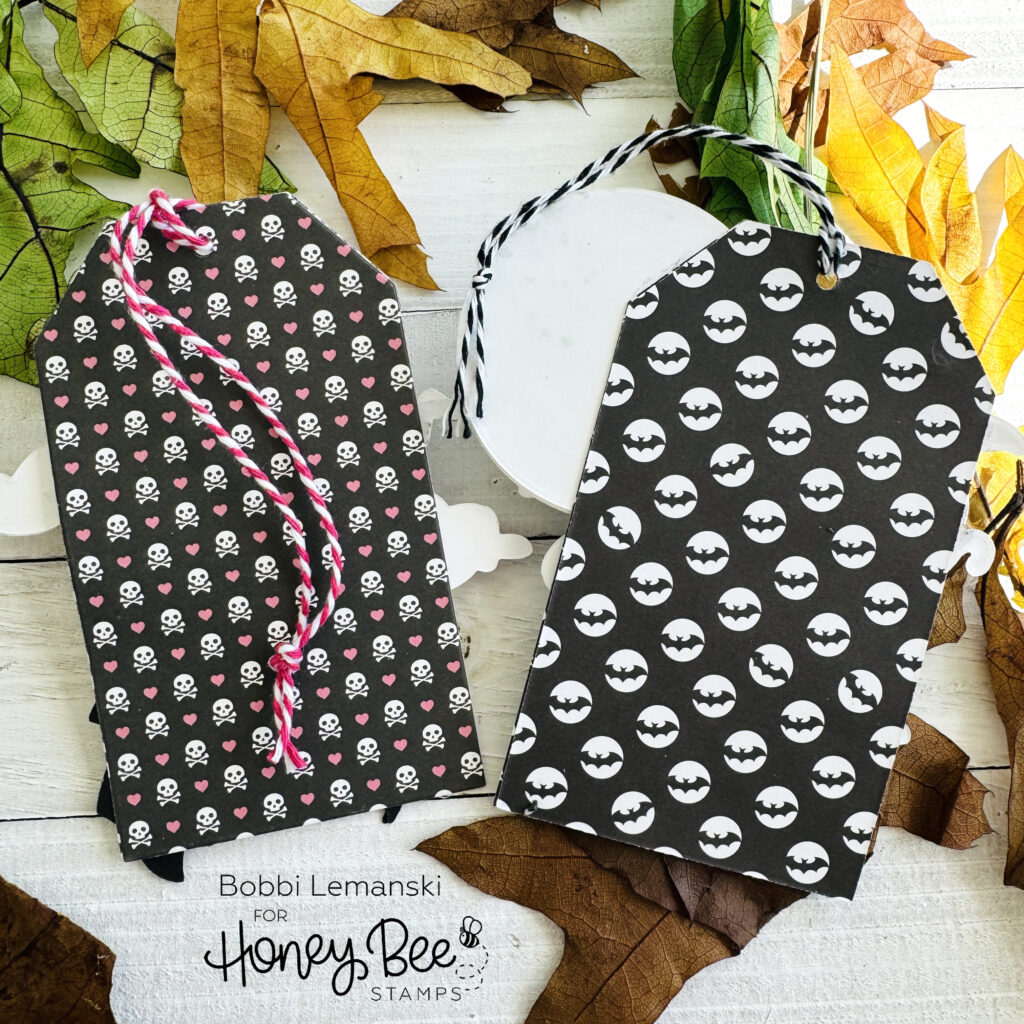
To complete both tags, I cut additional tag backs from coordinating paper from the Sweet & Spooky Paper Pad. I attached baker’s twine string to the tag holes at the top to complete both tags. These cuties are ready for their Halloween treats!
You can shop the entire Honey Bee Stamps , Falloween release here. If you decide to place an order, please use the links in this post so that Honey Bee knows which ideas inspired you!
Thanks for stopping by today. If you want to see more ideas and inspiration from me, subscribe to my blog, BobbiHartDesign.com. I’ll send you updates on new posts! You can also find me on Instagram as @BobbiHartDesign and on Facebook as BobbiHartDesign.

One response to “Halloween Treat Bag Tags Part 2”
These are SO cute! And I really love that they are going on goody bags for the college kids. I do similar projects for my granddaughter and her friends, in fact. Thanks for sharing this cool idea!