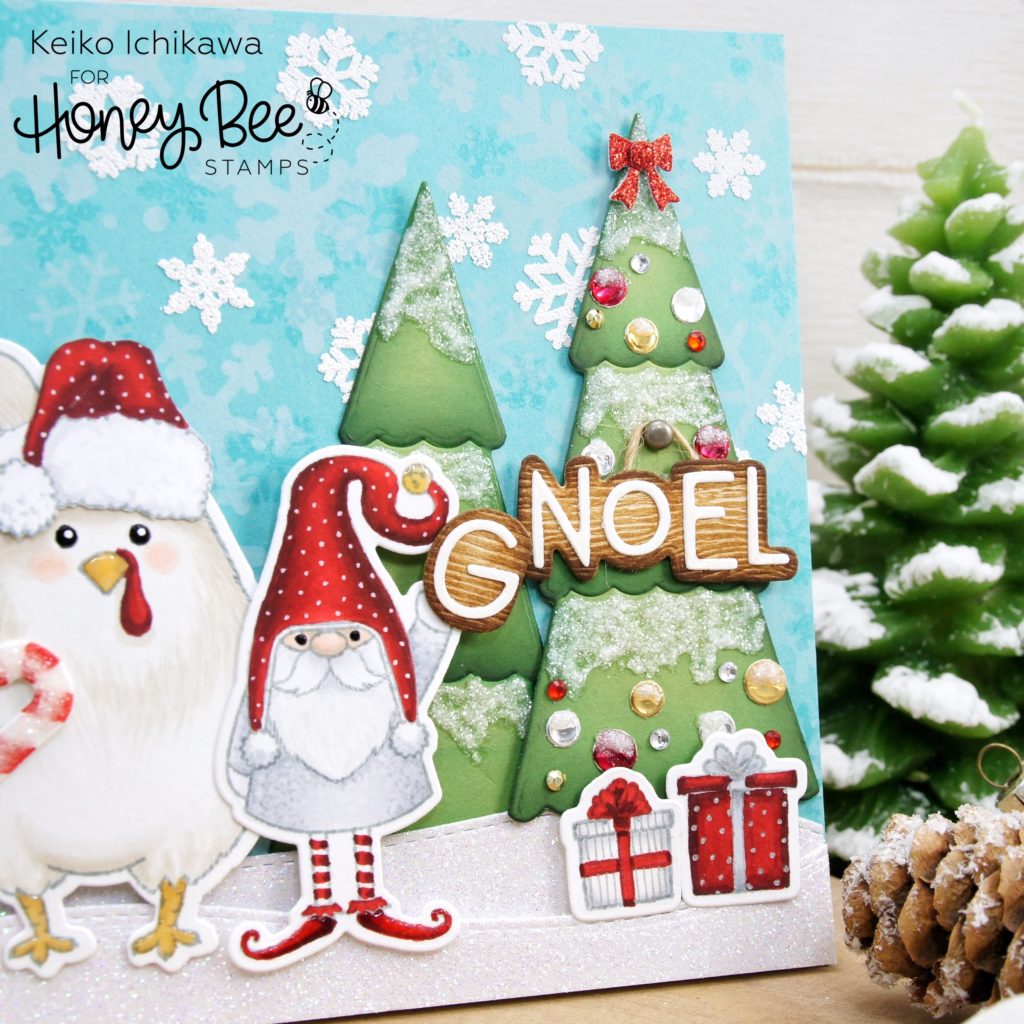
Happy new week friends! It’s Keiko from Happy Tree Studio today. I’m sharing this cute GNOEL scene card with you! Yes, GNOEL. Get it? I used bunch of brand new Season to Sparkle release items on this card.
Here is the product list and the direct links to the Honey Bee store!
Gnome and GNOEL word: Gnome Place Like Home Stamp & Die
Rooster: Spring Chicks Stamp & Die
Trees: Stacking Pines Die & Stencil
Background: Snowfall Stencil & Season to Sparkle Stamp
Candy and Bow: Gingerbread House Add-On Die
Santa hat & gift packages: Snow Buddies Stamp & Die
Tree decorations: Holiday Traditions Gem Stickers & Winter Bouquet Die
Background
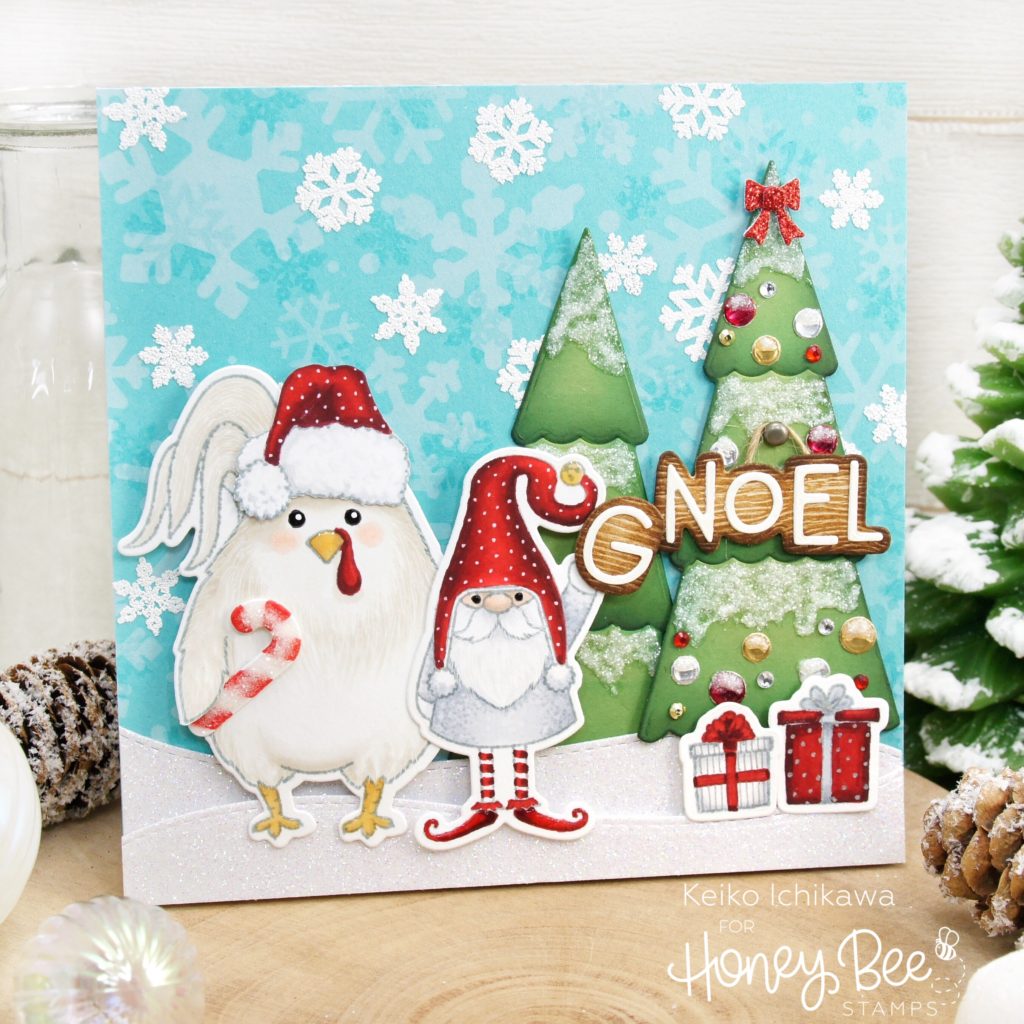
On a piece of 5.5″x5.5″ blue card stock, I blend in white pigment ink over Snowfall Stencil using a blending brush. After the ink dried, I stamped some snowflakes from Season to Sparkle Stamp and heat embossed with white puff embossing powder. You will not get the most crisp image with this type of powder, but it will give fun fluffy snow look! Finally, I stamped some more snowflakes with embossing ink to add a darker tone on tone images.

Preparing the Elements
I stamped the gnome, rooster and the gift packages with gray ink (I felt the slightly softer gray ink would look better for this card) and colored them with my Copic Markers. Then die cut them with the coordinating Honey Cuts dies (except the Santa hat. I fussy cut this out and glued on the rooster) and added some details with gel pens. The trees were die cut from green card stock and I added some dimension using Stacking Pines Stencil and green and black inks. For the tree ornaments, I used small circle die cuts (I used the ones from winter Bouquet Die set) and some Gem Stickers. For the snow on the trees, I used Nuvo Glitter Accents in Fresh Snowfall. The GNOEL word was die cut from white card stock and woodgrain card stock. To make them look like a wooden sign, I inked the shadow part of the die cut with brown inks. I cut apart the letter G so the gnome can hold it up. I added a piece of twine to the sign and adhered it on the tree with a brad. The bow on the tree was cut from red glitter card stock. The candy cane was actually a left over from the previous project (the gingerbread mason jar card I shared on Instagram). I simply die cut it and colored with Copics and covered it with Glossy Accents and glitter. I cut a small slit on the rooster’s wing and adhered the candy cane.
Assembly
I cut out two snowy hills from white glitter card stock and glued one of them on the background together with the tree on the back. Then I added the other snowbank with foam tapes. Then all you need to do is arrange the rest of the elements and adhere them with foam tapes!
Finishing Touches
I added Glossy Accents to the feet and beak of the rooster, shoes and the bell on the gnome, and the word GNOEL. I also added some snow to the tree ornaments.
Well that’s it for today! Thank you so much for stopping by! Have a wonderful week!!
KEIKO

One response to “GNOEL Scene Card”
Wow! You have really nailed it! i love everything about this card!