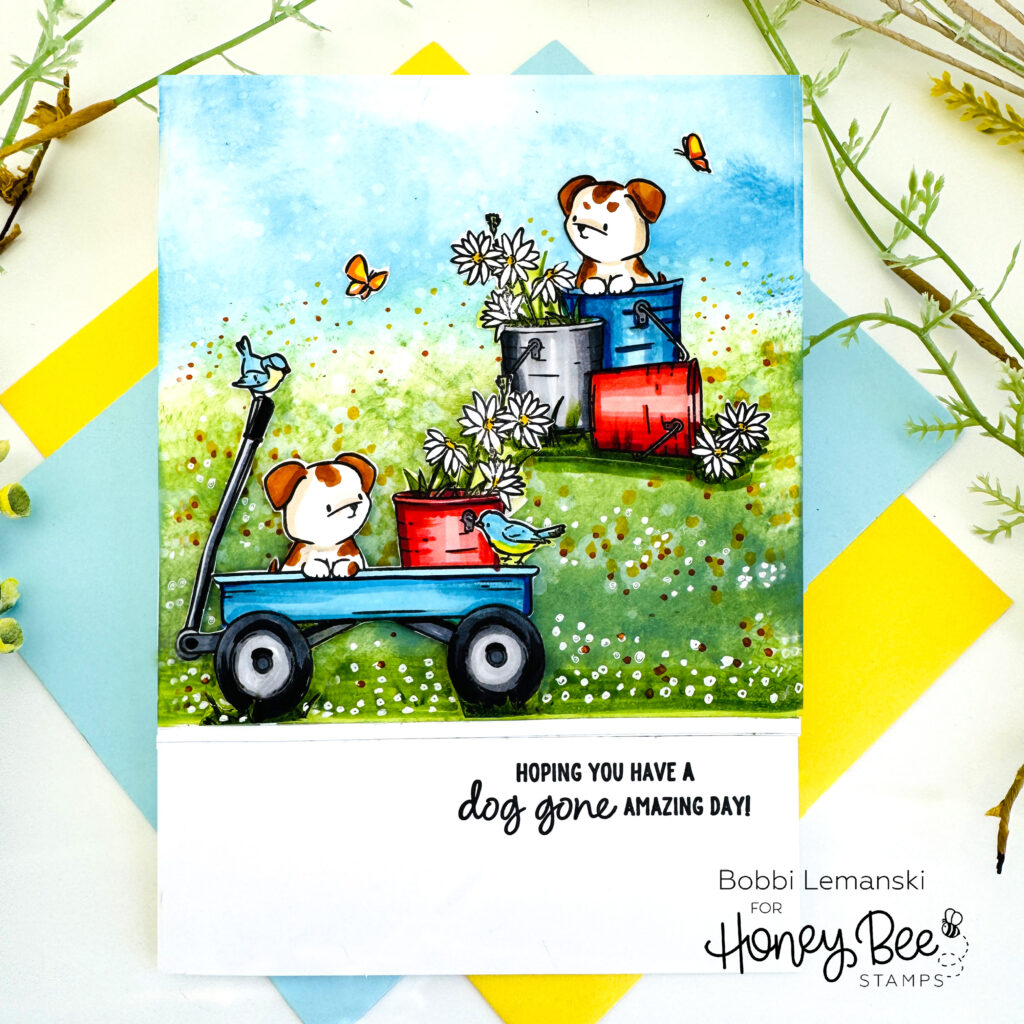
Hello Bee friends! It’s Bobbi and I’m here with a sweet card featuring one of the new products by Honey Bee Stamps called, Dog Gone Amazing. The name of this set also represents the whole Pet-tastic Release. It’s really doggone amazing!
For the basics… my featured project below is made from Neenah 80lb Solar White cardstock for the card base and card front panel. All of the black ink stamping was done using Honey Bee’s Bee Creative Intense Black Ink. I use Honey Bee Stamps Bee Creative Precision Glue and for when I want more dimension, Bee Creative Foam Dots With Tab for adhering my elements together. My blender brushes (large and small) are a must for ink blending color on the background, too. For white highlights, I use my white Gelly Roll pen. My card is 5″ X 7″ in size.

To make this 5″ X 7″ card, I started by blending Mowed Lawn Distress Oxide Ink on the white card front. I made the green lighter towards the top, but left white space above and below the green ink. At the top, I blended on Tumbled Glass Distress Oxide Ink for sky, leaving areas white for clouds. I applied the ink using my Honey Bee Blender Brushes. I added tiny flowers in the green, grassy area using the white gel pen, a Y19 and an R14 Copic Sketch Marker. I just made simple dots for the flowers.
I stamped, colored and die cut the images using the Dog Gone Amazing stamp set and coordinating Honey Cuts dies, including the pails, wagon, birds, and butterflies. I used the following Copic colors:
- Blues: B000, B00, B01, B02, B05
- Grays: 100, C6, C3, C2, C1
- Reds: R89, R27, R17, R14, R22
- Yellow-Reds: YR27, YR24, YR68, Y21
- Yellows: Y06, Y19
- Neutrals: E42, E44, W3
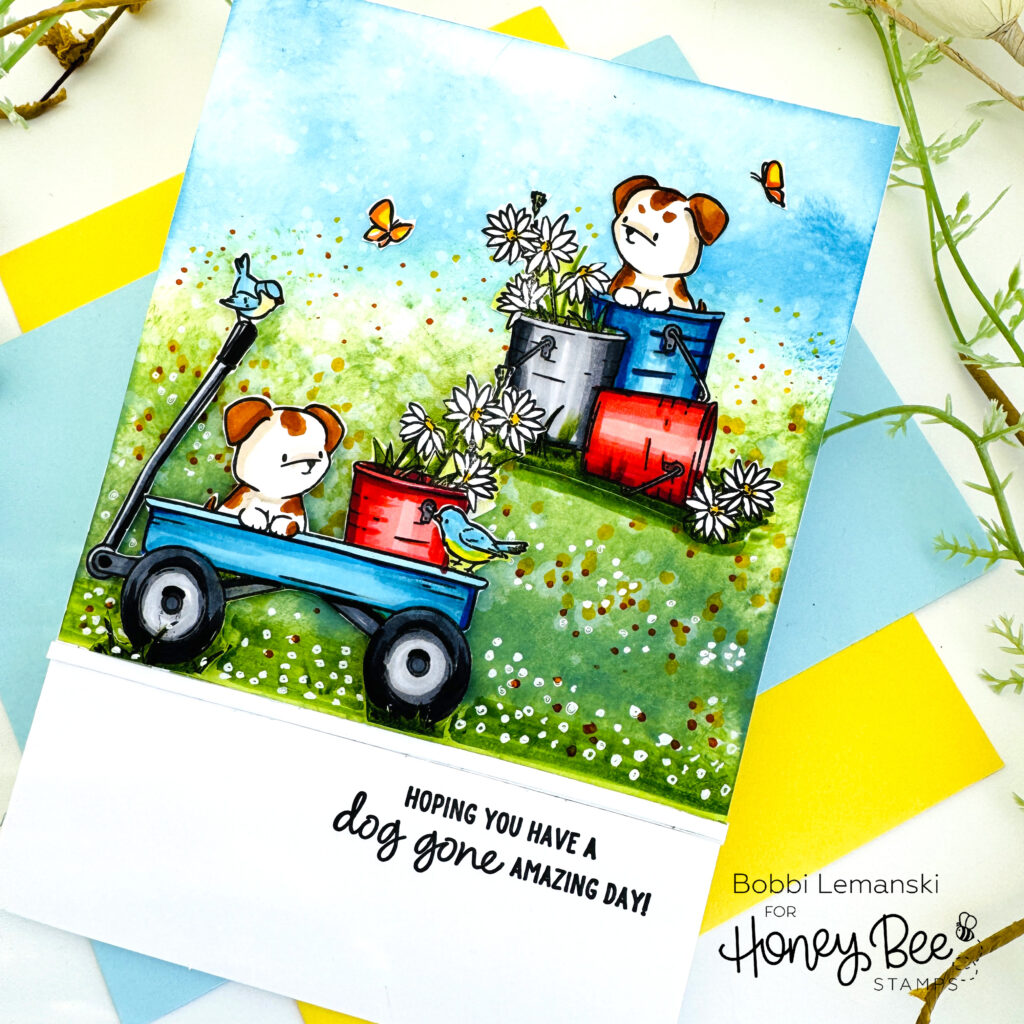
I assembled the scene, attaching the larger two images – the dog in the wagon and the dog with pail trio – using Bee Creative Foam Dots With Tabs to make them stand out from the background. I also added a bird and some butterflies to the scene. I added some darker green shadowing (YG67 and YG63) to the bottom of the images to “ground” them into the scene.
I cut a 1/8″ strip of white cardstock and attached it to the bottom of the green grassy area, creating a very clean line below the scene. Lastly, I stamped the sentiment below the scene using Honey Bee’s Bee Creative Intense Black Ink. I attached the card front to the front of a white card base to complete the card.
You can shop the entire Honey Bee Stamps , Pet-tastic Release. If you decide to place an order, please use the links in this post so that Honey Bee knows which ideas inspired you!
Thanks for stopping by today. If you want to see more ideas and inspiration from me, subscribe to my blog, BobbiHartDesign.com. I’ll send you updates on new posts! You can also find me on Instagram as @BobbiHartDesign and on Facebook as BobbiHartDesign.