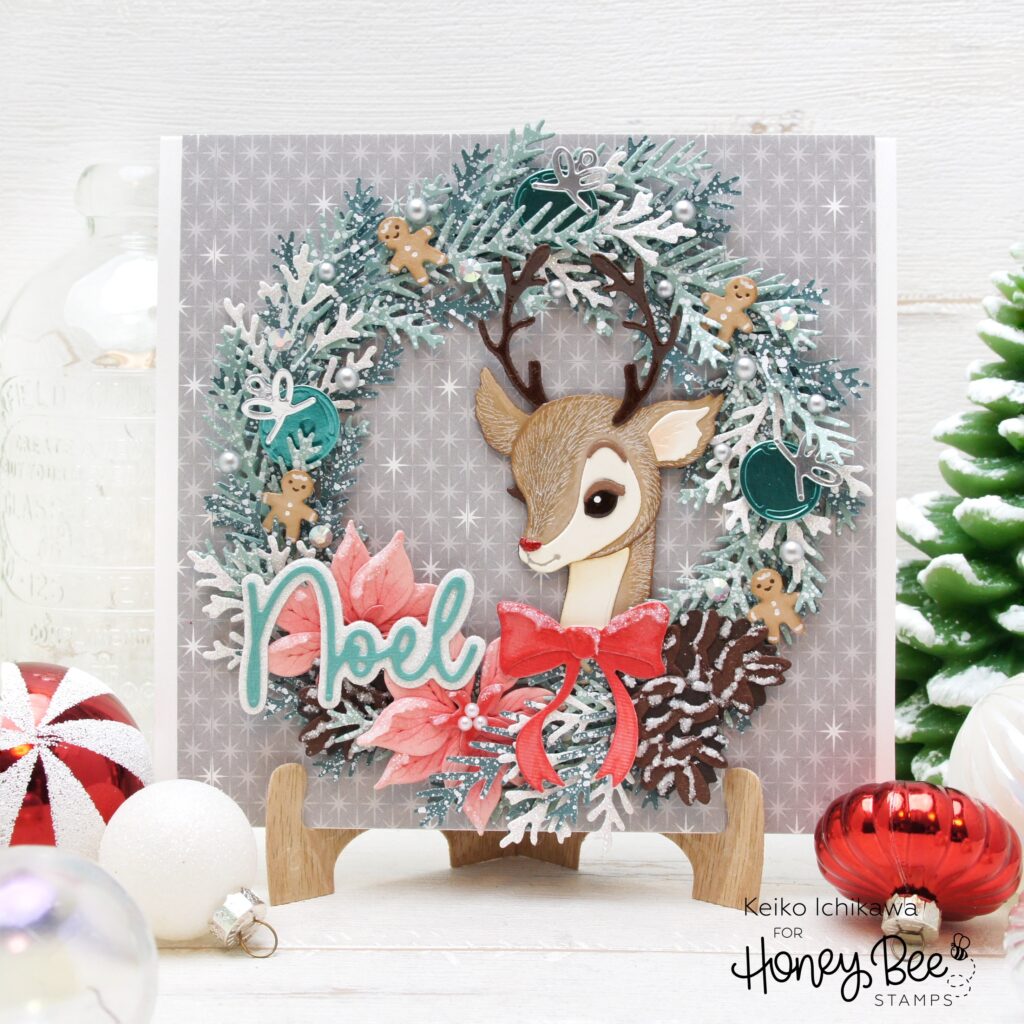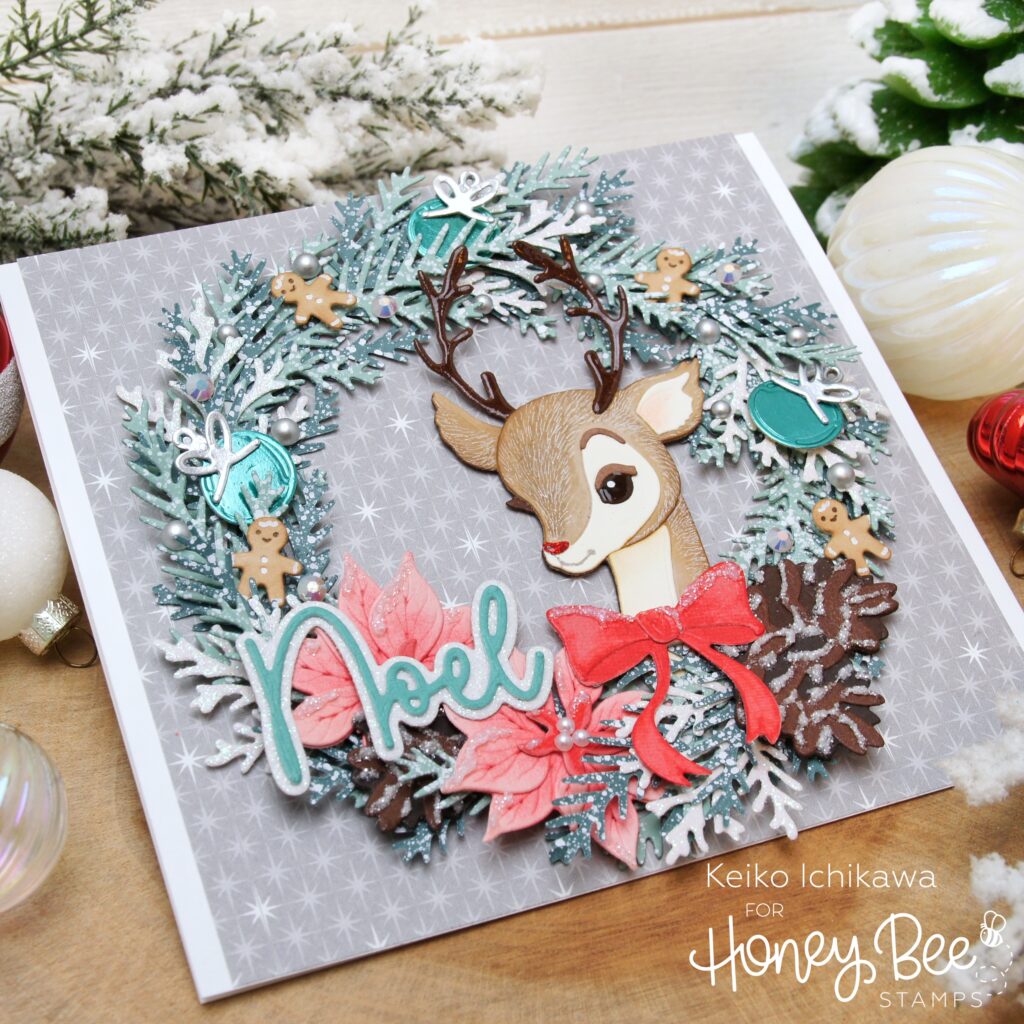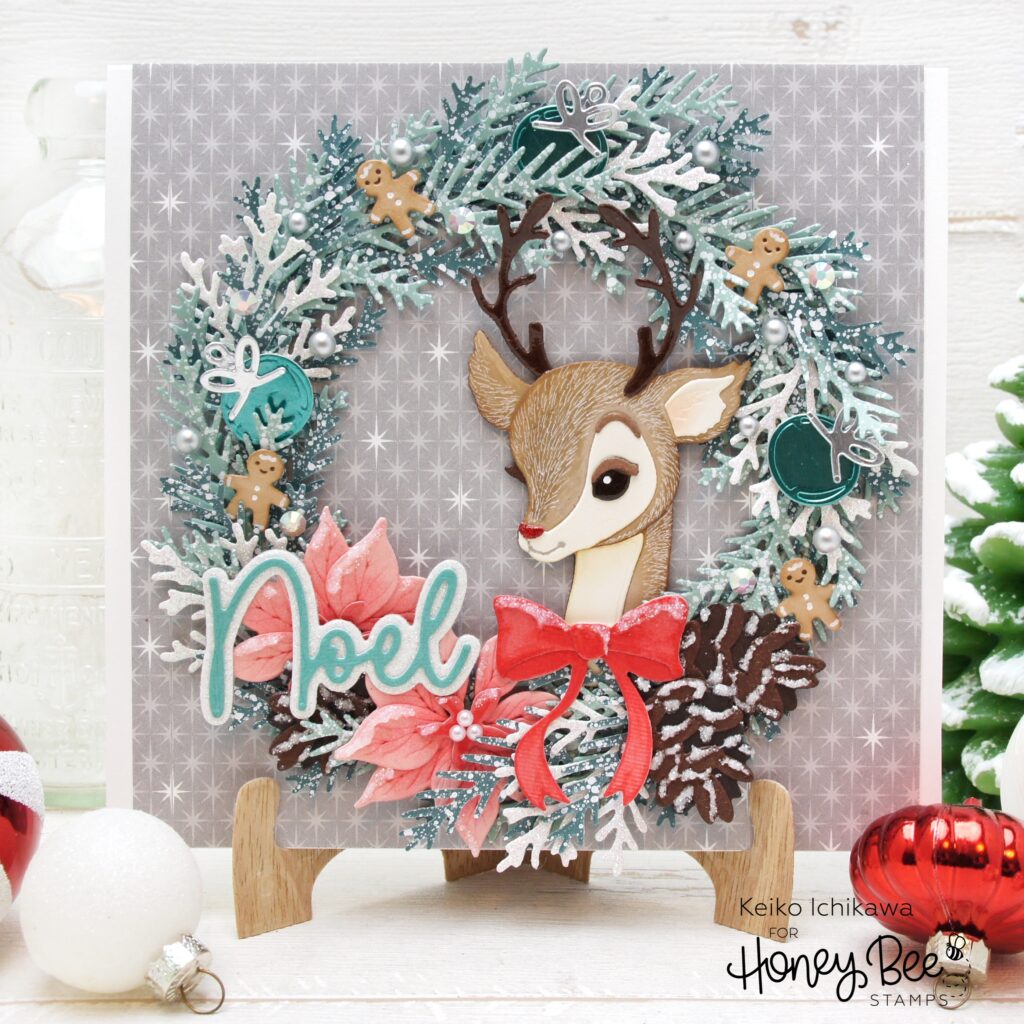
Hello friends! Happy new week! It’s Keiko from Happy Tree Studio today and I have this pretty Christmas Wreath card to share with you. It is 6″x 5.5″ in size and is entirely made of die cuts. The design is definitely not for mass production, but it is super fun to make if you love die cutting!
For the card base, I cut a piece of white card stock into 6″x 11″ and scored in half to make a 6″x 5.5″ card. Since I don’t have any card stock larger than 11″, this is the largest square (kind of) card I could make and it worked out well. I then cut the gray pattern paper from Make It Merry pattern paper to 5.5″x 5.5″ and adhered it on the card base. I could do square card but thought the small white borders on the sides would be nice.

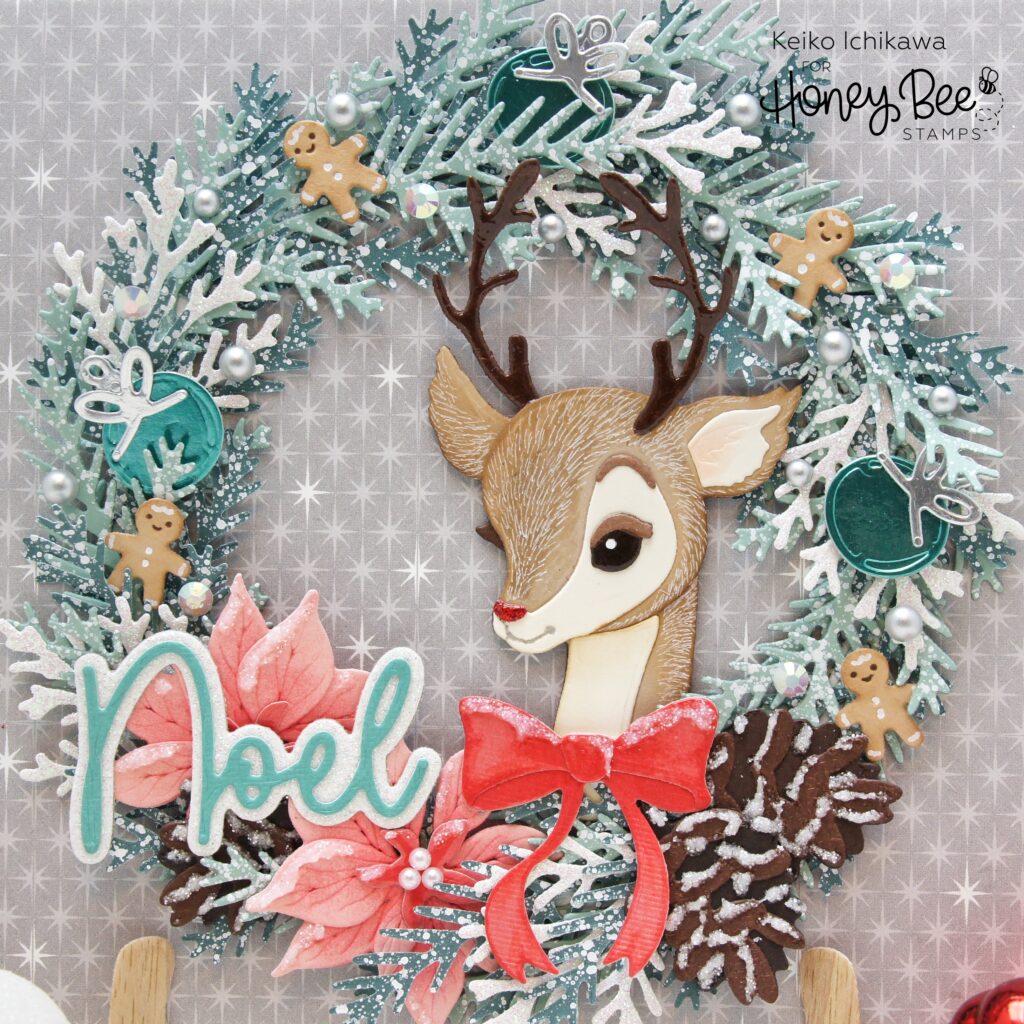
To make a wreath base, I used an old circle shaker frame die (4.5″ in diameter and 1/4″ wide) from heavy weight card board to adhere all the pine branches. Instead, you could use two circle dies to make a frame, or hand cut one since it will be covered by the branches. Using the pine branch die from Mini Postcard Holiday Add-On die set, I die cut about 25 branches in total from two shades of green and white glitter card stock. I then adhere them to the circle frame to make a wreath. The key here is only apply glue to the base of each branch and overlap them to make a fluffy wreath. When the wreath base is ready, I splatter it with white paints HEAVILY. I then adhered the wreath to the card panel.
Now you can decorate the wreath however you like! I used the following die sets:
Lovely Layers: Vintage Reindeer
Lovely Layers: Mini Holiday Florals (poinsettia and pinecone)
Postcard Holiday Add-On (ornaments)
Free Bee die set (bow)
Lovely Layers: Hoosier Cabinet (gingerbread men)
Great Greetings: Holiday (Noel sentiment)

I die cut them from various card stocks including foil and glitter. I added inking to the flowers and pen details to the deer, bow and gingerbread men. I also added glitter to some of the elements before I added all of them to the wreath. To finish off the design, I added some pearls and gem stickers.

Thank you so much for stopping by today! Have a wonderful week!!

