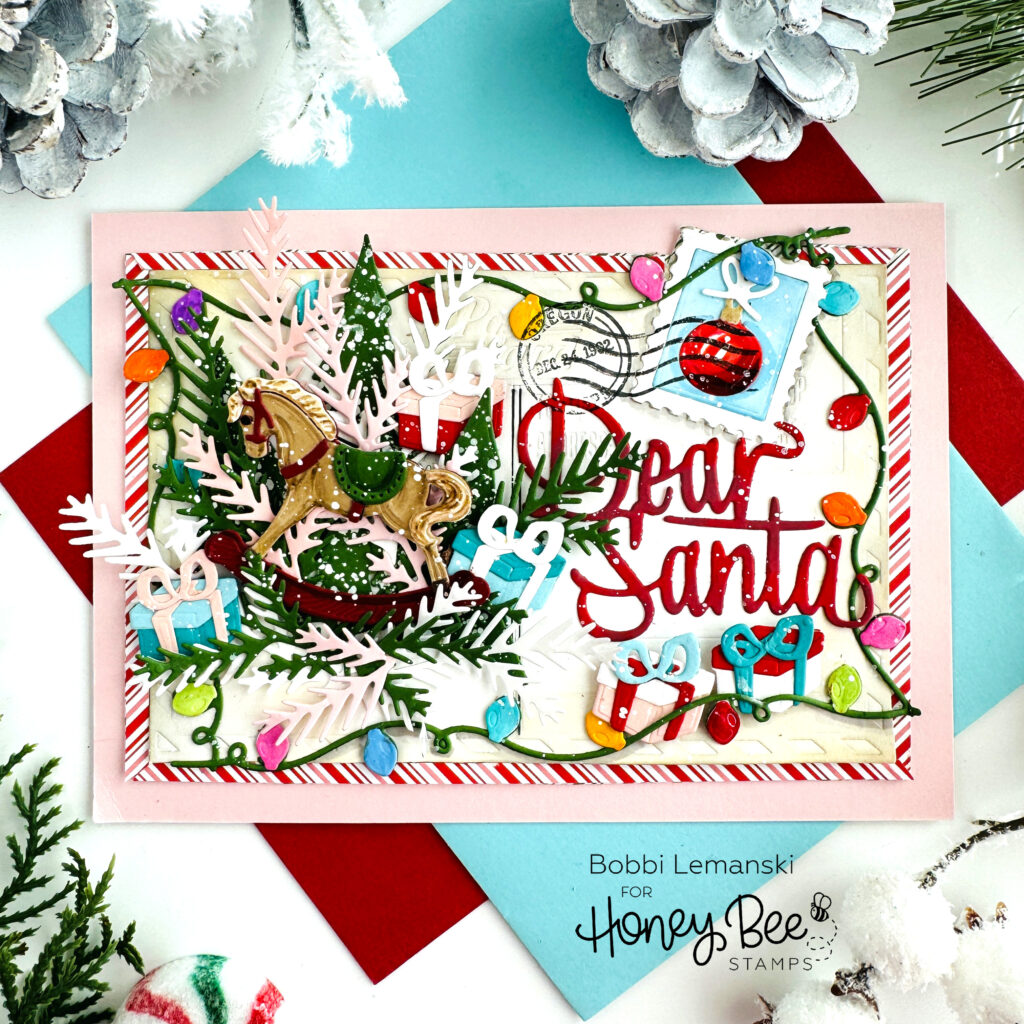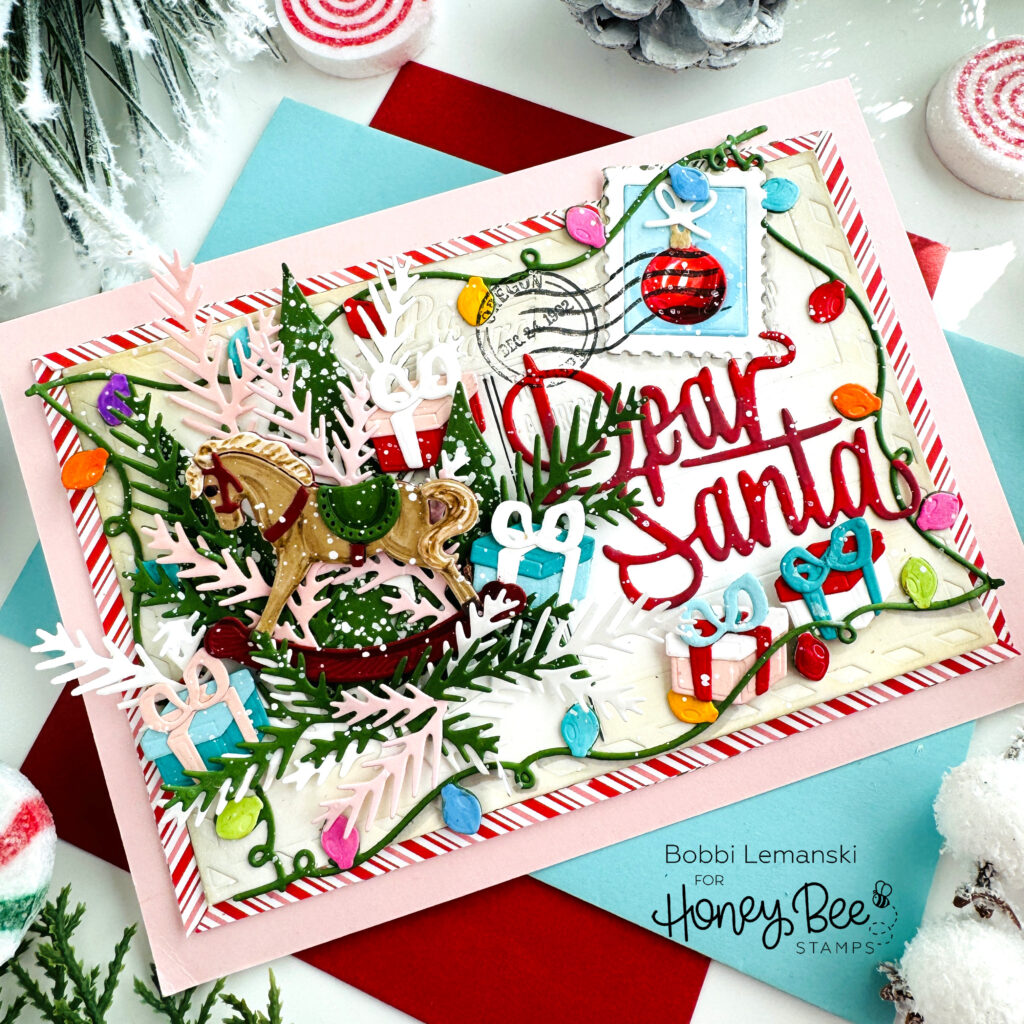
Hi there, crafty friends! I’ve got another holiday card for Christmas. This time, I’ve made a postcard for Santa Claus with a super cute vintage rocking horse on my wish list! I’m using the following Honey Bee Stamps products from the Cozy Christmas release:
Postcard – Holiday Add-On – Honey Cuts dies
Lovely Layers: Old Fashioned Rocking Horse – Honey Cuts dies
From previous releases:
Time to Go Postcard Honey Cut dies
For the basics… my featured project below is made from Neenah 80lb Solar White cardstock for the card base. All of the black ink stamping was done using Honey Bee’s Bee Creative Intense Black Ink. I use Honey Bee Stamps Bee Creative Precision Glue and for when I want more dimension, Bee Creative Foam Dots With Tab for adhering my elements together. My blender brushes (large and small) are a must for ink blending color on the background, too. For white highlights, I use my white Gelly Roll pen. My card is 5″ X 7″ in size.

To make this 5″ X 7″ card, I die cut the postcard and one postage stamp from white cardstock using the Time to Go Postcard Honey Cut dies. I ink blended Antique Linen ink around the edges of the postcard to make it look aged. I also die cut the following from green cardstock: the string of lights, evergreens, and trees. The presents and “Dear Santa” sentiment from the Postcard – Holiday Add-On – Honey Cuts dies were cut from aquas, pink and red cardstock. I die cut the lights from white cardstock and colored them using Copic Markers in R29, YR68, Y19, B24, B57, and YG23 for a colorful string of lights.
For the background, I cut a 5″ X 7″ pieces of pink cardstock. I also cut strips of the red and white stripe paper for a peppermint striped border using a pattern from the Gingerbread Village Paper Pad. I love the look of the stripes. It makes it feel holiday and postal all in one!

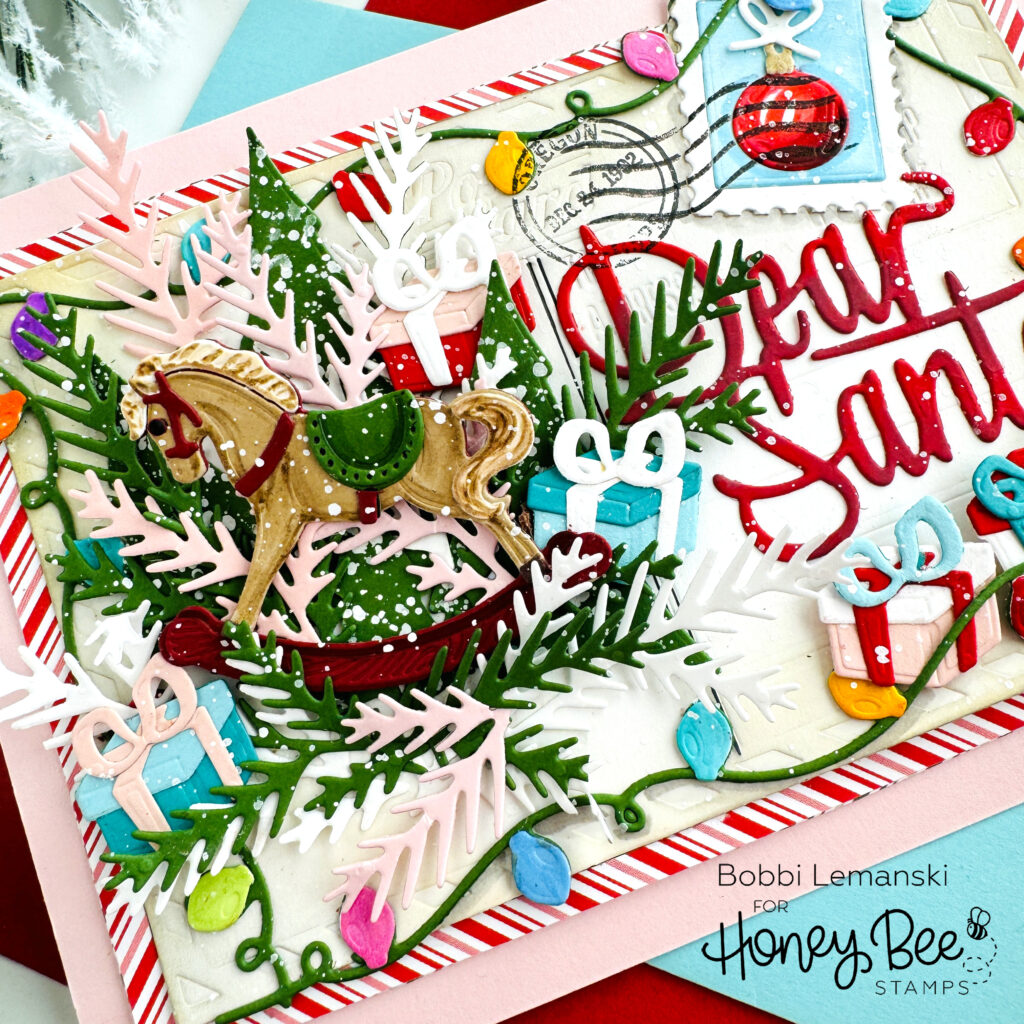
I die cut the elements of the rocking horse using the Lovely Layers: Old Fashioned Rocking Horse – Honey Cuts dies. I assembled the card front, tucking the horse behind the evergreen branches and in front of the trees. I also tucked in five presents. Every postcard needs a stamp so I used the stamp from the Time to Go Postcard Honey Cut dies. I ink blended Tumbled Glass onto the stamp center and also die cut an ornament from the Postcard – Holiday Add-On – Honey Cuts dies. I attached the ornament stamp to the card front and stamped over it using the cancellation marks and location stamp from the POST PERFECT Clear Stamp Set. After I attached the card front to the card base, I splattered white ink over the front to complete the card.
You can shop the entire Honey Bee Stamps , Cozy Christmas release. If you decide to place an order, please use the links in this post so that Honey Bee knows which ideas inspired you!
Thanks for stopping by today. If you want to see more ideas and inspiration from me, subscribe to my blog, BobbiHartDesign.com. I’ll send you updates on new posts! You can also find me on Instagram as @BobbiHartDesign and on Facebook as BobbiHartDesign.
