
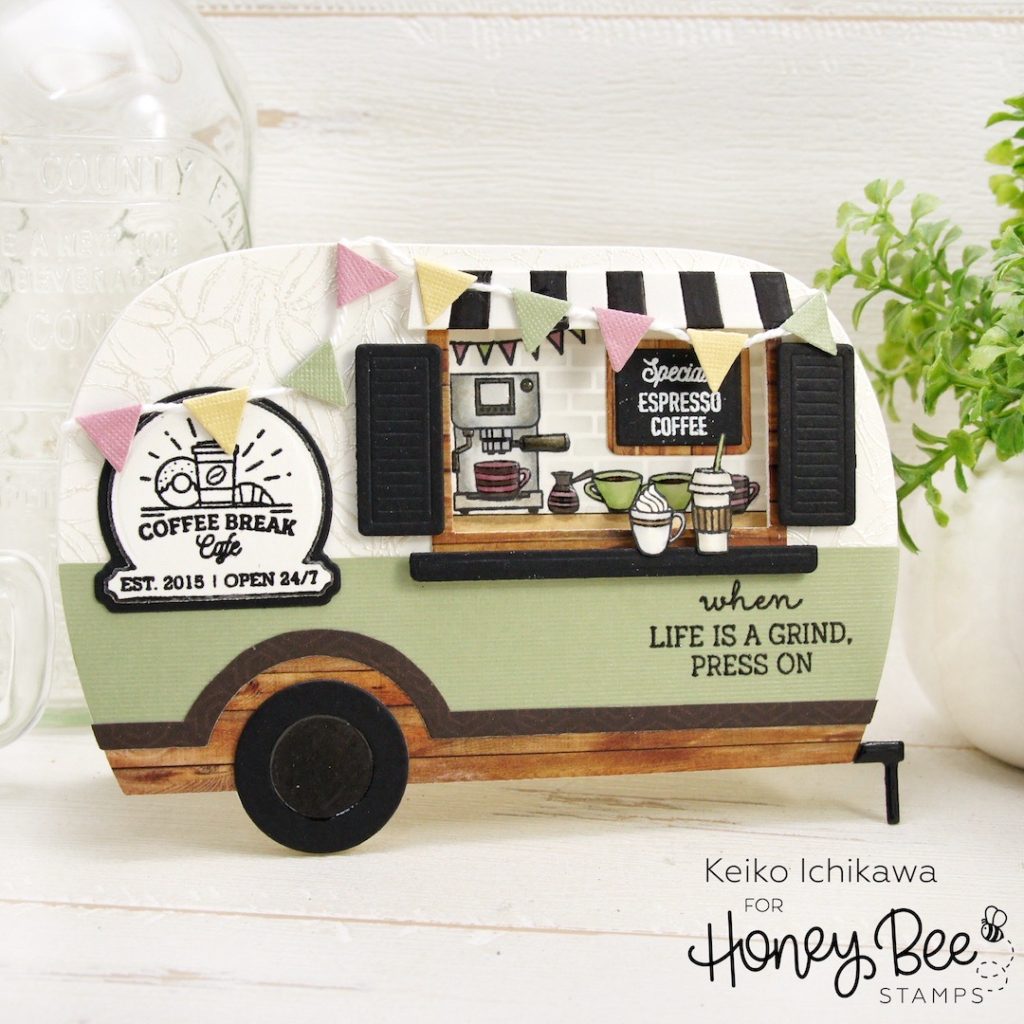
Happy new week friends! It’s Keiko from Happy Tree Studio and I have this fun shaped card to share with you. It’s a cute coffee trailer card perfect for almost any occasion! It is also perfect as a coffee gift card holder!
<SUPPLIES>
Camp Trailer Card die
Coffee Shop – House Builder Add-On stamp & die
Latte stamp
Coffee Bean Background stamp
Gingerbread House Add-On die (shutters)
Perfect Bricks stencil
Treat Shop Add-On stamp (banner)
Home Essentials Pattern Paper (woodgrain)
Harvest Festival Pattern Paper (dark brown trim)
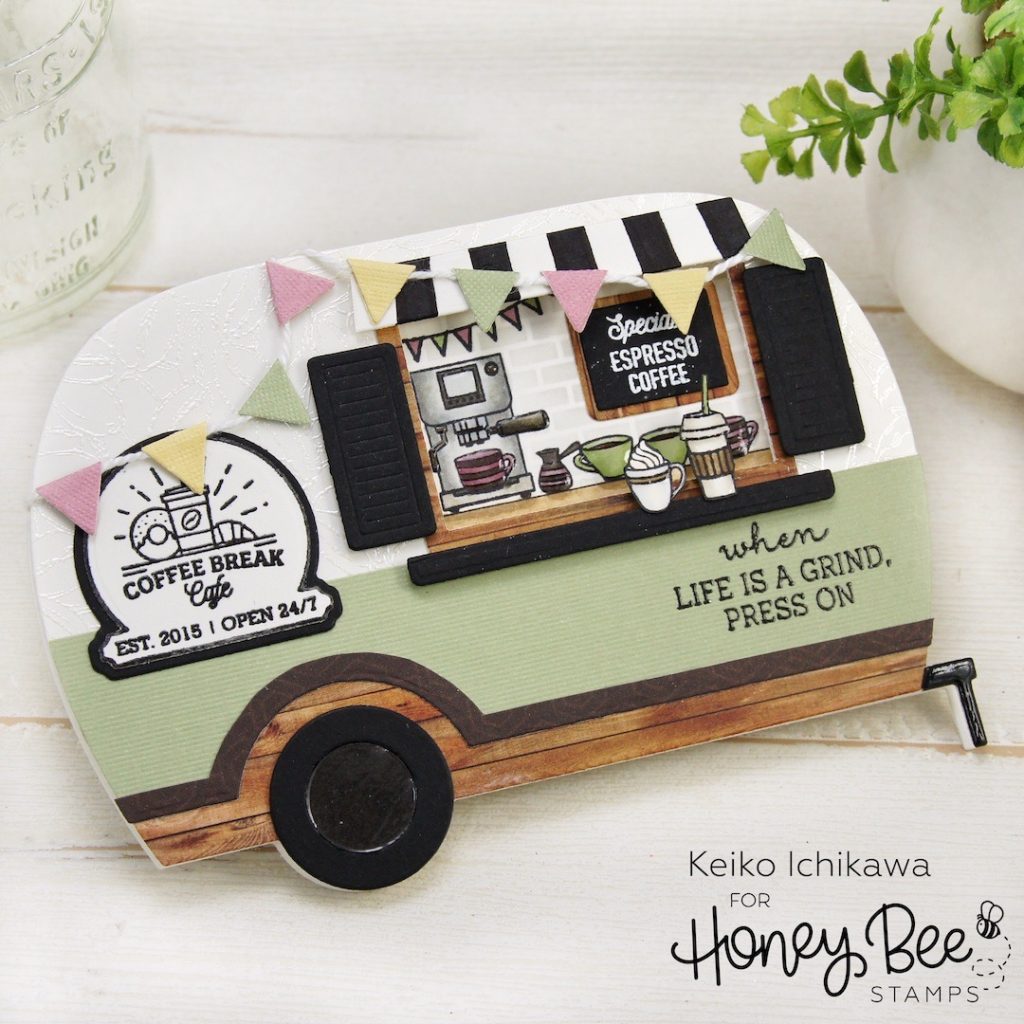
I first die cut all the necessary parts for the trailer base using the Camp Trailer Card die. To add a texture to the main body, I heat embossed the Coffee Bean Background on the Ivory part with a pearl embossing powder and a sentiment from Latte stamp set to the green part with black embossing powder. To make the window, I used a rectangle die included in the Coffee Shop Add-On die set. I also die cut a set of window shutters, a counter top, awning, and a specials board. The shop sign was heat embossed with black and die cut (I added the black base layer too).
For the inside of the trailer, I stamped out the scene on a piece of white card stock slightly larger than the window with black ink and added some brick texture with Perfect Bricks stencil and light gray ink carefully avoiding the images. I then colored the images with Copic markers and glued the specials board (I white heat embossed the details).
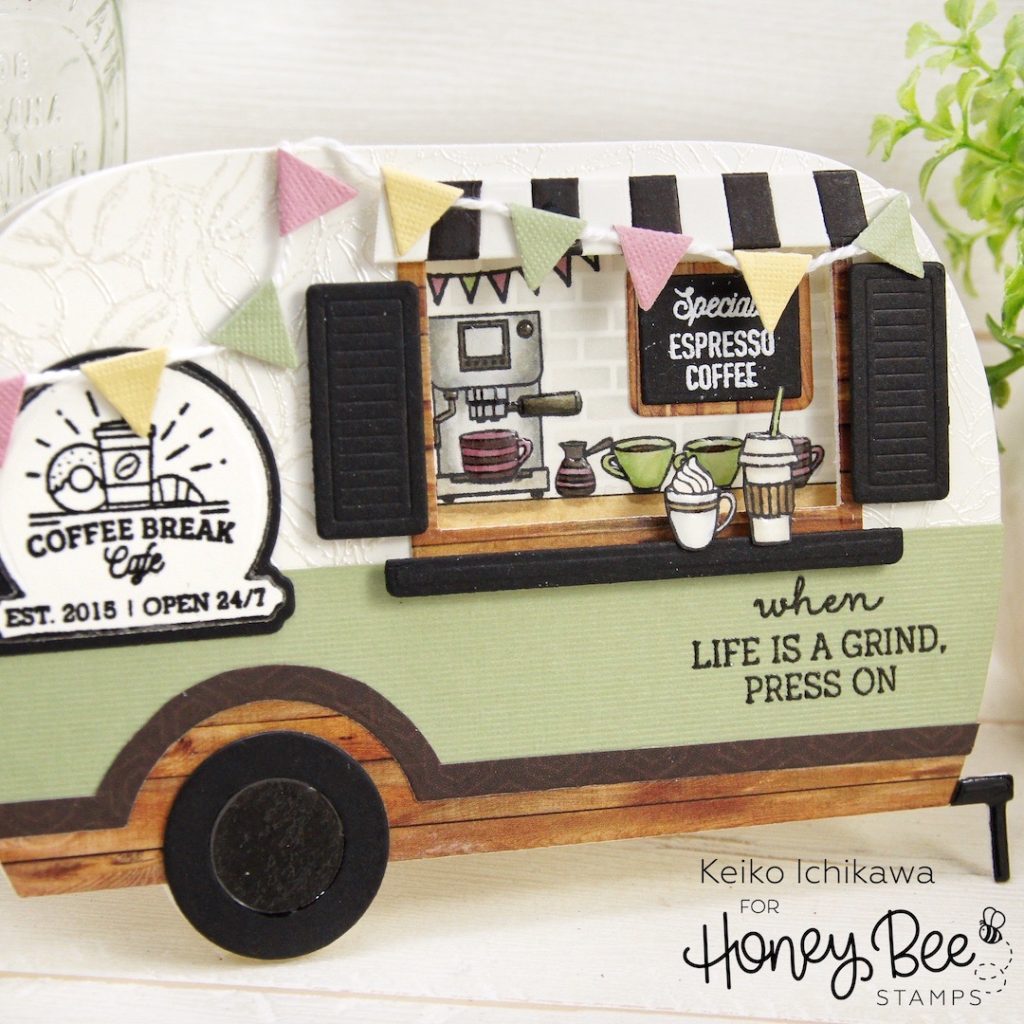
For the card base, I die cut two trailer base from white card stock and added a hinge on the top. Now you can adhere the inside scene to this card base and pop up the trailer parts on top. I used two layers of foam tapes to make the coffee shop dimensional. I also used foam tapes for the awning, shutters and the counter top. I stamped, colored, and cut out additional coffee images and pop them up on the counter. I love how dimensional the scene look!
To decorate the trailer a little bit more, I added a banner made with scrap card stocks and a piece of twine. TIP: If you are adding a banner, make sure you do that BEFORE you adhere the front panel to the card base so you can easily secure the twine on the back of the front panel. As a finishing touch, I selectively added some Glossy Accents.
Well, that is all! Thank you so much for spending time with me.
Wishing you a wonderful week!

2 responses to “Coffee Trailer Shaped Card”
beyond amazing!
I’m going to share in the Coffee Loving Papercrafters FB group!
Fabulous! Love it