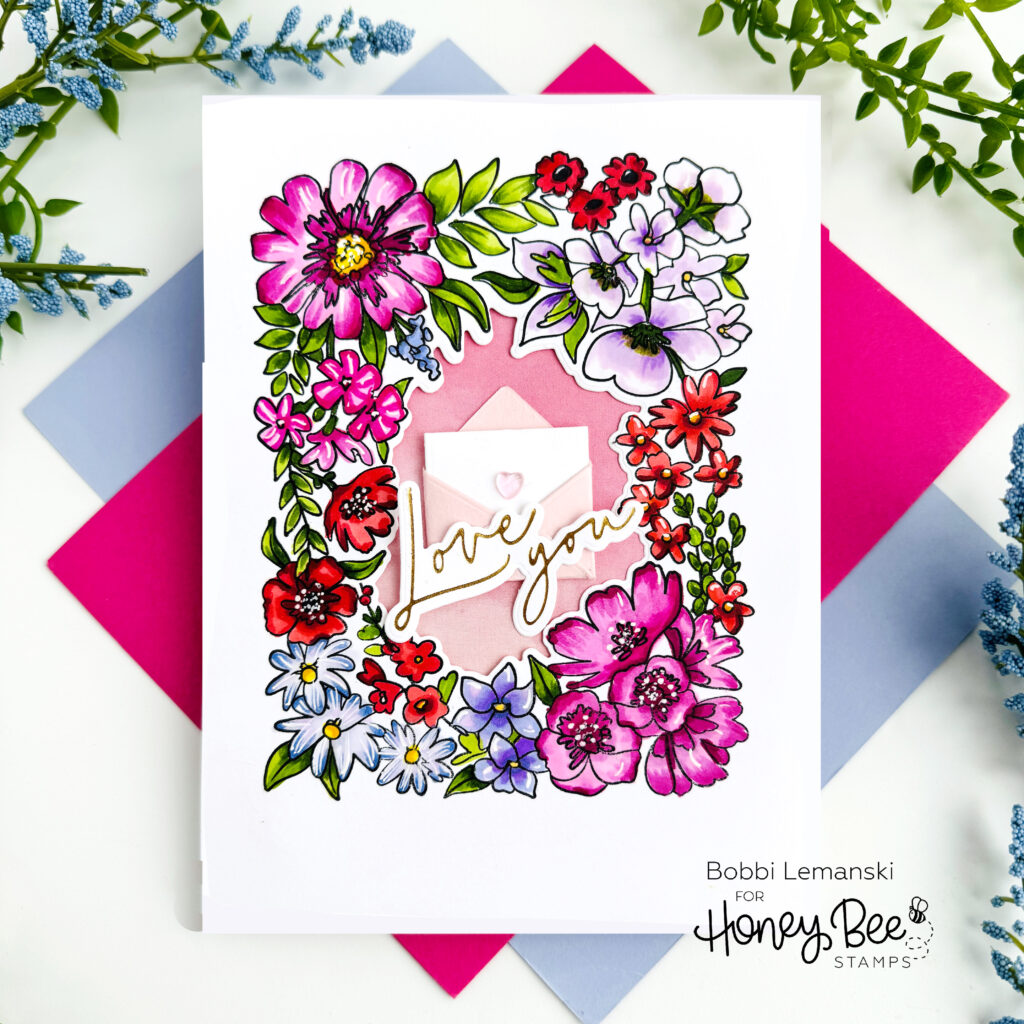
Hello friends. I love this time of the year because it means happy valentines! I know some of us do not send valentines anymore so I have also converted this featured card into a another type of card that anyone could use so watch for it at the end of this post.
I’m using the following Honey Bee Stamps products:
Friendship Frame stamp set and coordinating Honey Cuts dies
Foil Script: Wishes Hot Foil Plate and coordinating Honey Cuts dies
Strawberry Hearts Acrylic Hearts
Pinstripes and Polka Dots pattern paper pad or Love Letter A2 Envelopes (retiring item)
The featured project below is made from Neenah 80lb Solar White cardstock for the card base and card front panel. All of the black ink stamping was done using Honey Bee’s Bee Creative Intense Black Ink. I use Honey Bee Stamps Bee Creative Precision Glue and for when I want more dimension, Bee Creative Foam Dots With Tab for adhering my elements together. My card is 5″ X 7″ in size.

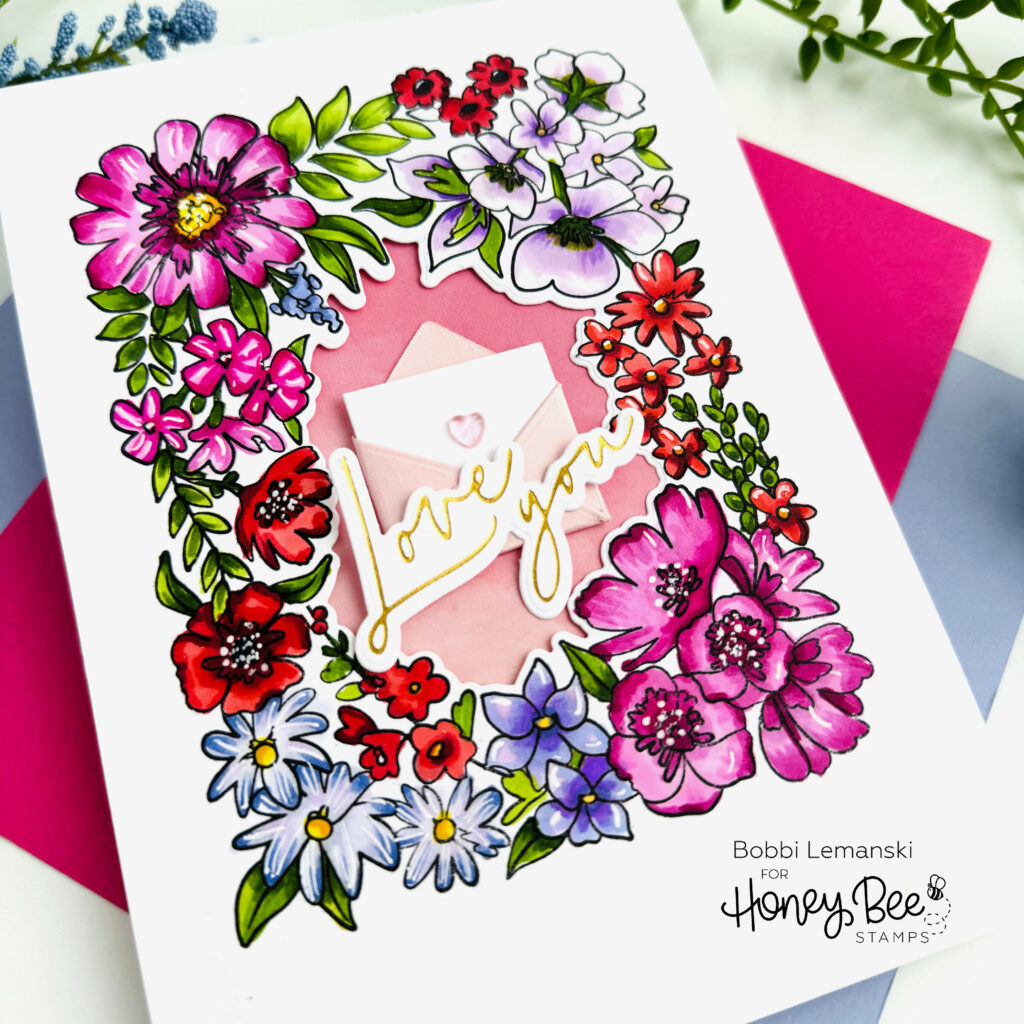
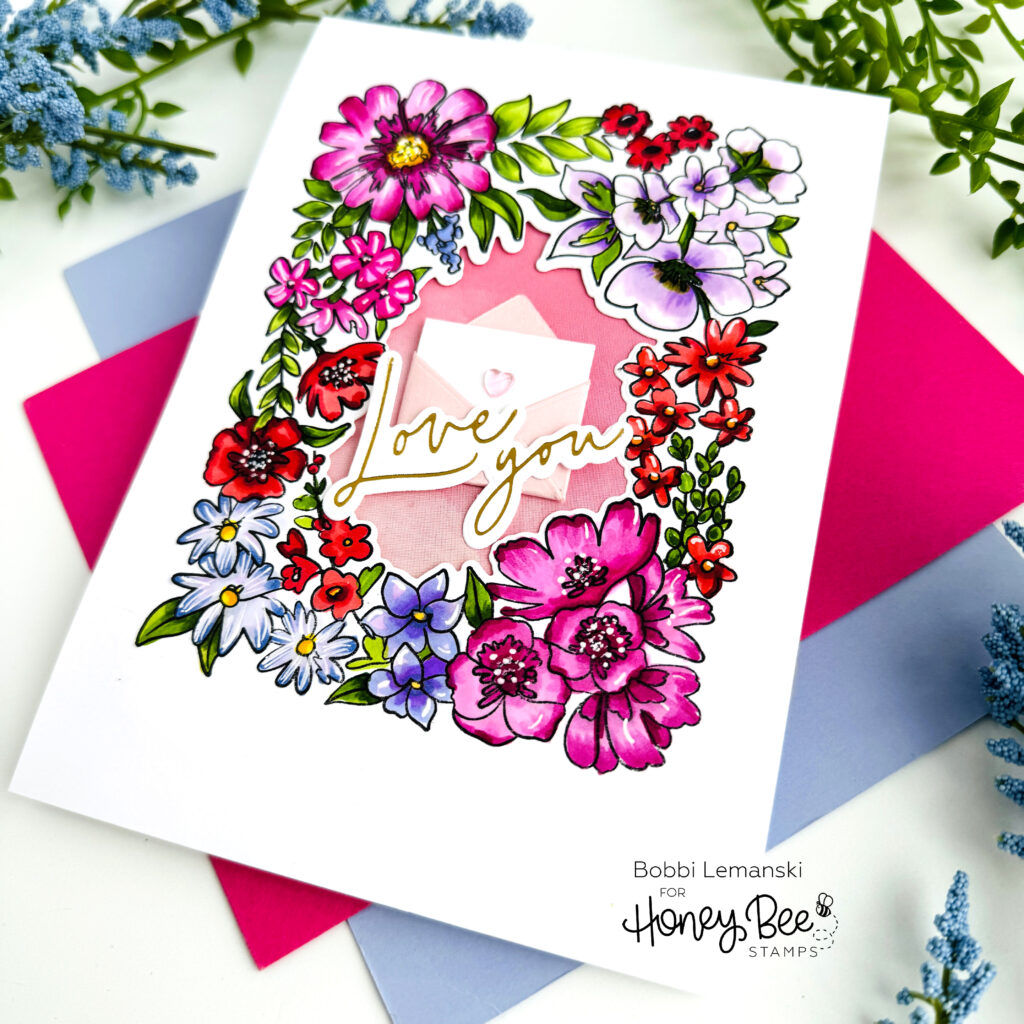
To make this 5″ X 7″ card, I started by cutting a piece of Neenah 80lb Solar White cardstock to 10″ X 7″ for the card base (scored to 5″ X 7″) and another singular 5″ X 7″ piece for the card’s front panel. I stamped the front panel with the floral frame image from the Friendship Frame stamp set. Using just the inside cutout die, I cut out the interior of the floral frame. I colored the flowers using shades of pinks, reds, violets, blue-violets and greens. I used Copic Sketch Markers in the following colors:
- Reds: R89, R27, R17, R14
- Pinks: RV55, RV17, RV09, RV02, RV00
- Violets: V12, V04, V00
- Blue-Violets: BV04, BV01, BV00
- Greens: YG67, YG25, YG17, YG03

For the inside of the frame, I used a pink ombre patterned paper. I actually used an envelope from the Love Letter A2 Envelopes (retiring and on sale now) and cut out the envelope front and attached it to my card base front, placing it where the frame’s opening will be positioned over it. I attached the floral frame panel to the card base using Bee Creative Foam Dots With Tab to make it stand out from the base backing.
I hot foiled and cut out the “Love You” sentiment using the Foil Script: Wishes Hot Foil Plate and coordinating Honey Cuts dies. I also die cut a pink mini envelope and a white notecard using the Love Enclosed Honey Cuts dies. I glued a Strawberry Ice Acrylic Heart to the front of the notecard and attached the envelope to the center of the open frame interior. I attached the sentiment over the open frame, attaching both sides to the frame and slipped the valentine in behind it.

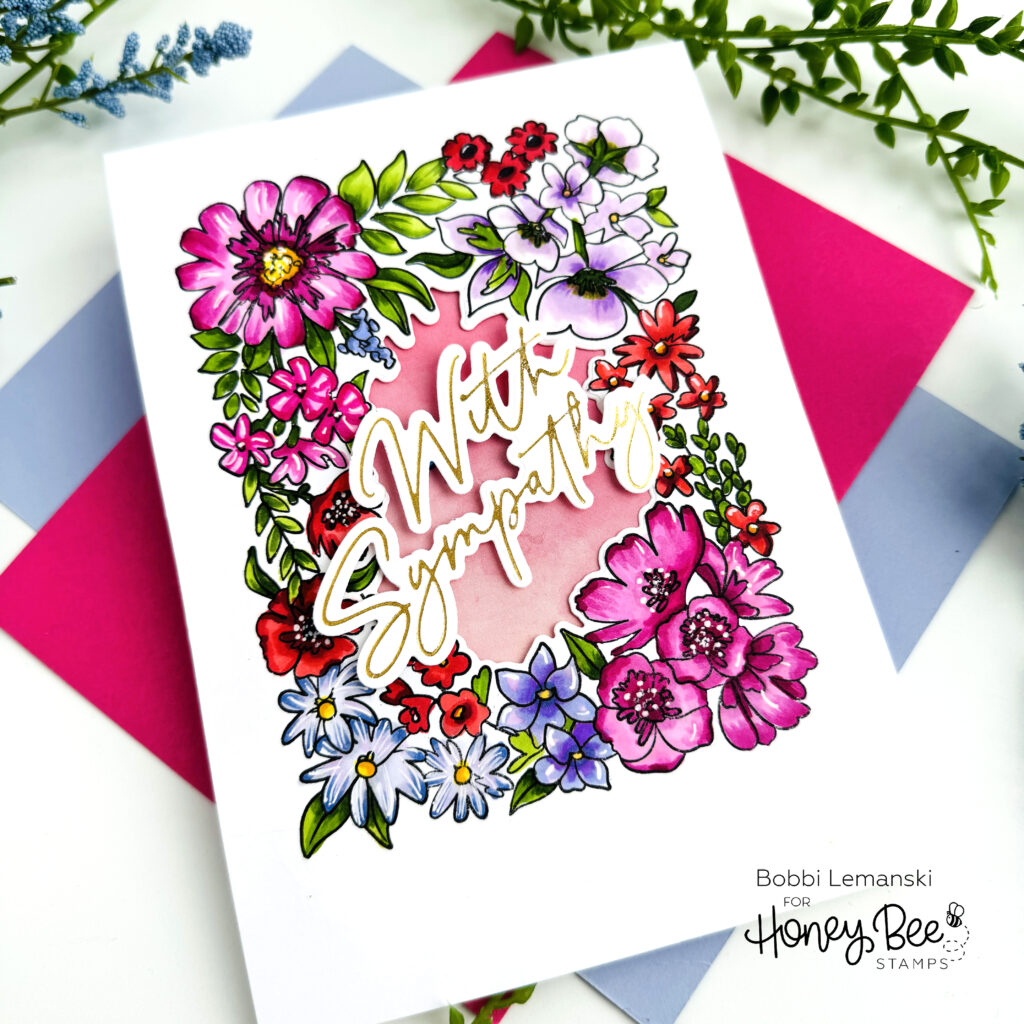
This same card could be used for birthday, sympathy and other types of greetings. I’m showing a different sentiment from the Foil Script: Wishes Hot Foil Plate and coordinating Honey Cuts dies on this card. This would make a beautiful and heartfelt, handmade sympathy card.
You can shop the entire Honey Bee Stamps store here. If you decide to place an order, please use the links in this post so that Honey Bee knows which ideas inspired you!
Thanks for stopping by today. If you want to see more ideas and inspiration from me, subscribe to my blog, BobbiHartDesign.com. I’ll send you updates on new posts! You can also find me on Instagram as @BobbiHartDesign and on Facebook as BobbiHartDesign.
