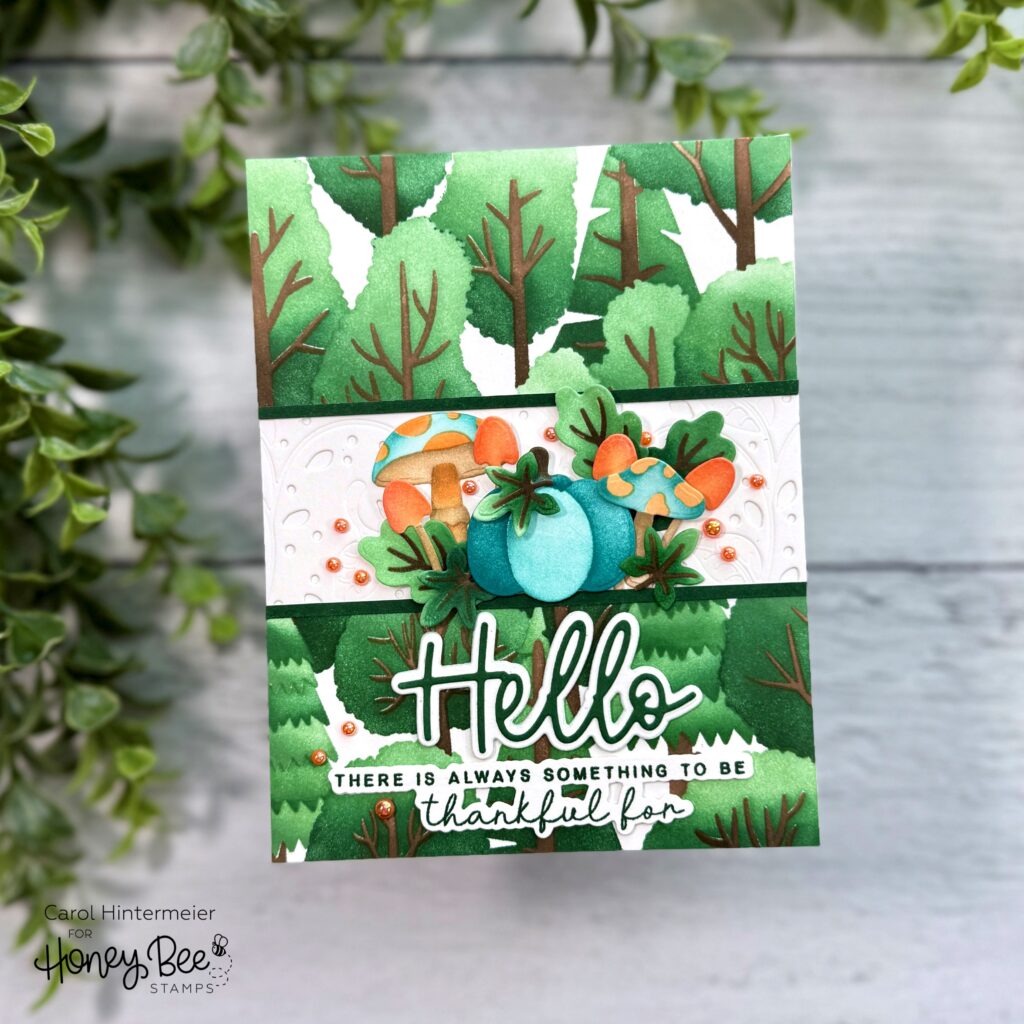
Hello Honey Bee Friends! My card today features the gorgeous Colors of Autumn stencil set but not in traditional autumn colors! I used green inks with the stencils for a nontraditional autumn card. I love how this turned out and hope you do too!
I started out by spraying the Colors of Autumn stencils with Pixie Spray. I only sprayed the few stencils that have very delicate parts that would move when I swiped the blending brush over it.
I used green ink in a light, medium, and darker shade to color white cardstock with each of the Colors of Autumn stencils and Detail Blending Brushes. I used two shades of brown ink for the tree trunks. By using the lightest green ink at the top of the trees it adds lots of definition to each tree.
Next I cut the panel in half crosswise. Then I trimmed each piece to be 2″ x 4-¼”. I adhered these with glue to a piece of white cardstock I die cut with the Fabulous Fall Cover Plate die. I inked up a scrap of white cardstock with the darkest green ink and cut two thin strips. I used glue to adhere these strips to the stenciled pieces.
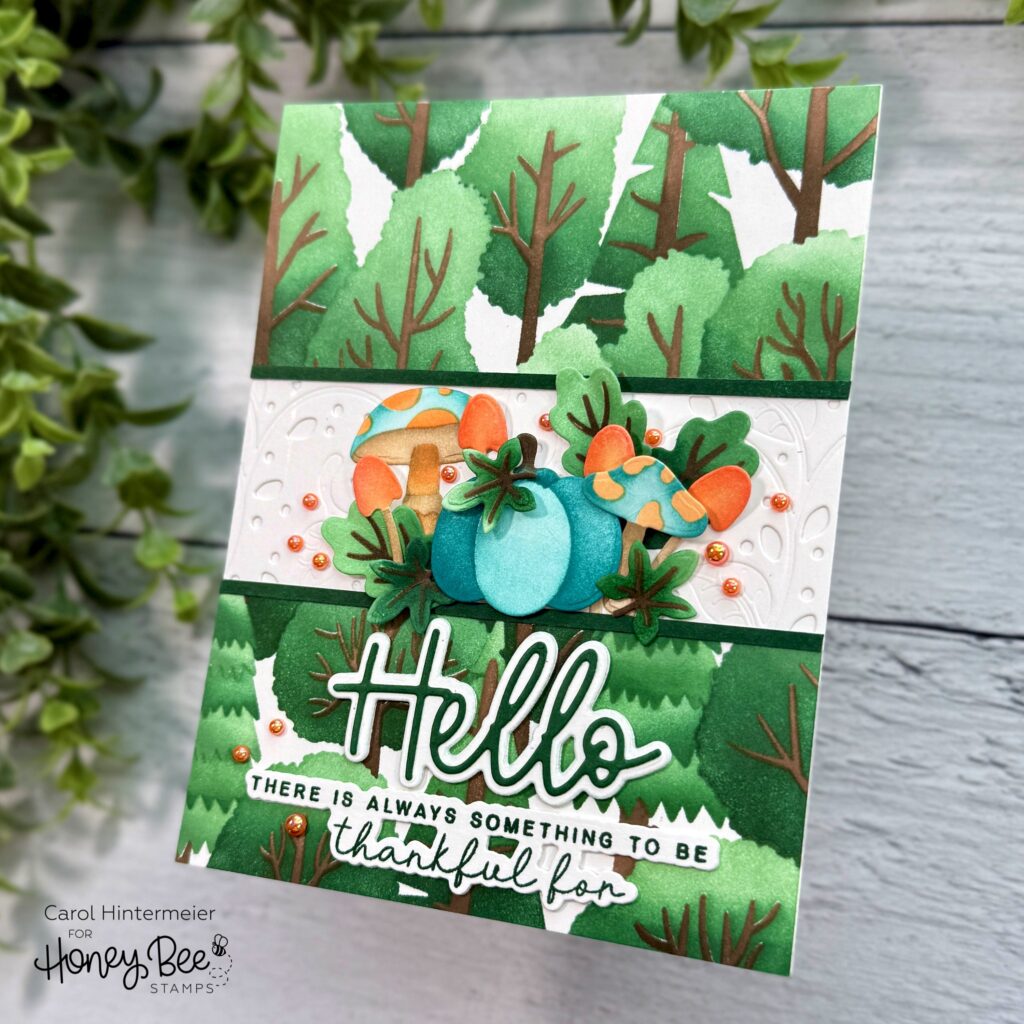
Next I die cut white cardstock with some of the dies in the Forest Floor Honey Cuts. Then I used the coordinating Forest Floor stencils to color and shade the pieces with teal blue, light orange, beige, brown, and green inks with blending brushes.
I used glue and a few foam dots to adhere the Forest Floor pieces to the card.
Next I inked up more white cardstock with the darkest green ink and die cut the top layer of “hello” that’s from the Great Greetings: Everyday dies. Then I die cut white cardstock with the shadow three times. I used glue to stack up the shadow die cuts and to adhere the top layer.
I stamped the greeting from the Blessings of Fall with green ink. I cut it out with the coordinating Honey Cut and cut two more white cardstock layers. I glued the layers together and then glued the stack to the card.
I added some matching pearls from the Sweet and Spooky Gem Stickers around the sentiment and the pumpkin arrangement for a bit of bling.
So, what do you think about the shades of green? I think this set could be used in the springtime too with a brighter set of green inks! Thanks so much for stopping by. Have a fabulous day!
2 responses to “Colors Of Autumn Stenciled Card”
Oh Carol, I love your evergreen forest! In fact, it’s perfect for this card. Think about it ~ it’s under the dark shade of evergreens where you would find mushrooms growing wild. Your coloring, design and texture are all just perfect, as always. You’ve sold me on some of these items that I overlooked when shopping earlier this month. I will use your links when I’m ready to buy. Thanks again for the inspiration and easy to follow instructions!
Danita, you are just the sweetest! I sure do appreciate your thoughtful comments. Thank you friend!!