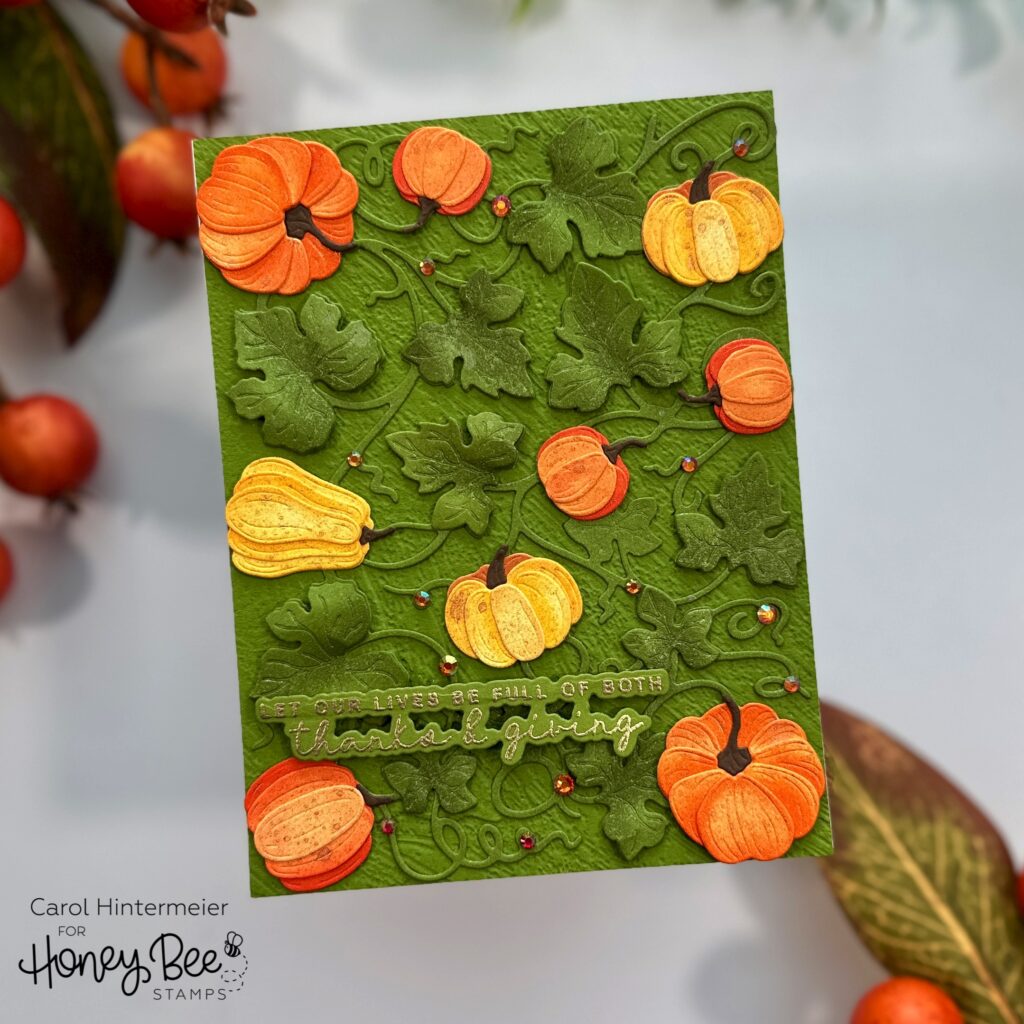
Hello Honey Bee friends! Today I’m sharing my card I made with the beautiful Bold Background: Pumpkin Patch Honey Cuts! I love creating cards in all the colors of autumn!
First I die cut the Bold Background: Pumpkin Patch background die and leaves die from some rich olive green cardstock. I like how all of the leaves are on one die! If you look at the Layering Guide, you will see how many of each leaf you will need. This will give you extra die cut leaves to save for another project!
I spread the background die cut and the leaves onto my craft mat. Then I lightly sprayed them all with some Peeled Paint Distress Spritz. The shimmer of this spray is so pretty!
Next I die cut all of the pumpkin dies from white cardstock. Be sure to refer to the Layering Guide to see how many of each pumpkin you will need. I pulled out several shades of orange and warm yellow inks from my stash and had fun using my blending brushes to add color to the layers.
When I was finished coloring the pumpkin layers, I used glue to adhere the layers together. Then I sprayed them with some Spiced Marmalade Distress Spritz. I die cut the pumpkin stems from brown cardstock and glued one to each pumpkin.
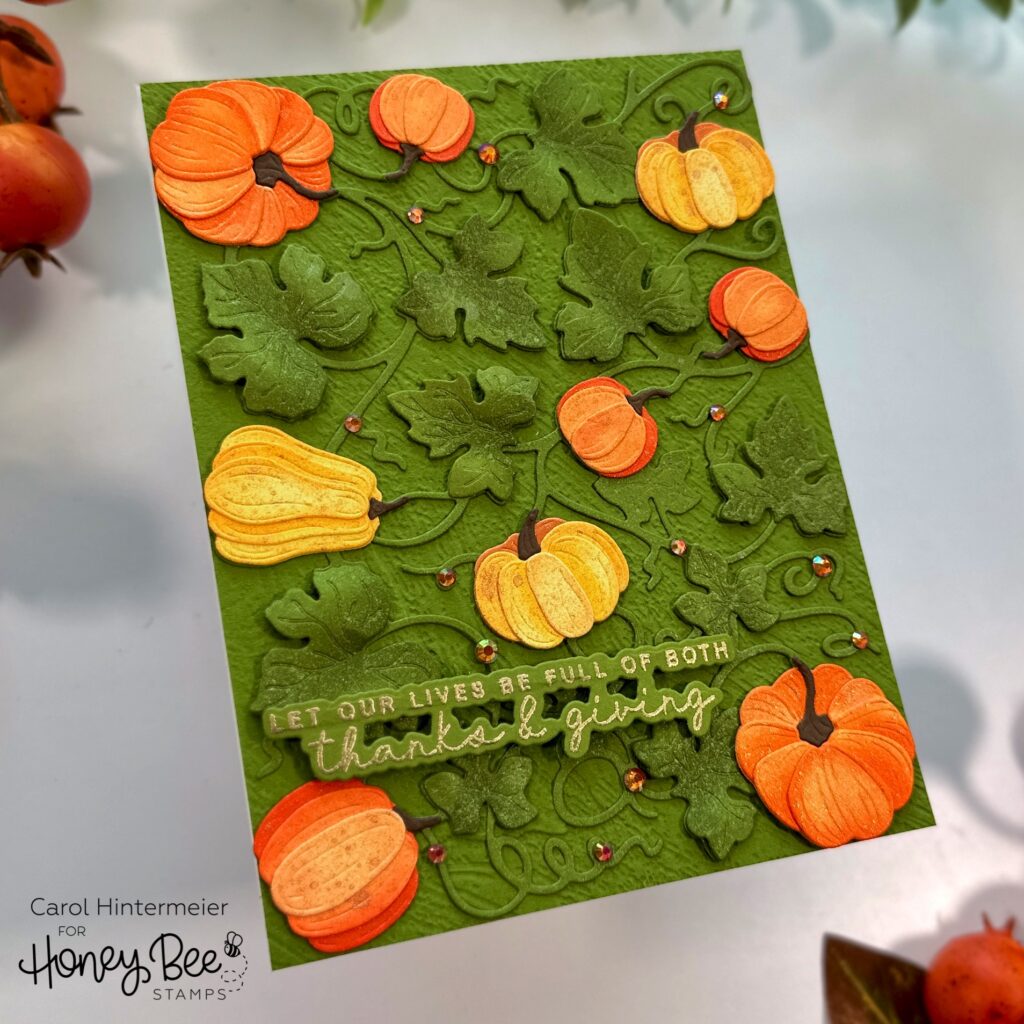
Next I embossed another piece of the olive green cardstock with the Woodgrain 3D embossing folder. I adhered the Pumpkin Patch background die cut to the embossed layer and then glued this to an A2 card base. I love the tone-on-tone textured look of this!
I used my fingers to slightly shape the leaves before gluing them in place. Next I glued the pumpkins to the piece.
I heat embossed the sentiment from the Blessing of Fall set with gold embossing powder onto olive cardstock. Then I cut it out with the coordinating Honey Cut. I added foam strips to the back to adhere it to my card.
I added a bit of sparkle to the card with some gems from the Fall Is In The Air gem stickers set.
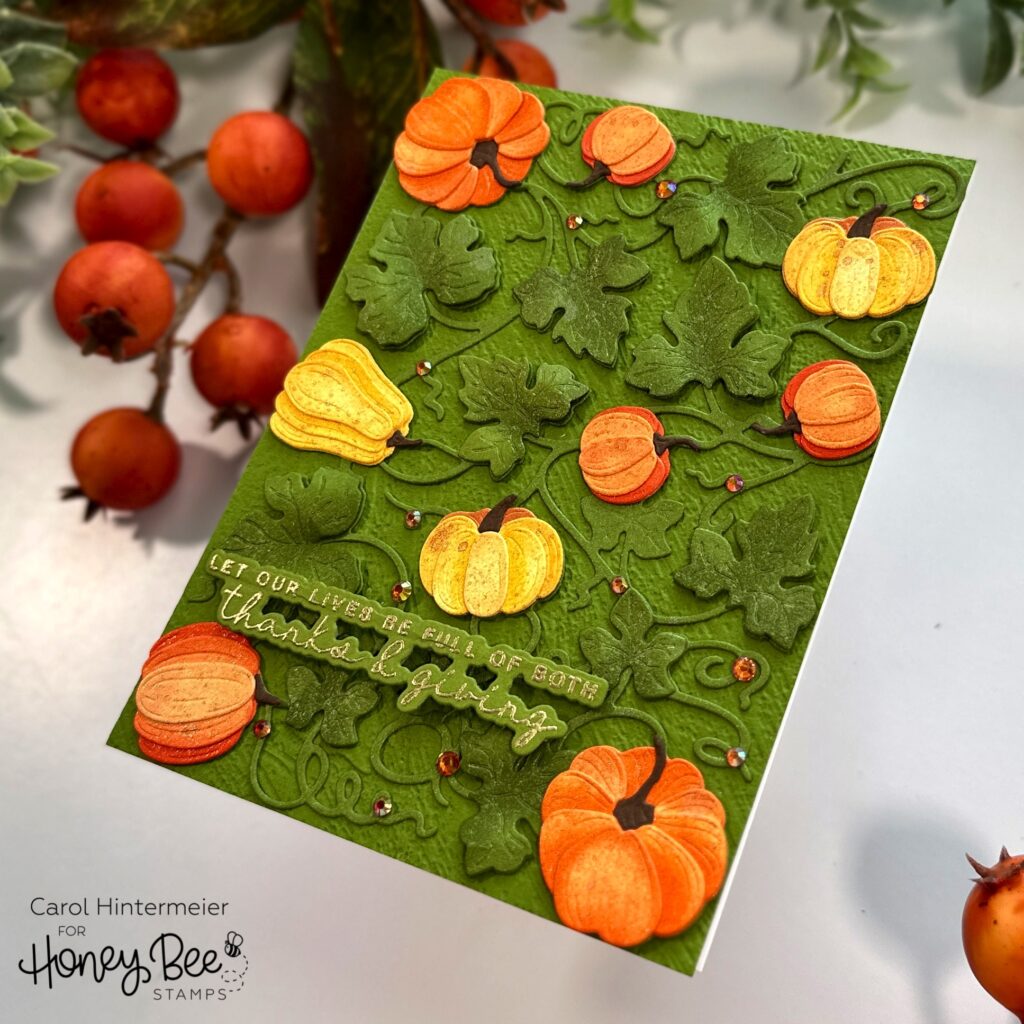
I love the warm, rich colors of this card and hope you do too! Thank you so much for stopping by!
2 responses to “Thanks & Giving Card with the Bold Background: Pumpkin Patch”
Another gorgeous card, Carol! The rich colors and all that texture makes it just perfect for autumn, and the sentiment is so lovely. Thank you so much for sharing the detailed instructions because this is one beauty that I definitely want to replicate!
Thank you so much Danita! I’m so happy that I’ve inspired you–YOU have made me smile!