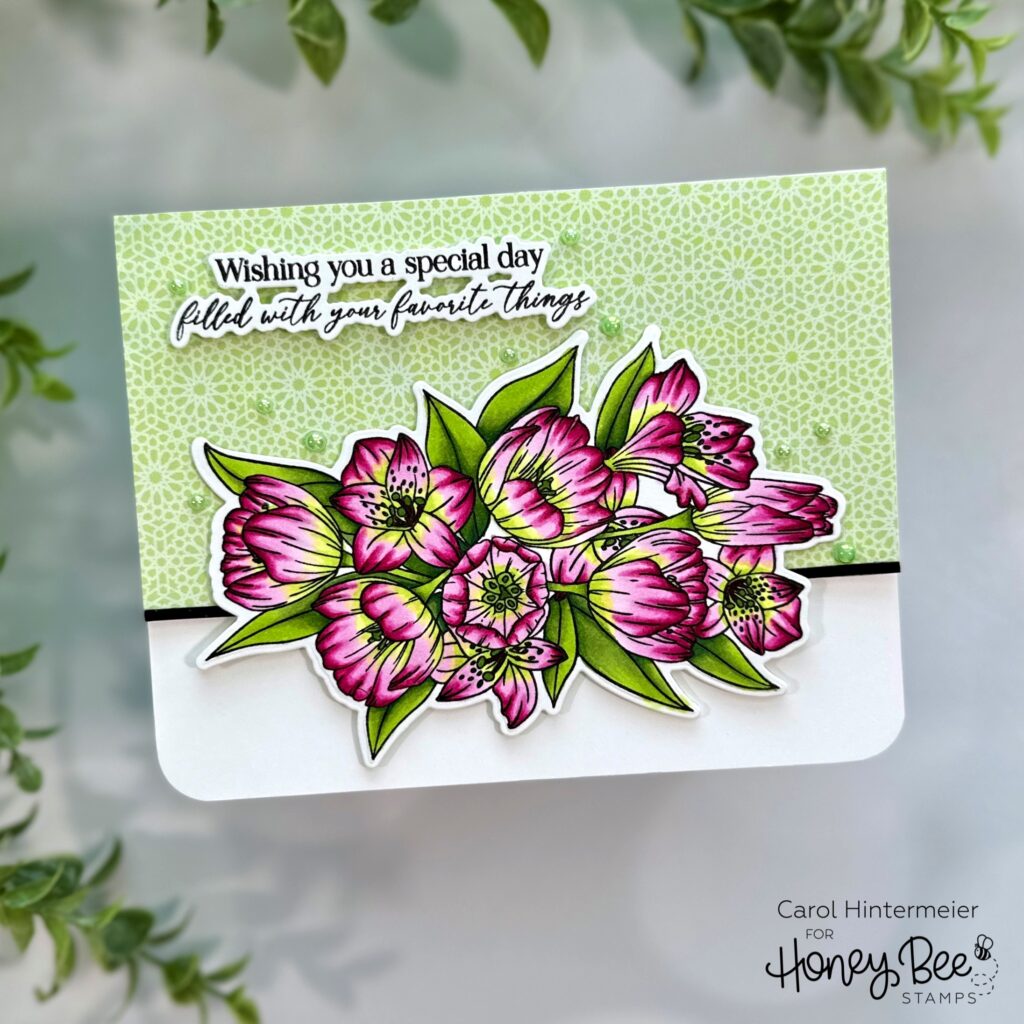
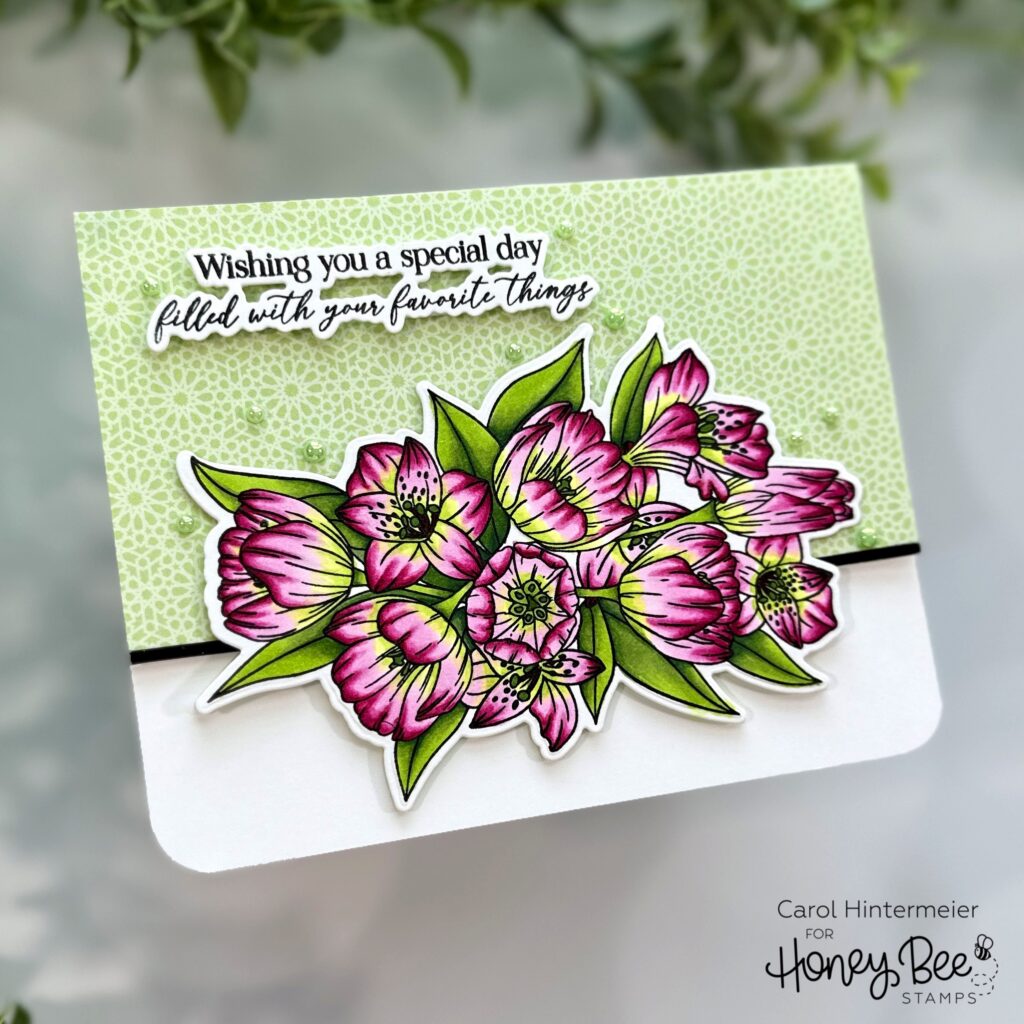
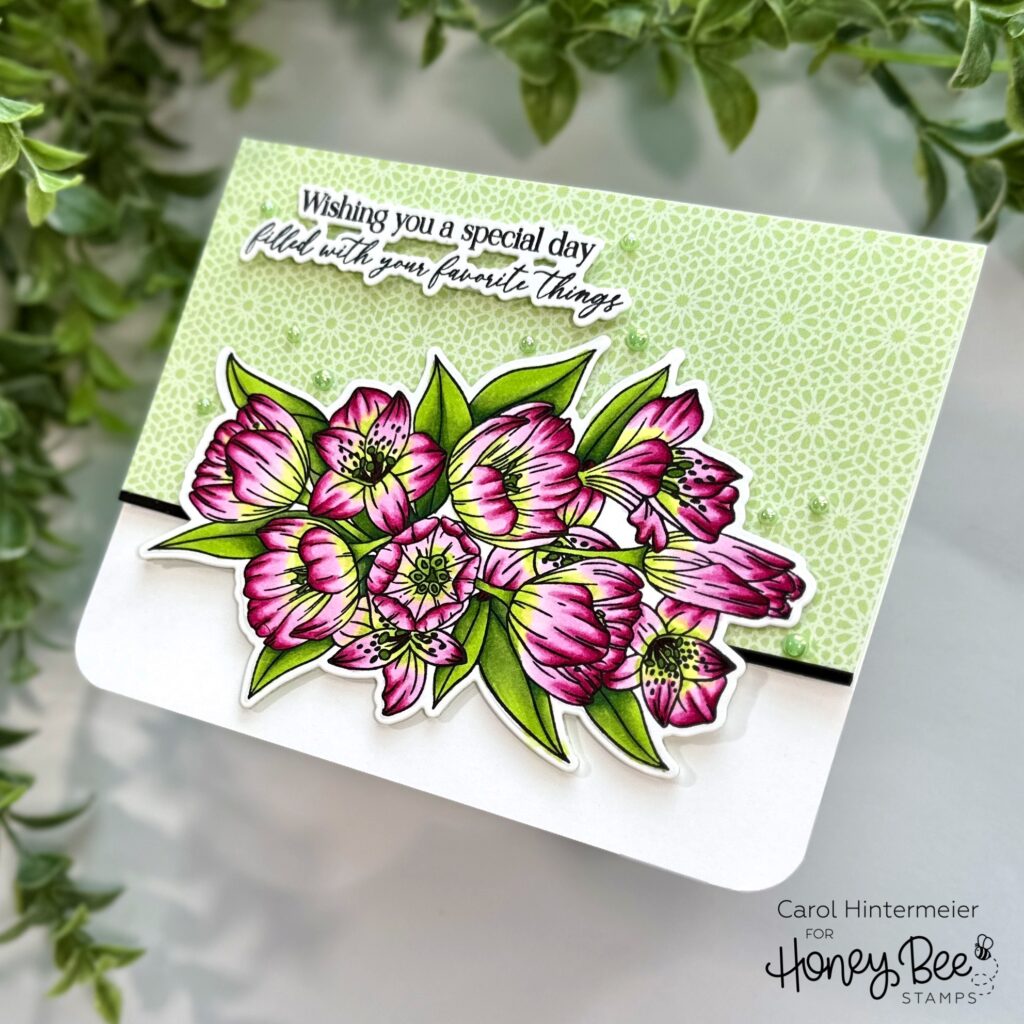
Hello Honey Bee friends! I’m back today with this birthday card that features the gorgeous Everything Beautiful stamp set and coordinating Honey Cuts. I had a bit of die cutting fun to make the unique edge for this card–keep reading for the details!

First I stamped the large floral image from the Everything Beautiful stamp set with Intense black ink. I used Copic markers to color the flowers. These are the colors I used: R39, RV19, RV17, RV55, RV52, YG03, YG00, G28, YG67, YG63, YG25, and YG03.
I cut it out with the coordinating Honey Cut. Next I got started on the card base and layers. I used a top-folding A2 white card base. I trimmed a piece of patterned paper from the Textiles & Textures: Celebrate paper pad to 5-½” x 4-¼” and used glue to adhere it to the card.

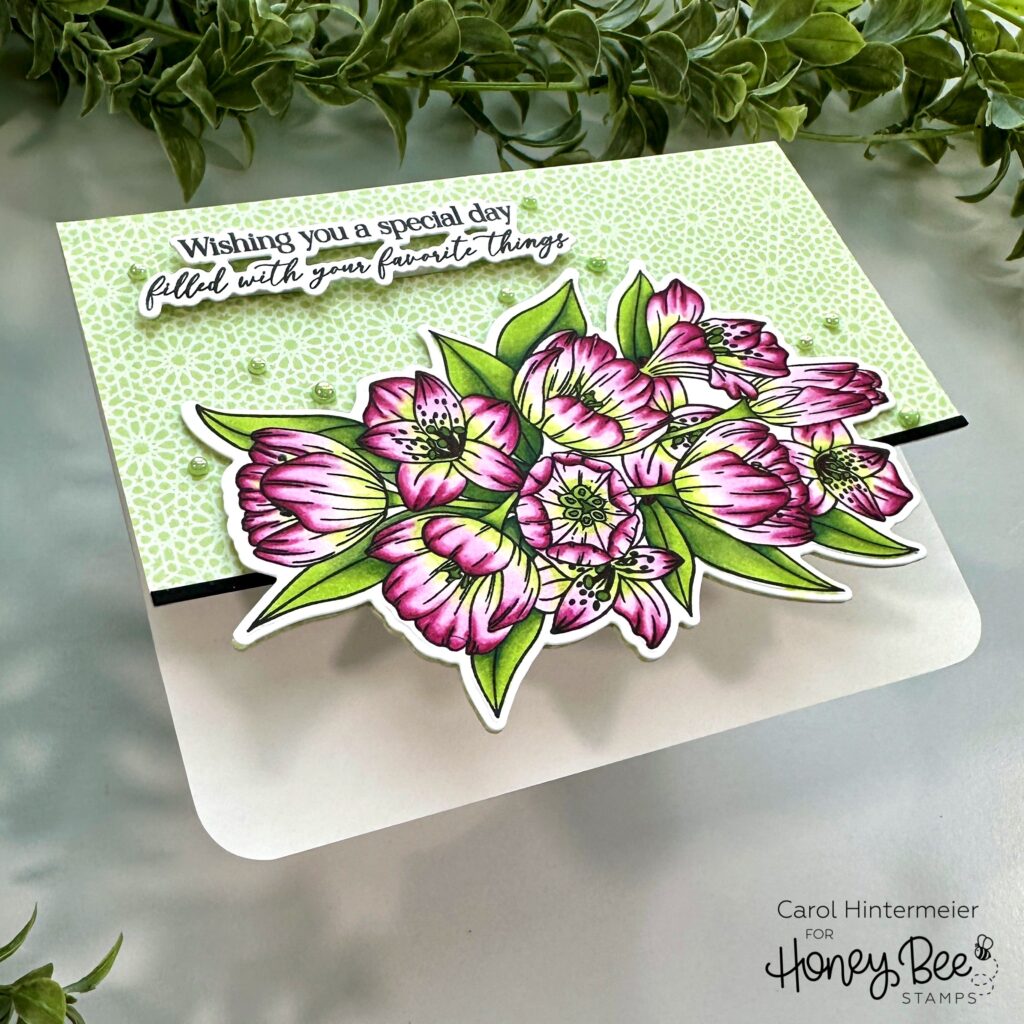
To create the die cut edge, I placed the colored florals on the card front to help me decide on the placement. I set aside the floral image and used a t-ruler to draw a line on the card base to use as a guide of where to place the top plate of my die cutting machine. My line is about 1-3/8″ from the bottom edge of the card front.
Next I used removable tape to hold the die for the Everything Beautiful floral image in place on the card base. Be sure to open up the card so you will only cut the top layer! Place the open card onto the cutting plate. Then put the top plate so that it only covers the bottom edge of the card, up to the pencil line you drew. Run it through your die cutting machine. Use your scissors to cut along the pencil lines just up to where the die cut part starts. This will remove the bottom edge of the card base front. Now you have a beautiful matching die cut edge for the floral image!

To finish up, I cut a narrow strip of black cardstock and used glue to adhere it in place. Then I used thin foam strips to adhere the Everything Beautiful floral image to the card. The sentiment is from the Everything Beautiful stamp set, stamped in black ink, and die cut with the coordinating die. I adhered it to the card with narrow foam strips.
I used a corner rounder to create the rounded corners on the card base. I think this adds just a bit of something different!
I added several pearls from the Celebration Pearl Stickers to the card. These match the patterned paper perfectly!

I hope you’ve enjoyed my card making process today and have found some inspiration here. Thank you so much for stopping by today!
